Tuesday, June 21, 2022

You Win Some, You Lose Some...


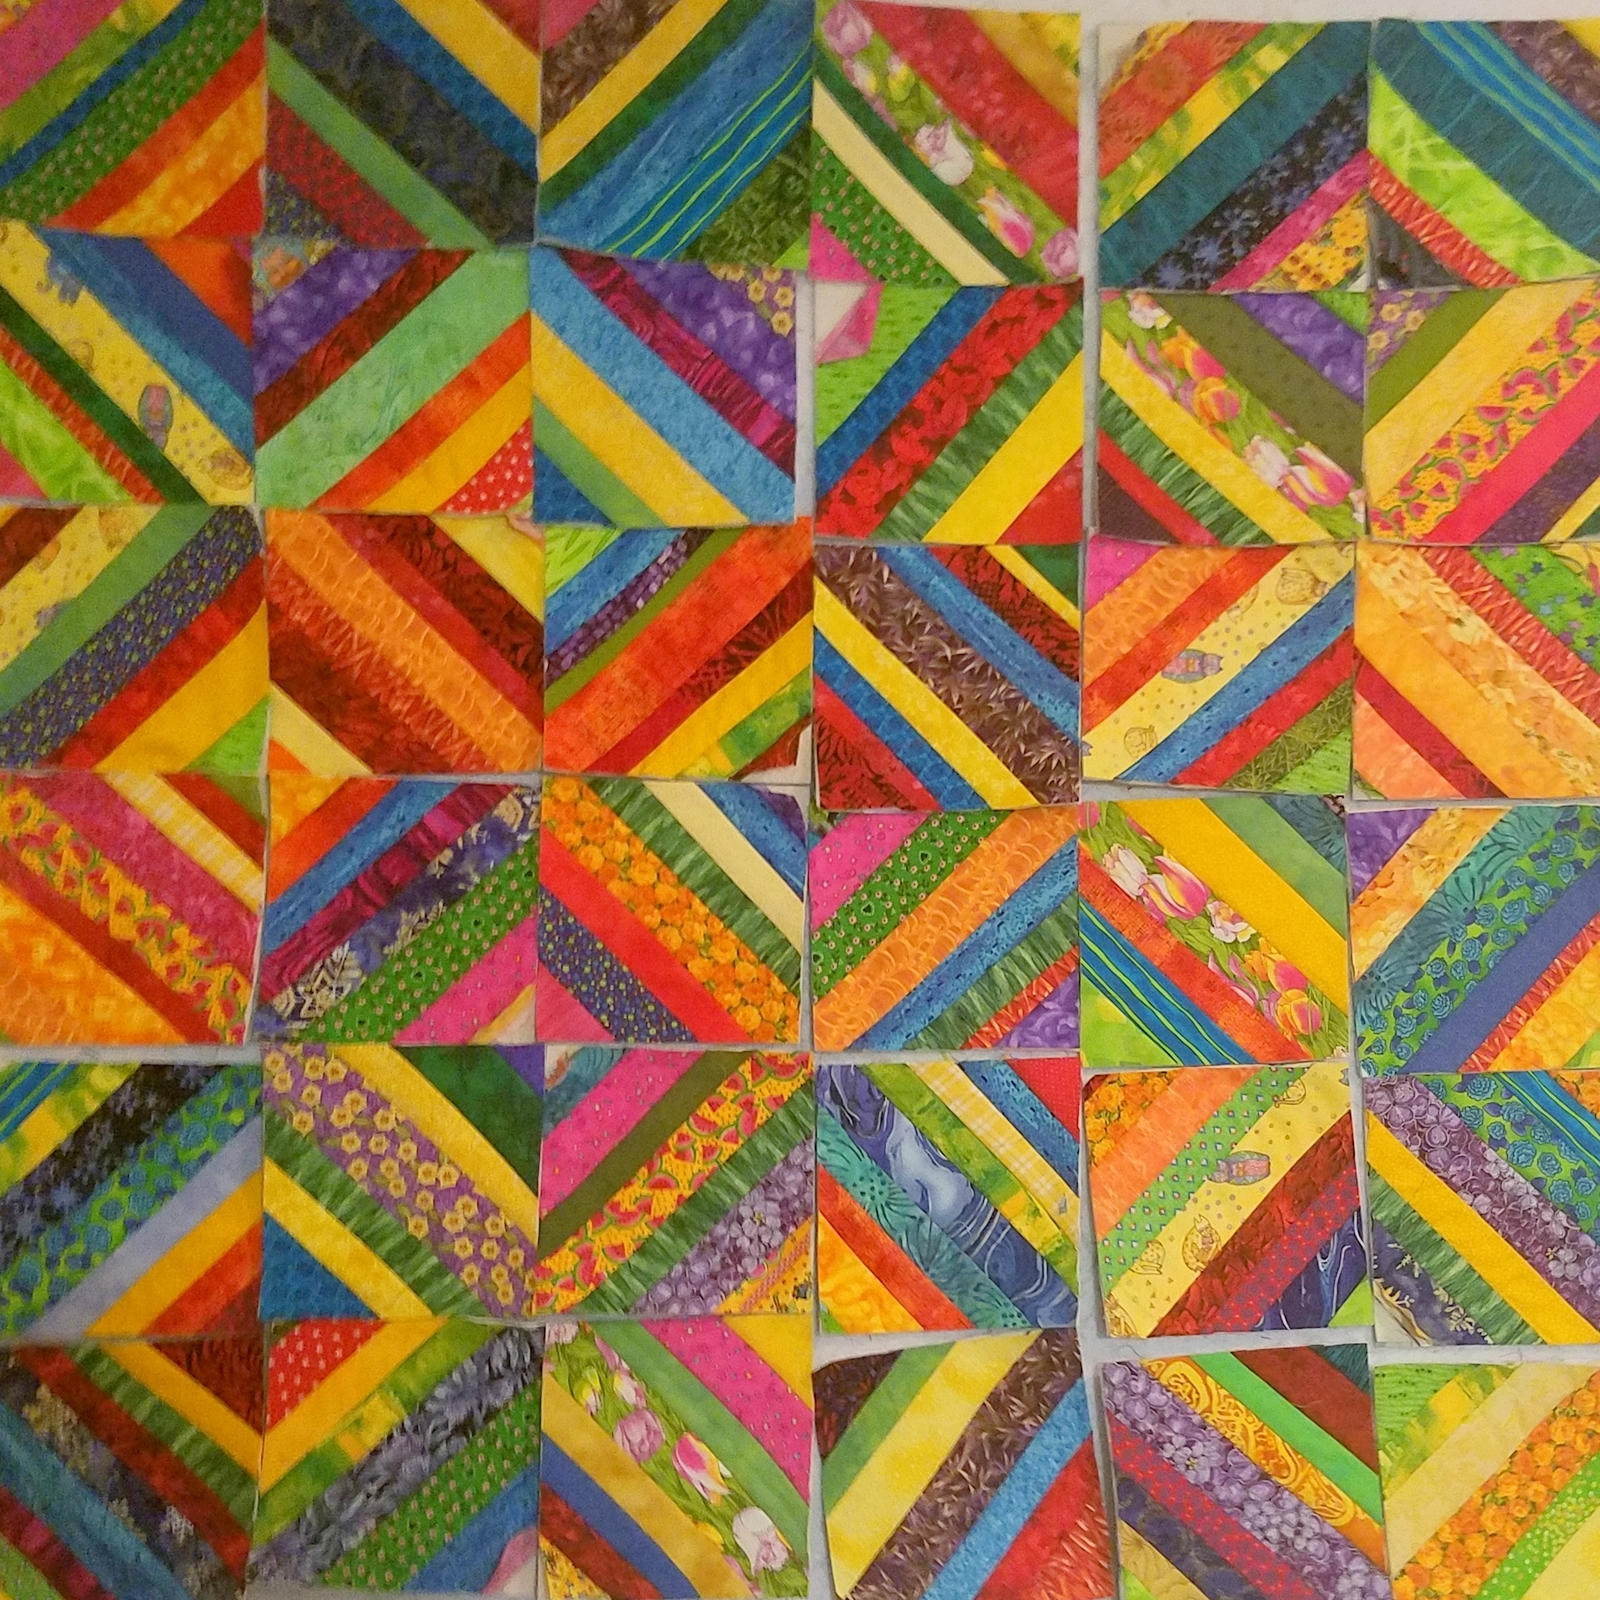
For some reason, I don't have a picture of all the blocks done for this quilt top!!  This is using the strips I cut up a few days ago.  I decided to look at the quilts I had done (in Pinterest) and pick some that would look good with these strips which I was not overly fond of!!  This top turned out much better than I expected and looked a little like a "modern quilt" when done!  I still had a big pile of strips and decided that I would do the "tumbling blocks" quilt that I had done before with the smaller block inside the bigger block.  I took out what I thought was a 60 degree ruler to do these.  I cut all the triangles in the six different configurations that are required for this quilt!


Here are the six piles all arranged for piecing together into hexagons.  Luckily, as I always do, I sewed three pieces together just to get a feel for how it would look.  It didn't!!  I definitely did not get half a hexagon!

It appeared that the ruler I used was something other than 60 degrees.  I pulled out a 60 degree diamond ruler that I had and laid it on top of the supposed 60 degree ruler.

This is the ruler I used.  I found out on the internet that it supposed to be used to make "peaky and spikey" blocks which for some reason don't use a 60 degree ruler but something like 55 1/2.  When I make those type of blocks which I do frequently in my house quilts, I just use a plain old 60 degree ruler (unfortunately my good one is at the beach) and the blocks come out just fine so don't see the need for this "specialized" ruler which will go on a free table!


Here is my diamond ruler (which is 60 degrees and not ideal for cutting out triangles) on top of one of the triangles I cut.  I cut down six of the triangles to see if it was possible to still make the size triangles I needed.


It was okay with the smaller block in the middle but no way was I going to cut down all those triangles so onto plan b -- find some way to use those triangles or toss them all.  Being of a strong New England heritage, that second option just didn't seem right so...


I started sewing triangles together to see if I could get a straight line and voila, I could!  So I decided to make enough strips from these triangles to make a baby sized quilt.  I almost had enough triangles to pull it off and today I sewed a bunch more together.


So here is the result of sewing these together.  I have to make a few more triangles so that each strip will be long enough and may make one more strips so will need to use that ruler one more time.  I will insert the off white strips between each of the rows to make it wide enough.

My biggest problem is that I can't seem to find any fabric in my stash to match these colors but I will look further as I do need to do some borders and binding!


Thursday, June 16, 2022

Quilt as You Go Quilt is Done!

This and the next post are in the wrong order!Well, here it is done except for the binding..  I was going to go with blue but have since decided that green is a better choice!

My method was modified a bit for putting the rest of the rows together for this quilt.  I had already decided to add another 1/8 of an inch to the back sashing but it was still not quite getting all the stitches to fall outside the sashing on the front.  I finally decided that when I sew down the first piece of the sashing on front with the folded piece in the back, that I will make that first seam very slightly less than 1/4 inch -- more like 7/32, just a 1/32 of an inch less than 1/4.  I also decided that ironing that back piece of sashing in half made things go easier as well.  Before I was just finger pressing.  Attaching the front sashing on the adjoining piece, I still go with the full 1/4 inch.  When I make that final stitching down of the back sashing, I pull it so that it no longer sits on the bump (the seam on front) and sew it down.  It takes some concentration but it really worked almost 100 per cent of the time.  It is also important to line up those vertical pieces of sashing when sewing the horizontal seams which I missed on a couple of rows but too much fussy stitching to take out and do again!  

It really went together very quickly once I got going and it is nice to not have to baste and machine quilt.  I would definitely make larger blocks if I was doing it again however but that will have to wait until I get south where those bags of strips reside.  If I never see these particular strips again, it will be too soon!!
 

Just a Short Post to Show the Finished Quilt

Well, it is all done and I am pretty happy with the results.  The back is kind of boring as I used the same fabric for all the squares and used a matching green as the sashing on the back.  All in all, I will do more of these but with bigger blocks.  These were 7 inches as that is what I was doing for the potholders.  I am also contemplating doing a whole baby sized top, sewing strips of blocks down and if the blocks are big enough, doing some machine quilting after the whole thing is put together.  I haven't pursued this yet.  


This was an unfinished piece from a Jane Sassaman class I probably took 25 years ago when she was just beginning to teach and had no books yet!!  The center part on the brown was completed back then and decided I would square it up to 24 inches so maybe I could have a second entry in our quilt challenge.  The squares on the outside were square but it was just too much so I am trimming them down.  Still not crazy about it but pretty much committed now.  I always liked the iris as it was one of my favorite flowers growing up as we had probably 50 varieties in our yard.


I am continuing to try to destash and had a very successful sale at my local quilt club a week ago where I sold a lot of my hand dyed fabric and many books -- some of which were very hard to part with.  Unlike previous years, where I gave away everything i didn't sell, I kept the remaining hand dyes.  I had originally intended to hold some out that I really liked but decided to let the quilt club members cull my stash as I had so much (3 of those large totes filled to the top).  I only brought home one. 

This photo shows a bunch of 2 1/2 strips I cut from this random fabric I found while doing the above destashing.  It was all fat quarters and in this

palette.  It was all 80s fabrics and pretty ugly and not colors I ever use which is why I cut them up into the 2 1/2 strips.  I took the picture hoping to inspire myself to do something with these!  I have no idea where these came from or why this palette...

This is our neighborhood doe named Eloise.  She noshes frequently right across the street when the neighbors are quiet.  Both husband and I think she is pregnant so hopefully we will see the fawn in the future.  Our next door neighbor is not a fan (although he named her) as she devours his roses and other veggies he grows!
 

Sunday, June 5, 2022

Trying Something New - Quilt as You Go Technique

I was inspired by the slew of potholders I recently finished to try to do a "quilt as you go" baby quilt just to see if it was any faster or easier.  I don't have as many scraps here as I do down south but dumped what I had on my sewing machine table.  These are the first four blocks I did using a more select palette than I eventually chose!  

This was the end of day 2 and you can see that there is more color.  I am using my phone for photos so not as evenly exposed as I do with my camera -- just keep forgetting to bring it upstairs!

End of day 3 -- it is getting there and I am getting faster and faster.  I only need 10 more blocks so I spent a little time picking out the middle strips for those last ten blocks.  I make the blocks by first putting a strip down the middle and then adding strips to the sides.  Then I iron and trim.


This is the end of Day 4 and all the blocks are done and the quilt will measure 42 x 42 as the sashing will not add to the width or length and I am not adding borders.  I got the timing of the blocks down to about 9 minutes each.


The sad part is that the pile of strips looks as big as it did when I started which just confirms that those scraps breed at night when the lights are off!


I decided to go with yellow sashing on the front and a green on the back that matches the backing fabric pretty well.  I tried to have a little yellow in each of the blocks on the front.  I cut 7 in x 1 in strips for the front and 1 5/8 in strips for the back which I folded in  half.  I figured that a little extra on the back would insure that when I sewing the back strips down, the stitching on the front of the quilt would fall outside the sashing.  I was moderately successful but will today increase those strips to 1 3/4 inches in width and will also change the bobbin thread color.  Putting them together went more smoothly than I thought it might but did require some careful pinning.  We will see how it goes today!

If I ever do this kind of quilting again, I will do much much larger blocks which I think would be more time effective.  These blocks are 7 x 7 which is the size of my potholders.