skip to main |
skip to sidebar
First I want to thank my commenters! I always like to get comments.
I still had some of these rectangles left and even though they weren't as nice as the others, thought they deserved chance to be in a piece with proportions that I liked better. Here were my first choices among my remaining pieces.
I also toyed with doing this as I do want to highlight those two remaining blue pieces and will eventually. I discarded this idea but will probably try this again when I have painted some more pieces.
Here is the piece completed. You will note that I replaced one of the red rectangles that I had chosen earlier. I also though that the 1/4 inch red border would accent it. You will notice that there is a lot less white on this one and I found it much more pleasing to the eye which led to the following redoing of the two previous pieces that I had finished (already quilted and bound).
I had liked the thin red strip so much that I decided that I could applique black dividers with red trim between the blocks right over the white. I literally made tubes and was then going to just sew them down. It seemed like a good idea but I know to really audition now!
I didn't like it. The red was too much in this piece (and I knew it would be in its twin horizontal version).
So then I thought maybe just window panes with just the black. I added black to the edges so that each piece would be framed with the same amount of white figuring I would just applique the tubes down. Black is very very forgiving unlike white!! Well, good thing I auditioned as the black border was just much too wide and overpowering.
I ended up appliqueing one inch "tubes" of black between all the rectangles. Then I just sewed new borders right over what was there, making sure I had about the same border of white. And here comes the hard part....
I chopped off a good chunk of the existing border and all the nicely sewn on binding!! Into the trash, but I am much much happier now with the result. I tried small red borders but the pieces already had more than their fair share of red!
Here is the horizontal piece. Guess I do have a series here. I can sleep tonight now. Those two pieces were driving me crazy as I really liked the painted pieces but didn't like the finished pieces!
Well, finally got to quilting the small pieces and did this one first as it was my least favorite of the two. Even with being very careful, there was still some puckering. I think my biggest mistake was using the wool batting instead of some of the cotton remnants I had. Wool is very puffy. I used an even feed foot on all the lines which did eliminate most of the puckering. White is very sensitive and shows every bit of mis-quilting!!
This is the second one I worked on and less puckering with this one so I didn't feel the need to tightly quilt around all the rectangles. I haven't sewn the binding down yet so a littly wiggly around the edges. Still trying to decide whether I will do quilting within the triangles. They don't appear to need it. I do like the images here.
This is a very small piece that just seemed to want to be by itself. I may add some Sharpie coloring around the yellow as it doesn't show up well against the white -- probably a red. Didn't realize until I finished the piece that this was the reverse side of the painting!
These are some more blocks that I am contemplating doing another piece with. I definitely will make the white between the pieces much smaller this time. Wish I had done that with the second piece but too late now!
These are the original three pieces which I had originally thought I would put together but changed my mind as it didn't look interesting enough.
This is all the completed blocks up on my design wall for the disappearing 4 patch baby quilt. It's a little random as I only used leftovers from the previous projects.
Of course, I went to sleep before I did anymore and decided I would like to expand the size by putting it on point. Seemed liked it would work and I needed it to be at least 40 inches wide which it wasn't. I didn't want to make another row of blocks.
Here was my first test and figured it was a go but I did have to make a few more blocks but not as much as I would have with the other orientation.
Well, I got it finished after having to rip out some blocks (of course the same ones) a couple of times. I am a bit compulsive in some ways!
It's not great but it is okay and the backing is bright and cheerful for both of these. I even pieced the batting from many random pieces that I have saved. I am going to keep doing this as it is easy and will get rid of a lot of fluffy random stuff!
Of course I found another bag filled with these 4 1/2 inch by 6 1/2 inch pieces cut from some fabric I had painted and dye painted years ago. I think I was going to do postcards with these as we had a postcard project at one time in RAFA -- a LONG time ago. These really appealed to me just sitting against the white design wall. I had some more of the fabric in the bag so cut as many more pieces as I could of the same size.
This is most of the pieces. I ended up with 21 altogether and I really liked them.
I decided I would construct a series of small pieces with a few of the blocks in each one. I tried surrounding each piece with a small rim of black and that didn't work at all. I added a 2 3/4 inch border around and between the pieces. This one was the vertical presentation. I really sorted through the blocks and did a lot of auditioning to get what I thought was a pleasing arrangement.
I think the black will make a nice frame for the piece though. I haven't even sewn all the white strips on yet. I wanted you to have to get close enough to really see the blocks which is why I didn't put all the blocks in one piece.
This is a second set which I will set horizontally. I still have enough blocks to make at least one if not two more pieces.
Of course, this all has really inspired me to start painting fabric again, something I haven't done in awhile. Some of these blocks are painted with thickened MX dyes and some with acrylic paints. It is hard to tell them apart!.
Thursday I was invited to attend a long running art quilt group here in Wilmington. I already knew two members of the group who are both incredibly talented quilters and I really looked forward to meeting the other ladies! This was one of the first quilts that greeted me when I walked into Gerry's house. Gerry was hosting this group for their annual Christmas party which was a potluck (I brought broccoli/cheddar quiche). The quilting in the background is unbelievably intense. I would guess it was about 40 x 36 and lovely!
This was a large piece that Gerry had done honoring her father. Again, beautifully done.
I coudn't get back far enough to get this whole quilt in the picture. Gerry said this is the last quilt that she hand-quilted and the hand quilting is exquisite -- would do anyone at GVQC proud! She concentrates on art quilts now.
Couldn't quite get the whole quilt in this picture as well. Loved the colors.
I actually think this was my favorite of all of them. There was great texture in this one.
I look forward to getting to know these ladies better. One of the exciting parts is that the only other woman in the guild who lives here in Kure Beach is also in this group and she drove me to the meeting and it was absolutely lovely to get to know her better. It was a really nice group of women so I look forward to the next meeting!!
My sewing was interrupted by an ice storm yesterday which left us without electricity for several hours! Good thing I have my handy Kindle Paperwhite so I could read in the dark with no problem! Even provides enough light to get around the house. The ice was not gone this morning and didn't disappear totally until later this afternoon but no more electric outages of significance. It did look pretty when the sun came out and hopefully our palms will be none the worst for it.
Just a closeup of some of the ice cover.
I worked yesterday and today to build up the log cabin house quilt that I started in Flavin Glover's class. I am working on the trees now and using some of my reject marbled fabrics which improve with being cut up!! They were pieces that had been dye "dogs" which I then marbled hoping to improve them which it did a bit.
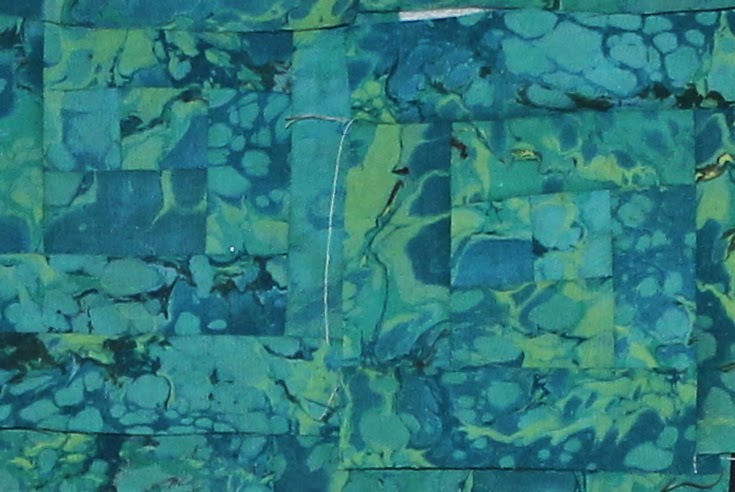
This is a closeup of the above tree so you can see the marbling. The middle house on the bottom row is also marbled fabric. All the rest are hand dyes. This is one of the few quilts I have made using nothing but my marbled and hand dyed fabrics.
Here it is further along!
This is a closeup of the tree on the far left which used a fairly dark marbled piece.
Here is how I left it on my wall last night. I found a whole lot of gradations of blues in my fat quarter old hand dyes. The plain sky blocks go really fast but not the others!
This is the tree on the right.
This is not a clear image as I used my camera phone but the top (with the exception of the borders) is done and I am relatively pleased. I am going to do a fairly simple border incorporating pieces of all the colors in the quilt. Flavin did quite a few different treatments that I really liked and thought really added something to the quilts she had done. The quilt is currently 37.5 x 26 inches. The finished "logs" are 3/4 inch. After looking at this on my design wall, I am contemplating doing a jacket using a variation of this pattern and of course making it wider (my hips haven't been 37 inches in forty years!). Doesn't it look like it would make a cool jacket?
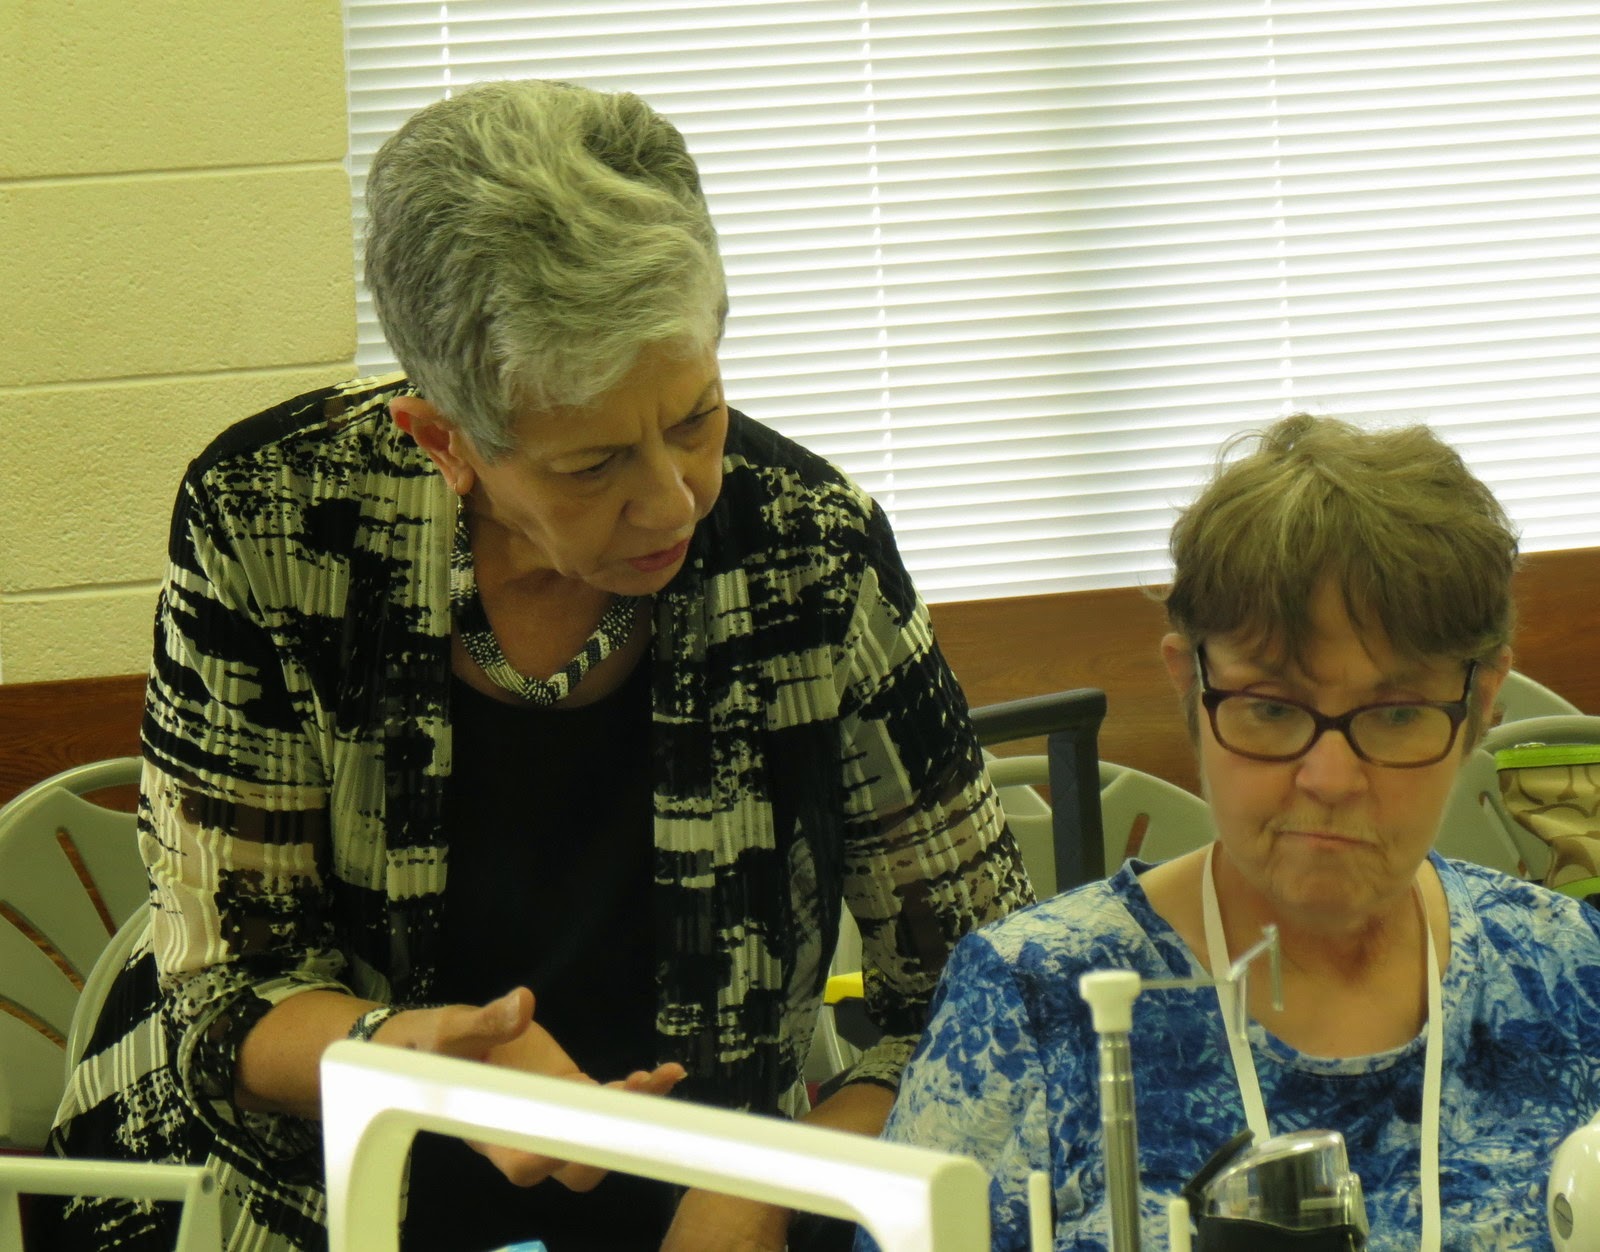
Our guest speaker and teacher this month at QBTS Guild was Vikki Pignatelli, an art quilter who is famous for her work with curves. As the class was very affordable, I figured it was worth the two days. Vikki was EXTREMELY generous with her knowledge and time and worked with everyone in the class. It was the Improvisational Curves class that she was teaching. The first day was basically learning her curves technique which was different from any that I had used before. The second day was an incredible potpourri of techniques, many of which I could easily see using on jackets as they were embellishment techniques. She also had a clever way of having nice bound holes in the middle of quilts which would add a lot of flexibility to you work as well as give it dimensionality.

The technique uses freezer paper as your pattern and a foundation stabilizer on which you pin your pieces. I liked the idea of the stabilizer a lot but still not sure whether I will use the machine applique technique she uses. Probably will adapt it somehow.
You can see some pleated (textured) pieces in this work. It was a very cool idea which I liked a lot.
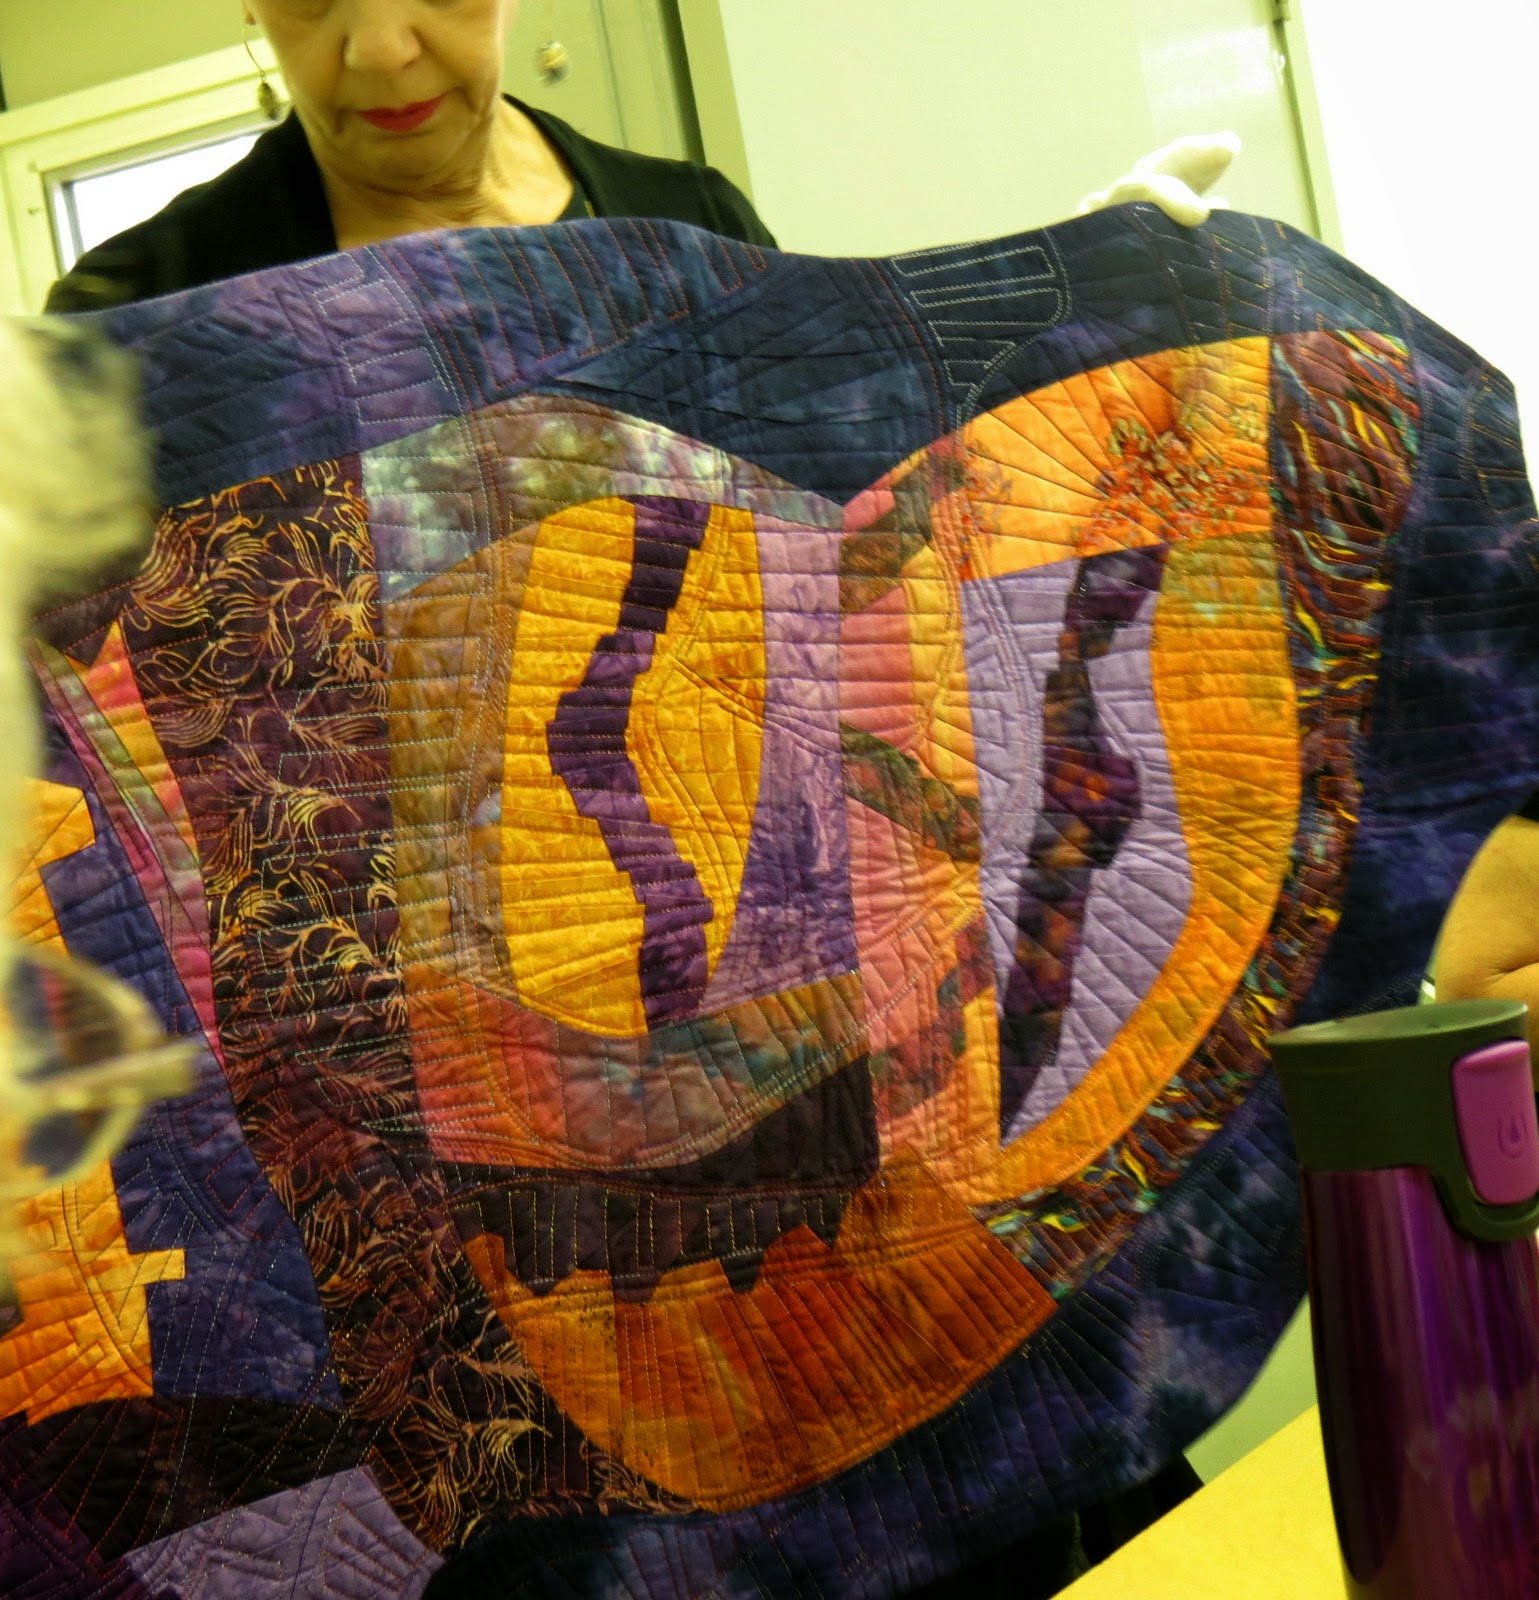
This was Becky's piece which will eventually be a full blown tulip. Loved the colors (my palette -- how could I not!).
This was Barbara's piece which was based on a watercolor she had done of a sunset over the ocean.
This piece shows a lot of inserts into the pleats that Vikki made as well as some yarn embellishment. Can't you see this in clothing?
This was a display of all the different embellishment techniques which involve the making of "tubes" of cloth which are inserted into pleats. The tubes can be straight up and down or mountainous like the piece on the top and the far left hand side of the bottom.
.This was a piece that used larger tubes machine appliqued on top.
During our meeting, Vikki was of course our guest speaker and shared many quilts both in person and on slides. Below are many of these.
My favorite!
This was one of the quilts on the slides which I also really liked.
This was my favorite but on a slide so you can see the whole thing but the in person one was so much nicer!
An example of a log cabin type placement.
 The one to the left is another log cabin while the one to the right is a tree but difficult to see because of the background.
Another one I just loved.
This example uses pleating and the aforementioned tubes to get the texture.
The one to the left is another log cabin while the one to the right is a tree but difficult to see because of the background.
Another one I just loved.
This example uses pleating and the aforementioned tubes to get the texture.
Another one I loved.
This was clearly Vikki's favorite.
This was most of the class with their pieces after the second day. The three on the far left are mine and you can see my grey hair peaking out over two of them -- I am sitting. I didn't bring a sewing machine so just worked on the design and learning the technique of design. We had a really good time and I met some very nice women in this guild which was very very nice!! What a lovely group of women!! Many of them were trying this kind of thing for the first time as this is primarily a more traditional group. I think they will be trying more!!