skip to main |
skip to sidebar
Well, the second of this type of stack and whack is done. It really is different from the first one and there is only one duplicate block that I can see between the two -- 48 blocks altogether. I think I am going to pass on making the third one of this type for a bit although I have all the components together in a baggie for future use.
Am driving myself crazy trying to come up with some arrangements for these blocks which I really love! I wish I kept better track of the colors I used!
I tried this with just five blocks as that would make a somewhat commercial pattern. I have been playing in EQ8 but a little tricky with this set.
I thought I would try with these blocks first as they are not quite as "precious" to me. I do this color combination a lot.
Liked it as a 5 block arrangement. I want to do something fancy in those triangular areas. Will probably just put sashing around that middle block.
I had a nicely stacked foursome of fabrics left over from the blocks in the previous two quilts so I decided to cut into 3 1/2 inch squares. There was enough for 16 blocks so I figured I would make this arrangement and then put the shadows behind them as the set.
Well, the first change was that I decided to frame each block to make them larger. This was going to be a neonatal quilt. But then..,
I decided it didn't look like a neonatal type quilt so I would make it for the other charitable group I work with in NC. So now I have one extra block to join the orphan block bin!
So now to audition the borders. I assumed I would repeat that blue but didn't like it when I looked at it and decided to try to find a light blue like the blue in the blocks.
So here is the blue I found in the stash.
Another one finished and this is 40 x 60 inches. I kind of like it.
Here you can see all the blocks done but not sewn together. I really liked the little four patches which are 4 inches finished and have a 1 inch border around the so that they match the bigger blocks. Everything will be set on point.
Here I have finished it using the stack and whack fabric as the border.
Decided to forge ahead and put together a second one (and I have the triangles cut out for a third). Here it is all finished except for the borders.
Here is the second one all finished. Amazingly, there are very few duplicate blocks. There is one set in this top.
I have been playing with different sets for my mandalas. Sets of 4 minis (11 x 11 inch) are now on sale on Etsy - Mini Mandalas for sale on Etsy. Sets will be going up almost daily as well as some that will be sold by themselves.
Okay, no radial symmetry here, but the latest house quilt for Habitat for Humanity down in NC. Still have some trees and kits for some more houses.
Decided to play a bit with some of my mandalas to see if I could come up with some different settings. I especially like this bunch and they seem to go together.
I had thought I would like this but found it was too busy for me and really didn't emphasize those nice center blocks nor any of those pretty outside blocks, so...
I dipped into my stash and pulled some fabrics that I thought would go well with it (didn't include that bright green though). It's all in a bag now waiting for inspiration to hit further!
I couldn't help myself this week when Joann's had a sale of cotton quilter's fabric for $1.80/yd. Most was pretty atrocious but I found this print in two colorways and since the repeat was 13 inches, thought it would make good stack and whacks. I bought a couple of other accompanying prints as well as a couple of solids that would match.
I had so many repeats (I bought what was left on the bolt) that I decided to go with an 8 repeat stack and whack. It really does work for this technique and 2 1/3 yds yielded 75 sets of triangles for octagons which will make 3 decent sized quilts with the setting I have chosen.
This is the first set of 24. I will be putting them on point and inserting 4 piece stack and whack blocks between them. To be continued....
This is the Mystery Quilt which I finally completed after ripping out more stitches than I sewed the last couple of days. This is a classic example of "haste makes waste". Normally, when I get this frustrated, I just give up and wait for another day.
I went over to my friend Marcia's house and worked on this quilt. We did so much talking, however, that I had to finish it at home. I will not add another border but will bind with a nice dark blue, green or purple. It measures about 40 x 50 (10 inch blocks).
This is Millie. She is a feral momma cat that lived in Marcia's barn for years and years. She finally let Marcia pet her and a couple of years ago actually came into the house. She liked it so well, she never left!! She now even tolerates visitors and came to visit a couple of times while we were working!
This is Casper who was a kitty that someone dumped. He is super friendly and a lovely kitty. He is deaf though but has blossomed from a scrawny kitty to a big white puffball whose weight we shall not mention!!
This is the beginning of another house quilt. I made four strips of greens and used 45 degree and 60 degree rulers to cut out the shapes. If I make 2 more 60 degree triangles, I will have enough for two more house quilts. I have enough "kits" of houses to put together to make at least two quilts as well. It is a great use of shorter 2 inch strips. So now to just add the tree trunks!!
I liked the set so well for the mystery quilt, I created an EQ8 quilt with it as I think it would be an ideal set for some of my mandalas so I just played with some blocks that looked like the mandalas just to get an ideal. I think it will really work!
I have been going through all my fabrics and found a shelf full that I hadn't seen in awhile (blocked behind a plastic box!). I had forgotten that I had bought a bunch of these beautiful Sherrill Kahn fabrics she did for Robert Kaufman. They are so pretty, I will probably use large chunks in whatever I decide to do. I have a couple of her books which are about painting on fabrics.
Also my friend Julia is selling some of my mandalas on ETSY. Here is a link to one of the recent additions- One of my mandalas. If you click on her store, you will see more. The ones currently shone are all about 21 inches square and we will be adding the 11 inch squares next week. We shall see how it goes!!
Each year, the guild I belong to down in North Carolina has a mystery quilt where we get clues once a month for several months and then have a "reveal" in December. I have enjoyed doing these. For those not familiar with the concept, you are given a menu of what value fabric you are to get as well as how much you will need. Then you get cutting instructions and then each month, you get some piecing instructions but you never know until the last month how this will all go together. This year's called for so many different fabrics, I was very hesitant to go my usual scrappy way but did as much as I could.
These are the first two blocks I finished along with the secondary blocks (the x's) that we did a couple o months ago. You can see there is very little difference between the two blocks and they should look quite a bit different. The last step was adding those middle squares, all of the same fabric. I ended up taking the one on the right apart and changing the middle fabric to a green so that they would be a little more different. Don't know whether I did something wrong as I was going along or not They should have looked quite a bit different from a value standpoint.
Here you can see those center 4 blocks and the darker one on the far right on the outside. This will be the layout of the quilt. I used nothing but fabrics from my stash including some scraps I had from backing a quilt as well as a bit of my hand dyes.
At this point, I decided to see how the borders would look and put one set up on the design wall. Well, the two borders go well together but don't look at all good with the rest of the quilt. The focus fabric is more a blue-purple whereas the other purples are more of a red-purple and the green in the border fabric is a blue-green while in the quilt, the green definitely tends more to yellow. Ugh, so now to find a fabric that works and undo the whole set of borders. I saw no point in making a ugly quilt just to follow the directions!!
Well, after much searching, I did find a fabric that I liked better and luckily had enough of to work with. Here you can see that I have decided to replace the inner border fabric as well. This was the second set of strips I had cut up and it still didn't work for me!
I finally went back to the fabrics I had picked out for the quilt and found some leftovers from the secondary blocks and like the three bears, this one seemed just right! It was a scrap from a backing fabric, so it had the added benefit of being extra long so I didn't have to piece the border. I think overall the biggest problem I had with the borders was that I very very rarely would include a fabric in the border that didn't occur somewhere else in the quilt.
Well, off to sew this altogether and decide if I want to add another deep purple border to the outside. I will definitely be doing some quilting with dark purple thread in those white squares on the outside -- probably some kind of flower. Stay tuned!!
Well, the first one is done and by the time this post is published, there were probably several more!! The blocks in this one are only 9 1/2 inches instead of the 10 they were supposed to be so I had to make a bunch more of the random type to go with the 5 blocks I had done in the proper size of 10 inches.

Thought I would add this picture as a clue as to how to do these blocks. This is the pile of pieces with the longest stripe to the left. Right sides together you line it up with the top of the square and sew down only about 1 1/2 inches for that first piece. Then turn clockwise and attach the second piece in exactly the same way except sew to the end of the piece. It won't match -- the end will just reach over into the final strip by about 1/4 inch or so. Continue to do for the next two pieces. It will then be very obvious how you finish it up -- trust me!! Just finish up that last seam and press everything nice and flat. I luckily have a 10 1/2 inch ruler so I just position that and trim off the excess on all four sides. Sometimes the edges don't quite meet that 10 1/2 mark but usually only a smidge off and then you just fudge that seam when sewing on the sashing a little bit!

I added my 8 new blocks to the ones I had already done in the 10 1/2 inch size. This isn't the final arrangement as I always discover something I want to change after viewing the pictures!!
I should mention that that sewing the four strip sets with the 2 inch strips together, cutting the rectangles and sewing the blocks as well as cutting all the sashing and cornerstones took less than 2 hours. I had all the 2 inch strips already cut but had not made any decisions about which ones I would use so part of the time was pulling out strips and making sure they were 44 inches wide or that I had 2 22 inch ones the same.
The sashing is all cut and is light like it looks like in this audition photo of the cornerstones which are leftover blue from the previous quilt.
Not sure what I will do next with the strips. I get bored easily but these are soooo easy to make. I am anxious to try out black and white with a touch of color and also one with autumn colors. The two I have done are literally almost completely unplanned although in the later blocks I tried to put darks on the outsides of the strip sets. If you look closely, you can see the four I did before as they have different stripes around the center.
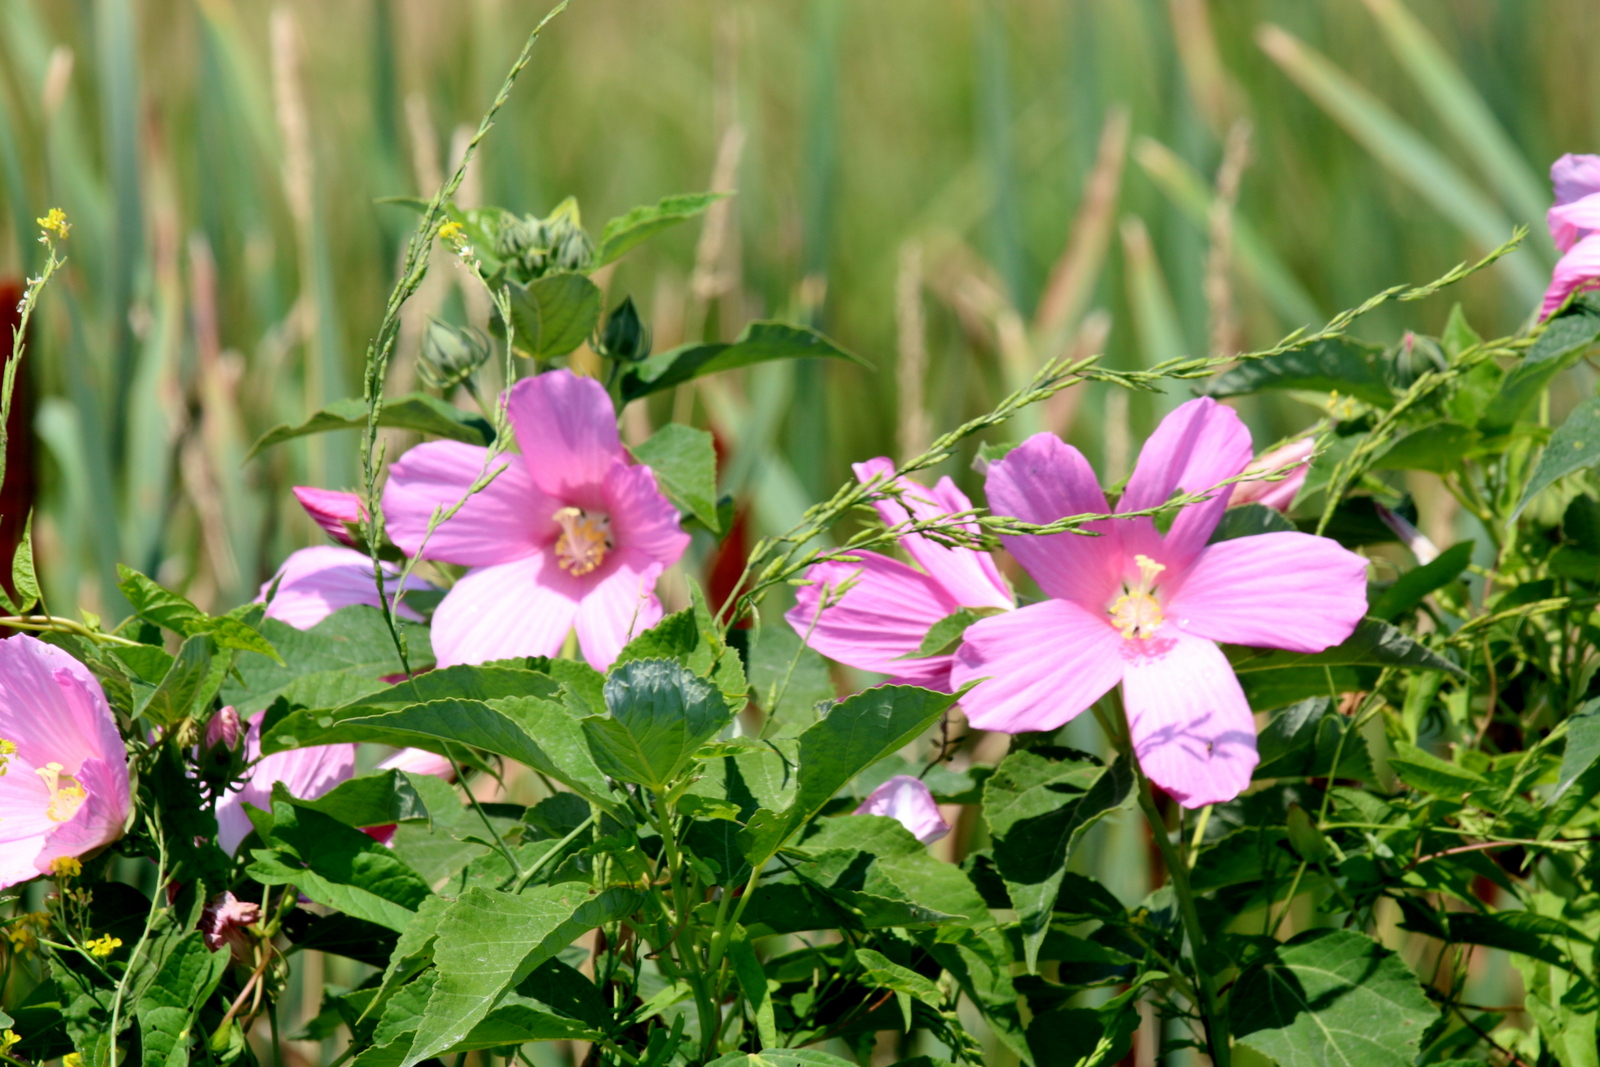
It was about the driest I have ever seen at the Wildlife Refuge this visit. The ducks were almost totally absent as there was literally very little water in which to swim. I did see some mallards with ducklings but that was about it. The Mallows were all beautifully in bloom along the marsh shores.
There was one swampy area where there was quite a bit of variety of those shallow digging wading birds. There were several Great Egrets here.
I also spotted a few Great Blue Herons along the way. All the birds were at quite a distance.
There were several Greater Yellowlegs foraging. I have seen them here before.
There were also several Kildeer looking for food in this shallow pond.
A real surprise was the appearance here of several Snipe. I had originally misidentified them as Dowitchers which I have seen here before. Snipes are a little less common although I have occasionally spotted them in NC in the winter. Again, there were several of these.
Two of the Snipe feeding. They have much more pronounced striping than the Dowitchers. Also the Dowitchers this time of year have more color on their breasts.
Granddaughter Amelia with her Aunt Lisa!
A couple of Oystercatchers feeding down at Ft. Fisher I do love these graphic birds!!
A very frequent visitor and noisy Blue Jay at Lisa's house.
There are always these very bright Cardinals in Lisa's back yard.
I believe this is a female Eastern Pondhawk dragonfly. I do love dragonflies and just wish they flew a little faster as they are great temptations for the cats. This was sitting on my daughter's back porch.
For anyone who is on Facebook's Scrap Quilter Enthusiasts, this will be very very familiar!! I showed some original blocks I made a couple of posts ago. I intended to just add to that bunch with some more random blocks These are slightly different as I still cut four rectangles from a 6 1/2 wide strip but combined them differently so that they spun the same color around the middle. There are basically 6 strips represented here, 2 blocks from each strip but they look entirely different and its fun to try to match the ones from the same strip. I still have the orginal five blocks I made as I mistakenly cut these blocks down to 1/2 inch smaller so will now have to made 7 more blocks to go with those first five. This arrangement above was testing out sashing. I had originally planned on the off white sashing but saw someone had done the darker sashing effectively. This would have been the perfect color if I hadn't cut all the strips the wrong size -- again too small!!

Well, I just grabbed the first pieces randomly from my 2 1/2 inch strip bag and started sewing (without auditioning). I was not particularly happy when I put it up on my wall... It's okay but a little flashy. Next to find fabric for the borders as of course, I didn't have enough of the sashing fabric!!
This was my first guess as it is a sister fabric to the sashing but I felt it was too light.
I finally decided
on this darker blue and decided on no white keystones in the corners It is okay and all finished now so onward to the next one!
A nice person on the Scrap Enthusiast list posted this suggestion for cutting the rectangles. I had another teacher some time ago who used this template technique with rulers so I immediately did it myself! I used template plastic and double stick tape on the back of my 6 inch by 12 inch ruler where it will stay permanently! This teacher also had use put double stick tape on the back o rulers to make sure they didn't shift while we were cutting -- works great although you do have to periodically add tape. (By the way, I didn't do the "hole" thing as in the original Mooney pattern directions -- just measure approximately 1 1/2 inch from each side of the rectangle and made sure I was on the 45 degree line.)
l will definitely being making more of these blocks but a little more controlled after I finish the next one I am thinking black and white with some color for one and autumn colors for another.
I have completed cutting strips from all my rainbow colored fabrics and now am working on brown. Then onward to black and white and then I will call it quits for "stripping". I had far more brown than I ever imagined!! I did weed some out and put them in the yellow, orange and red bags as they tended more in that direction.