Showing posts with label Procion MX dyes. Show all posts

Tuesday, December 15, 2020

A Day of Dyeing at Dianne's!

Before I came to the beach this year, I gathered most of my pfd fabric so I could get some dyeing done down here.  I couldn't do any this summer because of the surgery.


This is my second day of dyeing and I was experimenting with this new blue -- ProChem's Blue 420 which is a new color and which I am not sure still whether it is a pure dye or not.  It is not noted as such on their website.  I did three gradations using this color in combination with other colors to see if I could recreate some other colors.  I had a day of mixed successes.


This gradation is a gradation of this blue (starting with 6%) with a 3% concentration of yellow added to half and 1 1/2% concentration added to the other half.  It is actually greener than this picture portrays. 

This is the same blue but with a 2% solution of ProChem's Mixing Red added to each step.
I thought I would try adding some Black to Grape to see if I could get a more intense purple.  It was not very successful.  I only used a 6% solution of the Grape and a 2% solution of the black and then gradated them together.  I think the black was just too light and tended toward blue.


This was an error!  I mixed the Mixing Red and the Blue 420 together and then did a gradation of that.  I had meant to add the Mixing red to each gradation and did that in the gradation further up in this blog.  This was Mixing Red (2%) and Blue 420 (6%) added together.


Here they are altogether.  I think my next foray into dyeing will be to do gradations of a lot of the miscellaneous mixed dyes I have.  There are quite a few I don't have documented in my book and I hate guessing with dyeing!
 

Monday, April 27, 2015

A Dyeing Day with Dianne and My Sister

My sister decided she wanted to learn how to dye while she was visiting with a friend from Florida so dye we did!!  I did my usual first step for new dyers which is a gradation.  She chose this blue (with my help as I knew she would love this blue) which is Pro Chem's Basic Blue.  I haven't had time or inclination to iron any of the fabric we did but it was a full day!!

I also did the gradation of the Basic Blue as it is my favorite of the blues.  While my sister did a gradation of Golden Yellow (the only yellow that really shows some variation in a gradation), I did a gradation of Pro Chem's Dark Green to which I added about a 2% solution of Sun Yellow to each shade.  It made for a nice gradation!

The ladies were game to do some sequenced overdyeing.  This time instead of the five pots in each of two steps, we used three.  The first three colors were sun yellow, golden yellow and mixing red.  These were then overdyed with intense blue, basic blue and turquoise.

We took the leftover dyes and just played by soaking in soda ash and then packing pretty tightly in a tray and poured dyes over them.  The ladies were very happy with their results!!

Sunday, September 28, 2014

My Fabric Dyeing Class!

I had been asked to have a dyeing workshop for the Quilters By the Sea group I haven't taught this class in a number of  years but did manage to find the old directions on a cd.  I decided to do my old standard gradation with fat quarters and then just have a play day for the ten members who signed up (we had to cut off there as we were doing this at Miranda's house).  Pat Mattison helped me with the ladies as well as the take down and clean up.  Miranda did a Herculean effort getting everything set up and flawless although she didn't get to do any dyeing.  She did take lots of pictures and I have included a couple of these.  Not only did I forget my sd card in the camera (Miranda lent me one) but I just didn't remember to take pictures as we went along -- too busy I guess trying to remember everything I wanted to tell them!!

All the ladies are gathered around their tables.  This technique using plastic bags and a dishpan to hold them takes up very little room.  We had a bucket of clean water at each table and later a bucket of soda ash solution at each table.

The ladies were each taking a quarter cup of the different dye solutions (5% solutions) to dye their 8 step gradation.  This meant the strongest was about 6% and halved at each step.  Loose instructions for this are on one of my other blog posts.


You can see the fabrics "curing" in their baggies during our play time.  We had lots of dye to play with and I had brought extra pfd fabric as well.

Doing the preliminary rinses to get out the soda ash before washing in the washing machine at home.

This looked like a colorful bucket!!


This was Betty V's gradation of a greyish green.  It should have been more green but I think because of the chillly temps, the tangerine didn't take as well as it should have.

You can see here Karen's finished pieces.  The ones on the right are a gradation of Intense Blue.  I had a lot of white on white snowflake fabric which I shared with the class and I love how Karen's pieces turned out (pictures taken from a note she sent me)!


Betty got some nice solids (she had wanted solids).  It shows that you can get some really nice solids using low water immersion dyeing if you squish and message the baggies enough! I took these pictures from Betty's Facebook posting!

Some just sprinkled the liquid dyes on folded pieces of fabric (note the snowflakes).

Scrunched with yellow and blue dyes.  This is the back side of one of the snowflake fabrics.


This is the back side of a snowflake fabric.

This is the front side of the above piece!

Another back side of one of the snowflake fabrics.  Got some nice deep colors with this one!!

There was a lot of dye left so I took the opportunity to throw in a couple of tshirts which I will post later when they finish drying.  Don't think they are my best efforts but they are okay!

All in all, it was a fun day and Miranda's location is gorgeous and the weather behaved for the day as well.  Her garage was a perfect setting with plenty of room!


Tuesday, July 15, 2014

Almost Out of T-shirts!

Well, as almost all the new t-shirts have been dyed, I have gone back into my closet to search out shirts that I was tired of or didn't wear very often.  All the shirts but one fit into this category in this blog.  First I used a 50% solution of Chlorox to bleach out the t-shirts.  After bleaching, I washed them and then did an additional soaking with Anti-Chlor (sodium bisulfite) I believe
which takes out the bleach which remains in the shirts and will eventually break down the fibers.  It bleached out to a beige and yellow and then I overdyed with black and brown.

This next tshirt was either the before for this t-shirt or the next one.  I had liked it but was tired of it.


This was a the t-shirt after the bleaching.  I kind of liked it so left it like that.  It is even paler in person than in the photo and very soothing looking.    I suspect I will get bored with it and overdye it at some future date. You can see how the  yellow doesn't discharge though.


This was also a t-shirt that  I left alone after bleaching it.  The before version is below and it was  okay.  This very pink version goes perfectly with a sweater I have so it will probably stay this way for awhile.  You can see that there was a lot of fuchsia in the original as it does not discharge.


This  was okay but I didn't wear it at all.  I liked the upper part okay but didn't like the bottom as it didn't seem to go together.  Will probably get sick of the pink version as well!!


 This was one that I overdyed with Boysenberry and a little Grape.  It is okay.  

This was just various shades of probably either mixing blue or navy.  I didn't bleach it but just overdyed with sun yellow.  These long sleeved t-shirts all shrunk up and became bigger around so will have to take them in a bit.  I am okay with this one.

Probably my favorite of the bunch as you can see definitely patterning.  This was also a bleached and overdyed with brown and black tshirt.  It and the other brown and black one had some fuchsia splotches that needed to be covered which is why I chose the darker dyes.  

An interesting fact though is that these shirts dyed to as dark a shade as those that had never been bleached.  I remember reading that bleaching the colors out really didn't release the dye sites on the cotton but there must be one heck of a lot of dye sites as there is NO discernible difference between those I dyed from white to those I dyed after bleaching out all the color first!

This was one last t-shirt dyed from white.  I wanted to see how dark I could get the Basic Blue (ProChem color name) to dye.  It is the only one of the pure blues that is biased to a red rather than yellow.  It is one of my favorite dye colors.  I have never been able to get it this dark using traditional low water immersion methods.

Wednesday, July 9, 2014

I'll Be Wearing Nothing but T-shirts for sure now!


 Well, another day of experimenting was in order as it was hot and humid out so back to the basement and trying to improve upon a couple of the long sleeved t-shirts I had dyed last  year but wasn't happy about.  The one on the left is the "before" and the one on the right, the "after".  I had folded it into the usual fourths and then dumped "New Black" and "Basic Brown" powdered dyes on the ice.  I certainly like it better than before and perhaps will wear it a little more (although I do have to take it in as it is just too wide.

This was another t-shirt that I just wasn't crazy about -- just too boring.


 I like this version much much better.  I again added mostly black but a little brown as well and had refolded it kind of where the old folds were.  I don't know whether anyone else likes these patterns but I am intrigued by getting the repeating patterns instead of just random color.

This is another before and after.  The before was okay but I seem to go for higher charged color!  I folded this and another t-shirt which was almost identical into quarters but laid them flat instead of scrunching and sprinkled "Sun Yellow" and then "Intense Blue" on top of the ice.  I had a spice container that I had filled with the yellow and it did a nice job of sprinkling lighter than I have been doing with just spoons.

 This was just another of the white t-shirts sprinkled with the black and basic brown from above as I had liked that combination last year when dyeing.

A second formerly white t-shirt sprinkled with the brown and black dyes.

This was another of the lavender and blue shirts overdyed with the yellow and intense blue.  Not sure whether I don't want to just overdye again with just yellow.  I have a few more tshirts that are too dark and will do some bleaching before attempting to overdye with some ice resist dyeing.

Besides all the dyeing, I did finally manage to get the outside borders on the retirement quilt for a friend that I have been working on.It was a problem finding a dark blue that went with the dark blue used in the inside borders but managed to find a large piece in my stash from a long time ago.  It is even enough for a backing as well which was great.  Now to just get it basted and quilted.  It is now about 60 inches square so will be a bit of a challenge.

Sunday, July 6, 2014

Ice Dyeing Addiction....

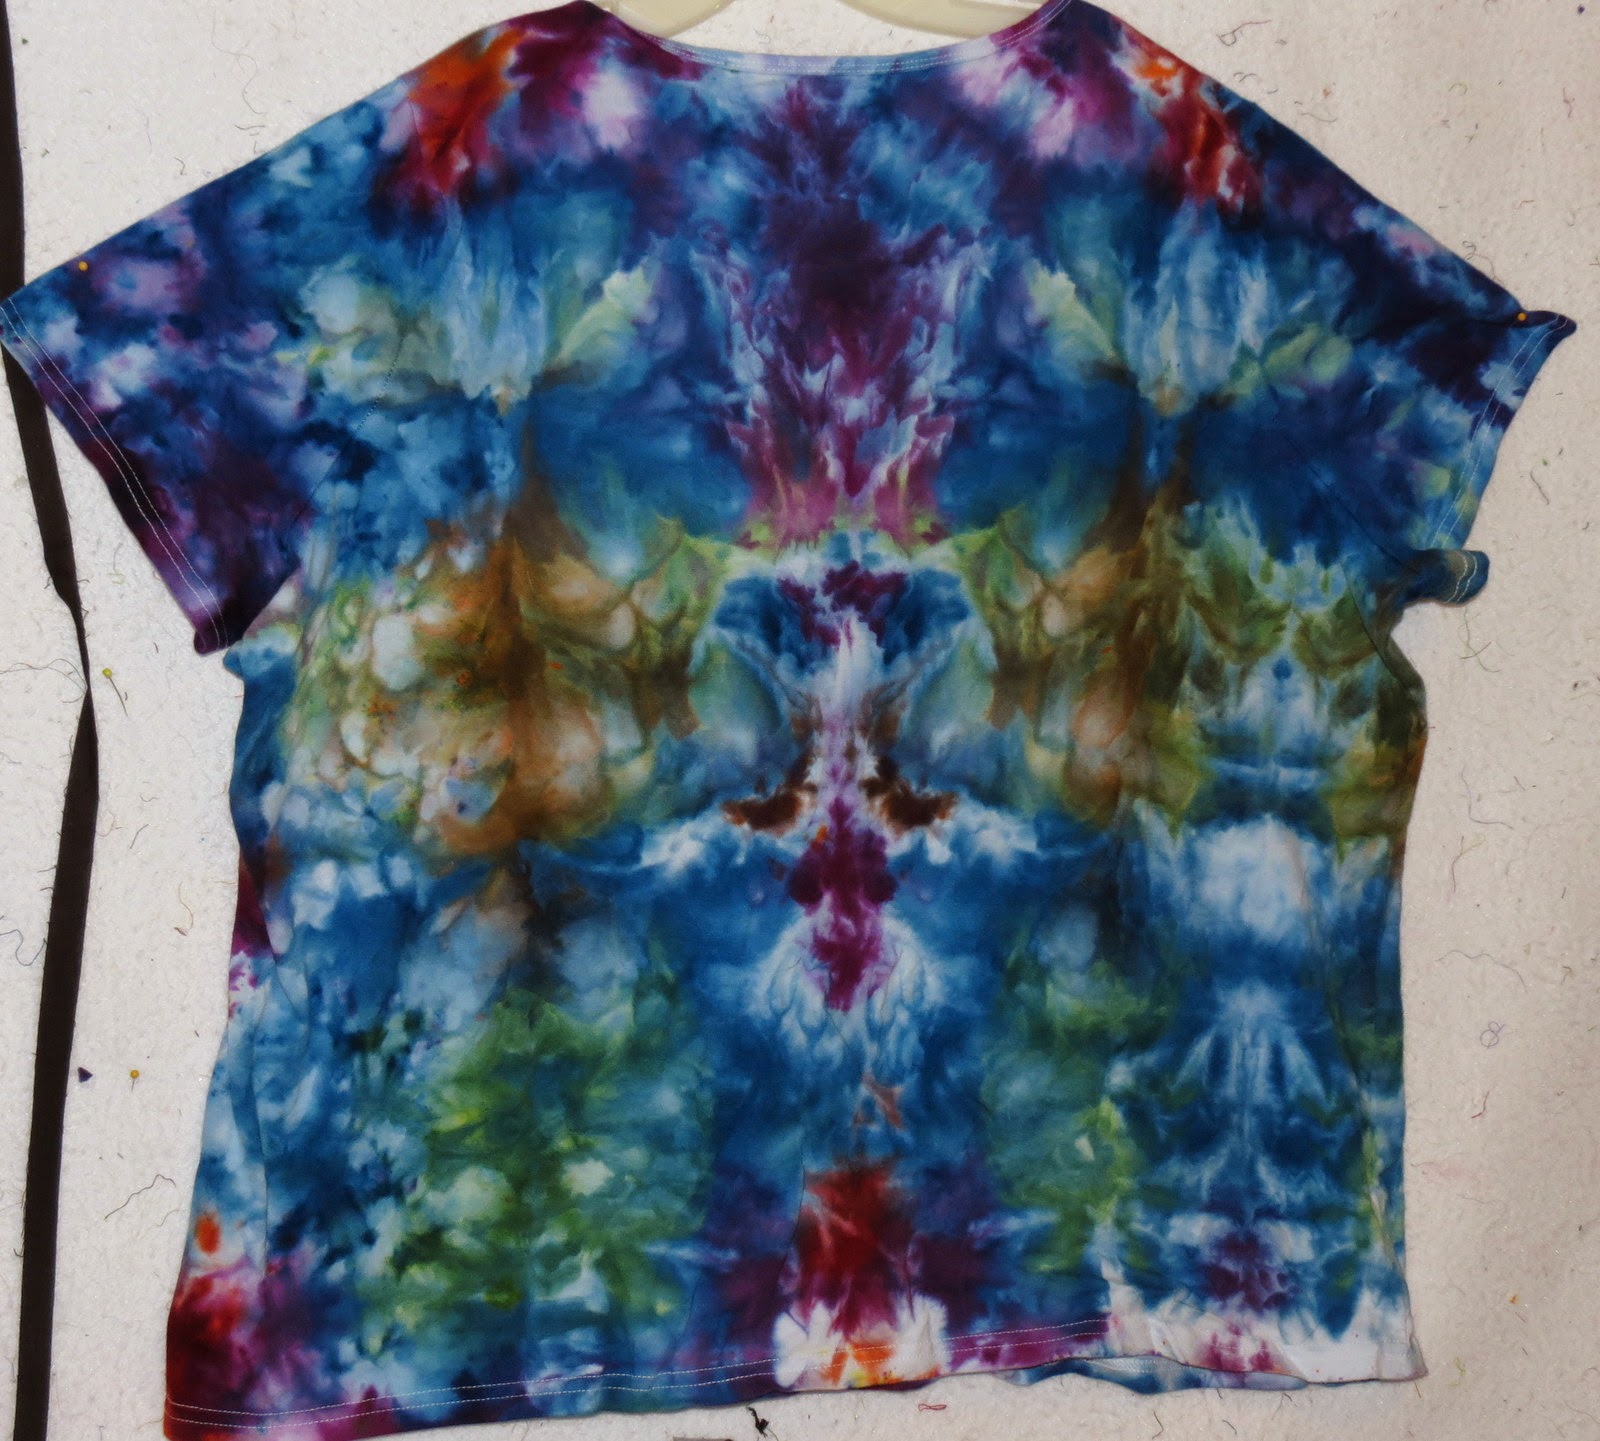
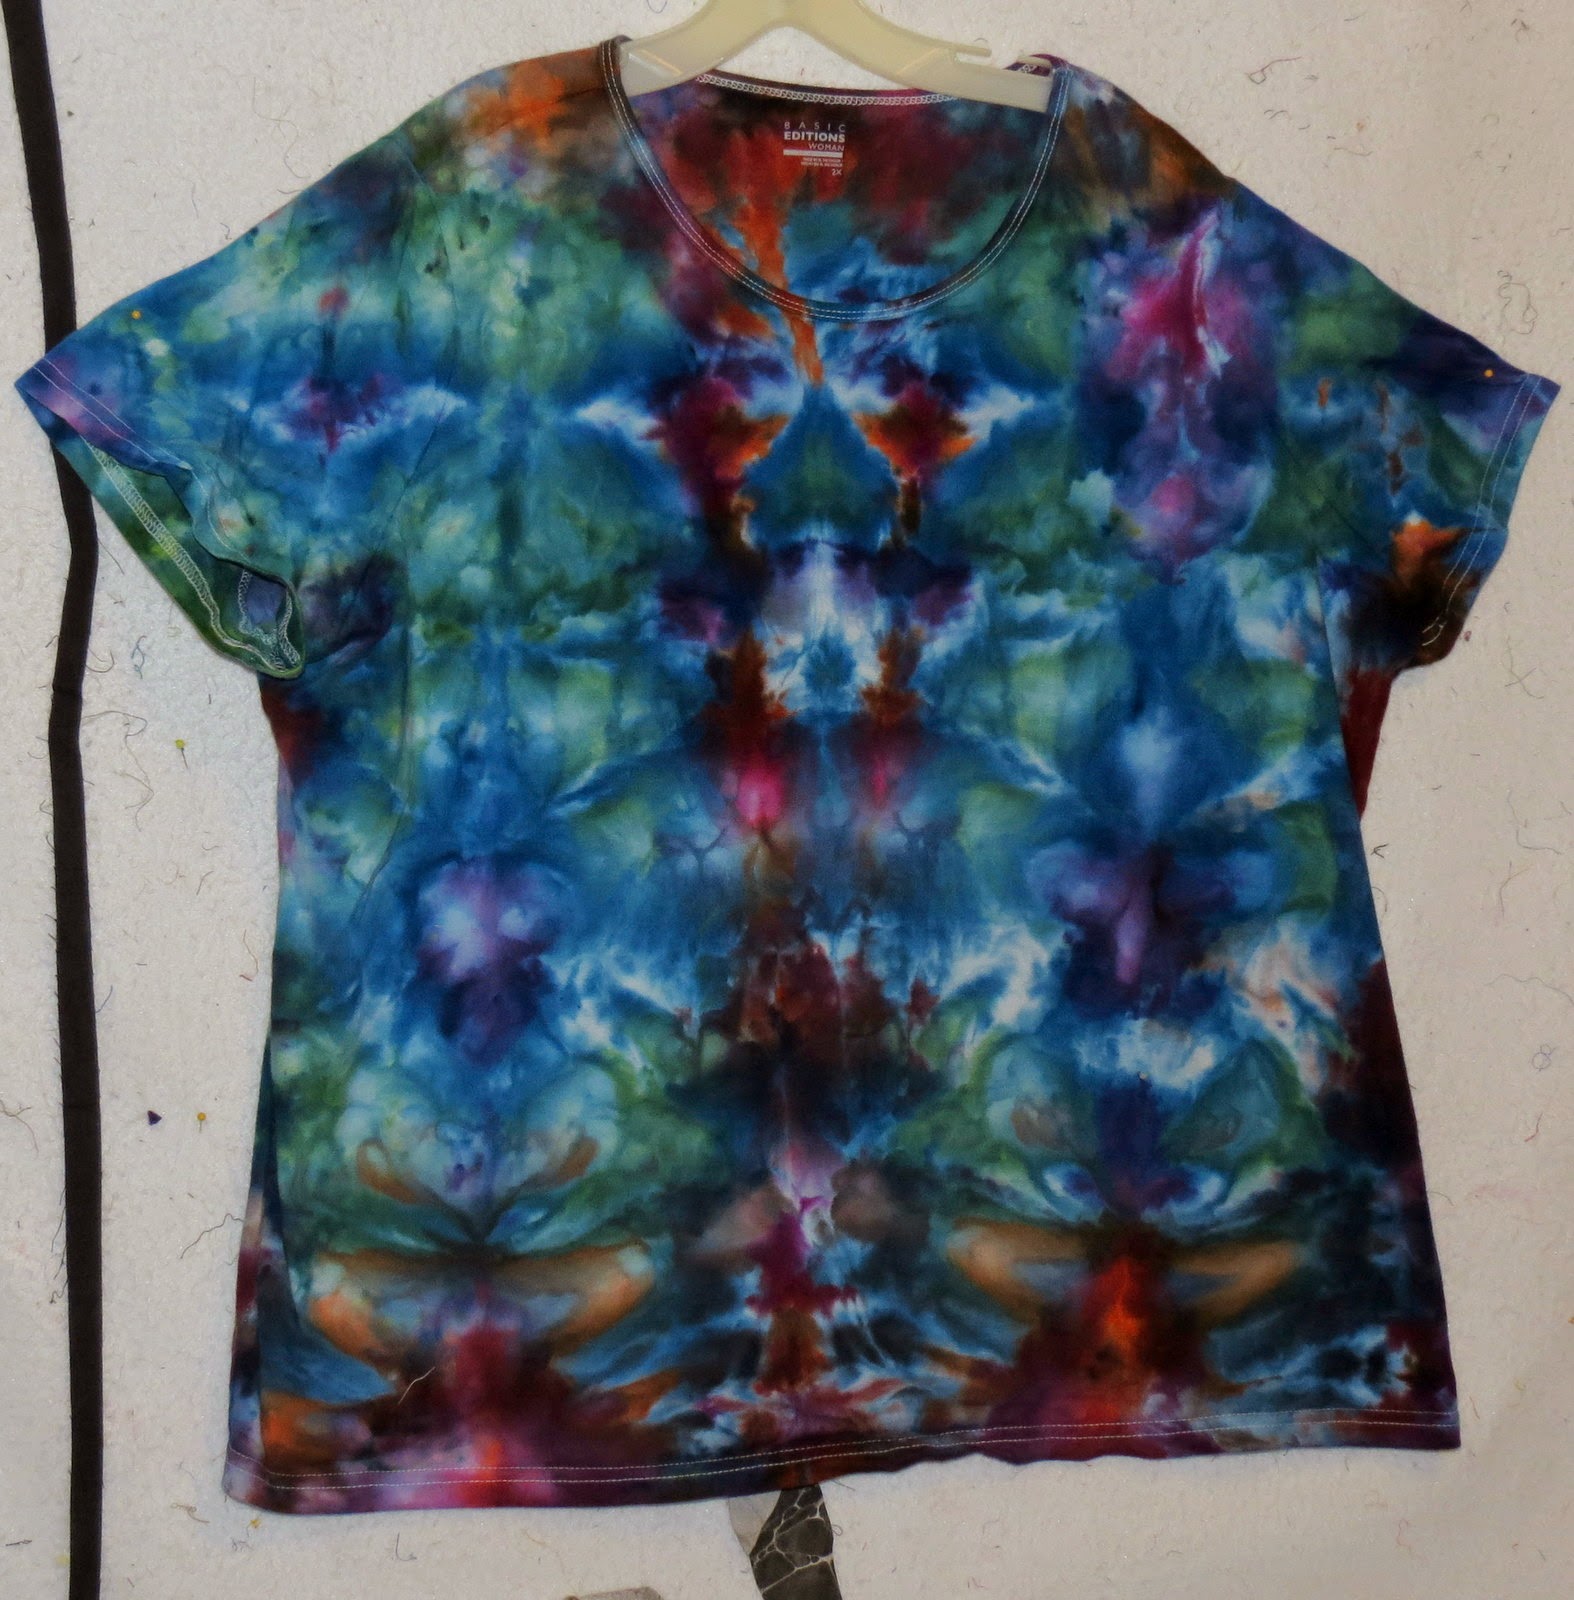
Well, can't stay away from the bags of ice, even though I am disappointed at the quality of the ice.  Last year the bags from this grocery store were the best but this year, they appear to be from the same distributor as my ultra-cheap bags from BJs which are 1/3 the price.  This was probably my favorite from the bunch I did today.  I had decided to mix up some green and then surround it by blue and then purple and then throw in some strong orange at the end next to the purple.  Things never end as you predict using this technique except for the repeating because of the folding.  This was folded in quarters and I do like getting the repeating pattern.  It seems easier on the eyes to me than an all over lack of pattern.  It might be a bit busy for some though!  This is the back of the t-shirt and the front looks basically the same!

This was my second favorite and uses the same colors as the above one.  The green was made with lemon yellow and intense blue but even though this was the main color added, I have very little occurrence of it on the finished t-shirt.  I suspect the yellow decided not to play with the others!  This was also folded in quarters.

This was not folded but just scrunched.  You can see a little green here and then more purple than I would have predicted.  The intense blue and grape were very fresh dyes.  I am truly amazed at how well these very inexpensive tshirts from KMart dye -- the colors are very rich and dark.  I think, though, that using the full strength powdered dyes on the ice (or snow) is about the only way to get this depth of color.  I have never gotten grape to be this dark despite using 10% strength in my LWI dyeing.

Another scrunched one.  I think I forgot which way the t-shirts were faced when all scrunched up and so ended up with top and bottom color change instead of up and down stripes!  Same with the above which were probably the two I had placed together...

This is the last of the t--shirts from yesterday and again you can see the folding in quarters.  I can fold quilting fabric in twelths and get the repeat but a little tougher with the tshirts.  Folding in quarters results in eight layers as well and that is about the most I can get the pattern to repeat through.

Monday, September 2, 2013

A Little Bit About My Ice Dyeing Process

My ice dyeing process is really, really simple.  When I first heard about ice dyeing, I wasn't tempted and never read any articles or blogs about it.  I just built on the process I was  using with snow dyeing of which I had done a lot in the past.  Since I am not here in the north for much of the snow season anymore, I decided to try my own version of ice dyeing.

There are several components but all very easy.  

1. Set up your workspace -- this involves finding some cookie racks or anything else that water can pass through easily and is big enough to accommodate your fabric.  I found some that were about 11 x 18 inches at Target.  I then had to find plastic boxes of similar dimensions to rest the racks on top of.  By the time I ended, I had four of these racks set up -- one larger than the other three (18x24 maybe).  Buy some ice.  I prefer to buy the largest bag I can with the smallest cubes and don't use cubes from my fridge except in desperation when I run out and just need a little more.  Gather some of your MX dyes.  I used my very oldest dyes that had been hanging around for up to 15  years in some cases.  In my case these oldest dyes were mixed dyes (not pure colors which is what I work with almost exclusively these days).  Try to have at least one black and one dark brown.  I also lay wet newspapers around the tubs to catch errant dye particles.

2.  Prepare your fabric - Cut  your fabric into desired lengths after prewashing (I only do this with fabrics that are pfd but aren't marked as such like my sateens and Egyptian cottons).  For me, pre-washing insures that they will sop up the soda ash liquid really quickly.  I then fold them into the sizes I want if I am going to do a repeat.  If I don't want a repeat, I just toss into the soda ash solution (1/2 cup of soda ash to one gallon of water).  I generally make up a three gallon bucket of soda ash solution.  For the repeat fabric, I carefully lay them in the soda ash solution all folded.  I let them sit there for at least 10 minutes making sure the solution goes through all layers.  I then just wring out by hand -- I don't try to squeeze out every drop -- I want them wet. 

3. Scrunch your fabric -- wet fabric is very easy to manipulate and I just squish or scrunch it up with my hands on the rack.  I generally get two yards per rack and more on the larger rack.  I try to keep the scrunching very even and both ways -- horizontal and vertical as it makes the patterns more interesting.  I do this when doing low water immersion as well.  I want to give the dyes an equal opportunity to hit all the fabric fairly evenly.  

4.  Applying the ice (or snow) - I apply the ice only the thickness of one cube or in the case of snow about 1 1/2 inches all over very evenly.  I have found that the really frozen cubes from my freezer actually adhere to the fabric.  Those that don't, I move around as they are not touching fabric.  I try to cover the whole fabric and will put the larger cubes around the outside to kind of hold in the rest.  I do this for each container at the time I am going to apply the dye, not all at once like all the other processes.  I don't want the ice melting before I apply the dyes as all that will do is wash the soda ash out of the fabric.

5.  Applying the dyes - At this point I put on a mask as I will be working with dye powders instead of my usual liquids.  I think it is important (at least for the repeating patterns) to have a good variety of light and dark value hues (colors).  I found from experience for me it is essential to use a good dark color somewhere in the piece or the pattern won't stand out.  The ice dyeing itself will provide for some lights.  I also like to include both warm and cool colors in a piece if at all possible (I like contrast A LOT).  With my ice dyeing, they don't mix much so there is little "mud".  I then take a tablespoon or ideally a shaker and place the dyes all over the ice cubes making sure to cover it all.  This is a colossal waste of dyes but so what!!  I have had them far too long anyway!!  There is probably at least a tablespoon or two per yard of fabric.  I do like to "outline" in my repeat pieces by putting a dark color all around the outside of the piece.  I try not to put complementary colors right next to each other as well but put blending colors between them.

6.  Batching and washout - I then just leave it alone but will go look at it after about 4 hours.  By then most of the ice has melted and that which is left is clear.  At this point, I remove those clear ice cubes (all they will do at this point is wash out the dye and soda ash).  I then take a container and usually two yards at a time, keep it scrunched as it is and put it into the microwave (I have a very old one down in my dye area).  I use a styrofoam meat tray as a lid and set the microwave to 3-4 minutes/yard.  Mine doesn't even rotate, it is so old.  While that is "cooking", I fill  up a 3 gallon pail with cold water and another with warm water.  After the microwave has dinged, I make sure the fabric is nice and warm (blue dyes especially need a little warmth to bond with the fabric).  I then unfold and soak in the cold water.  I wring it out and then move it to warm water.  Once more I  rinse in another bucket with warm water and then the fabrics get put aside in an empty bucket.  As each bunch gets nuked and I finally have about 10-12 yards rinsed the three times, I take them upstairs and wash them   with a little Synthrapol in my washing machine using warm water for wash and rinse.  I take them out and make sure all the threads are unwound from the fabric and not bunching it (you know what I mean).  That gives me my first preview of what they might look like.  I then put them back in the washer and run through a hot wash cycle  with more Synthrapol-- turning it through so that it gets a full 30 minutes of hot water.  Then I dry.  If I am selling the fabric, I would put it through the hot cycle again and still warn people to wash it before using (they may have hotter water or different water than me).

That's it!!

I have found that yellow is the most difficult to work with as a powder and have on occasion actually made a very heavy liquid concentration but even that doesn't work well as yellows are one color that want a decent amount of water to dissolve fully.  Undissolved they just won't bond with the fabric.  Reds tend to "speckle" the most -- i.e., if a tiny speck of  powder hits the fabric without liquid it will just sit there and bond immediately causing a freckle.  The fun part of the mixed dyes is you never know what colors are going to appear on the fabric!!  Sometimes you get the mixed colors and sometimes you get the separate colors and sometimes both!

Note:  I did get the stones attached to the lapidary quilt using my dear husband's epoxy which seemed to work well -- hopefully they will stay on long enough for the show!

Friday, August 16, 2013

Ice Dyeing Through 16 Layers -Shicebori Maybe?


 I pushed the envelope with this group with some more successful than others.  My challenge was to see how many layers of fabric the dye would flow through and give some semblance of the same pattern.  I did two different foldings of fabric to test this.  Fold 1 was folding one yard in quarters accordion style across the width of the fabric and then in quarters again across the lengths, again accordion style not just folds.  Fold 2 was folding in eighths across the width again accordion style and then just folding it in half across the length.  Both give you 16 layers.  I used pfd print cloth for all but one which was Egyptian cotton.  I figured the weave of the fabric (the Egyptian cotton is higher thread count) would affect it which it didn't seem to do. 

This was probably my favorite of the bunch.  I utilized Black 604, Intense Blue and a little Blue/Violet.  This was a Fold 1 variation.  I tried to put the black along the edges which doesn't show up as much on this one as some others.
This had a lot of black in it and is nicer looking in person  It looks to me like 8 is about the maximum thicknesses where you get the same patterns.  If I cut this at the half yard mark, I would have two different looking pieces.  Of course, they will make awesome fat quarters!!


Another black, blue and purple that seemed to photograph better.

This was my favorite as it looked like there were circles and a center point.  You can see most clearly here the folds that resulted in 16 thicknesses.  Again, I put the black around the edge.  I didn't scrunch these very much if any either.

Another one that didn't photo well -- a lot of black but quite nice in person.

This was one of the ones that was folded in eighths and then in half (Fold 2).  Again, looks like I could cut down the middle and  have two different patterns.

Another of the folds across but instead of folding in half, I just sxcrunched it up tighter.  I like parts of this one more than other parts.  I have found that I like to restrict my colors rather than using the whole rainbow on one piece which I did with a couple here.

This was a Fold 2 example.  I liked the top half but too many colors as I think I  used them all but tried not to put complementary colors next to each other.  I might not have used quite enough dye as well for these colors that didn't go through the 16 layers as effectively.  

If I decide to get some more ice next week, I may try some with just 8 layers to see how that goes.  This is terribly addictive!!  I may have to give this a new name as new ideas keep coming!!  So "shicebori" it is for now.....