


You would think after using over 100 of my 10 in square pieces of fabric, the bin would look just a little bit emptier but no...
There is no hope for the bins of 5 in squares as I have 100's and 100's of them!
You would think after using over 100 of my 10 in square pieces of fabric, the bin would look just a little bit emptier but no...
There is no hope for the bins of 5 in squares as I have 100's and 100's of them!


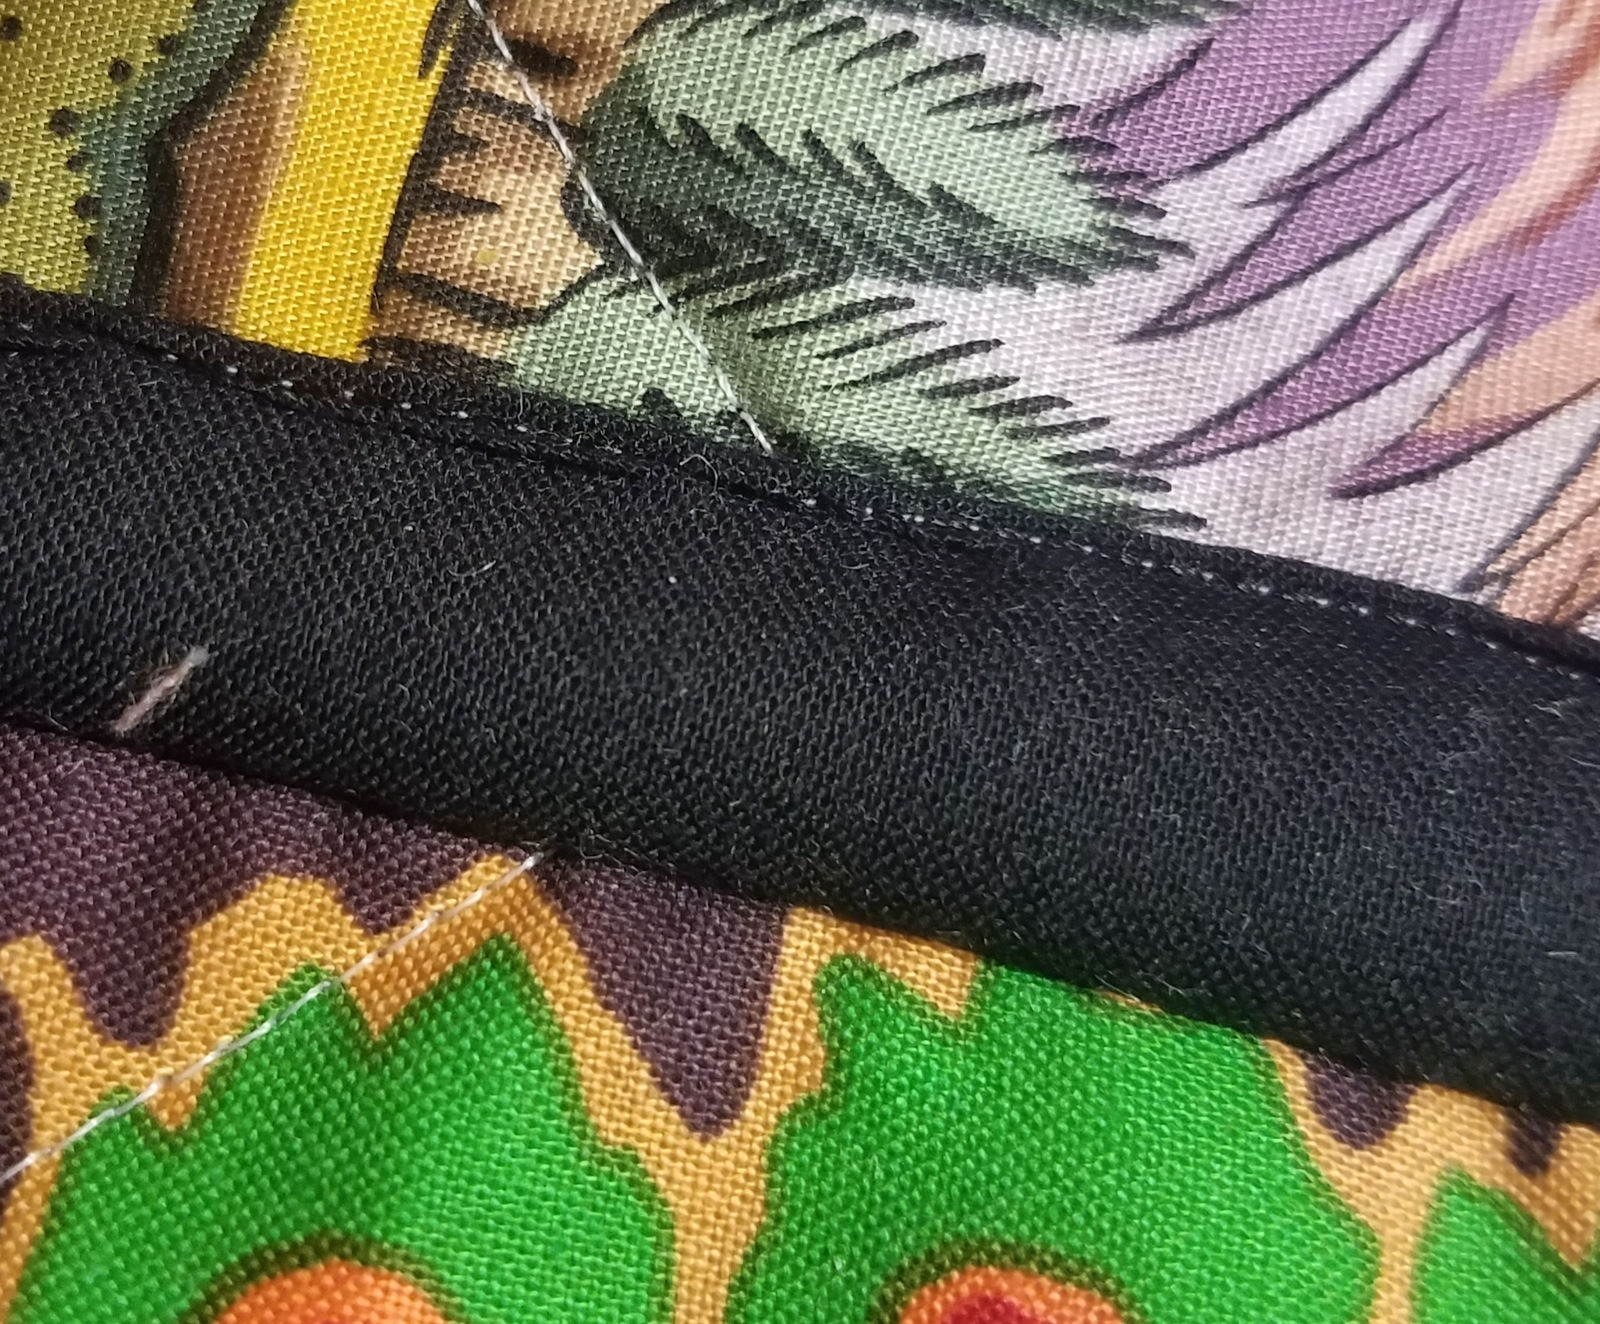

Once you have all the rows completed, do the same steps to sew the rows together. The only additional thing to be mindful of is that try your best to get the vertical sashing lined up, both front and back. I am sometimes more successful at that than others but again, it is a little annoying but probably not too bad!


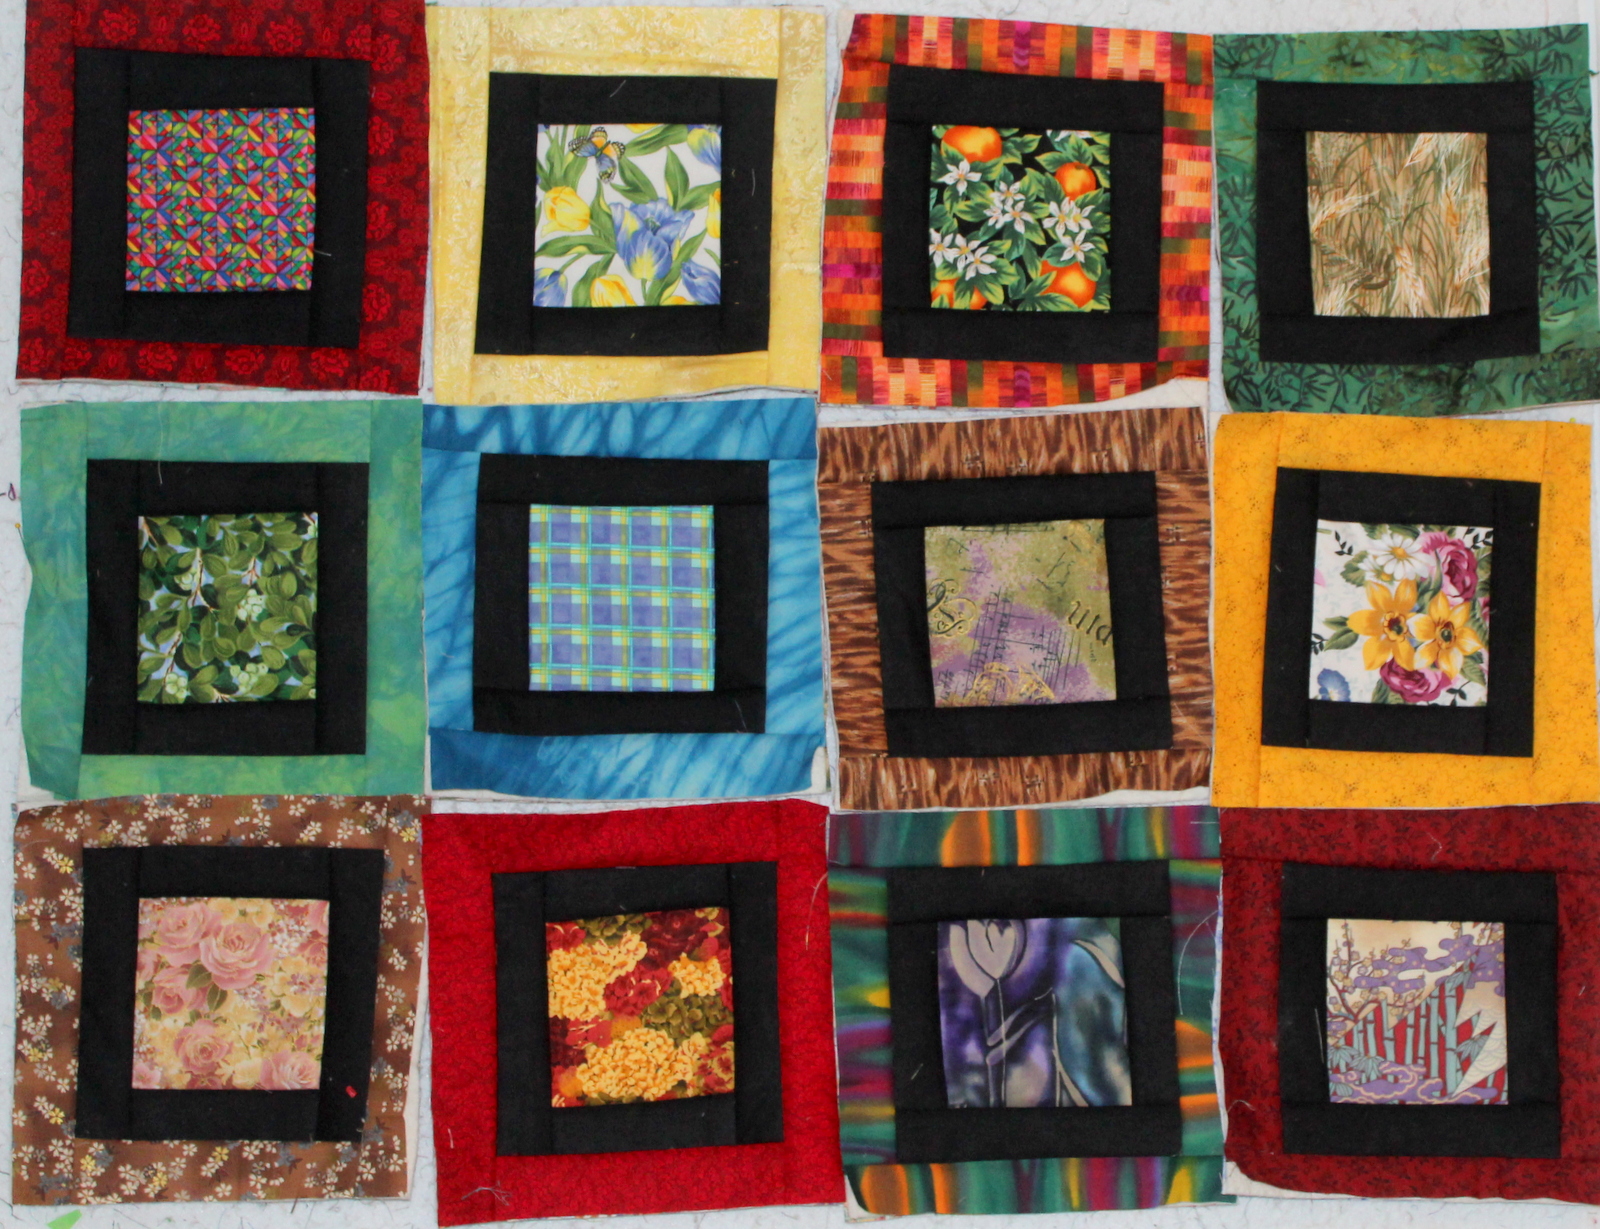
Here it is done and measures 40 x 60. I had originally intended as a baby quilt but it didn't feel babyish enough for me. Of course, it will be donated to one of the charity groups in which I participate.

I must say this second time went a lot more smoothly than the first and it is probably because I learned some things doing the first like making the back sashing strips 1 5/8 inches wide instead of the one inch wide in the front. I also stitched that second block to the first with the sashing side on top which seems obvious but don't think I realized it before. There were a few "gotchas" but went pretty smoothly. I think the whole quilt only took a week of my afternoon 2 hour sewing sessions.

I also have designed another block which will use my 5 inch squares and will be QAYG but that will have to wait until I get this second quilt done.
I spent a good deal of this afternoon piecing together batting to make 10 in squares. Where I don't have enough, I cut 7 in squares which I use to make pot holders! Only had a few of those.


Not pictured but I have huge piles of 10 in squares and 5 inch squares and I have been collecting patterns on Pinterest to make use of these!


