Sunday, March 24, 2019

A Dyeing Day


Well, I am trying something different this time!!  I am going to use high concentration liquid dyes this time instead of just spreading powder around.  It is the technique that Cindy Lohbeck uses although I certainly don't know all her tricks and how much to use to get the effect that she does on her beautiful, beautiful pieces!!  I have done all sorts of folds and am putting more pieces on their side like I do the t-shirts.  I also fan folded a lot of pieces although the largest was a fat half yard as I really have trouble getting the fan folds nice an even on anything larger.  We shall see.  I am also only going to use blues, reds and yellows so we shall see!  I did a little bit of tying as well but nothing really tight as I really don't care for the white spaces that tie dyers get!

I will be using 6 tbsps of dye per 2 cups of urea water -- pretty intense as Ann Johnston does 1 tbsp per cup for the darkest shades.  1 tbsp is equivalent to about 15 grams of dye.  The ice will of course dilute the effect a bit but I do want the color to go all the way through everything.  I will be putting my usual "drop" cloths underneath all these folded pieces.  

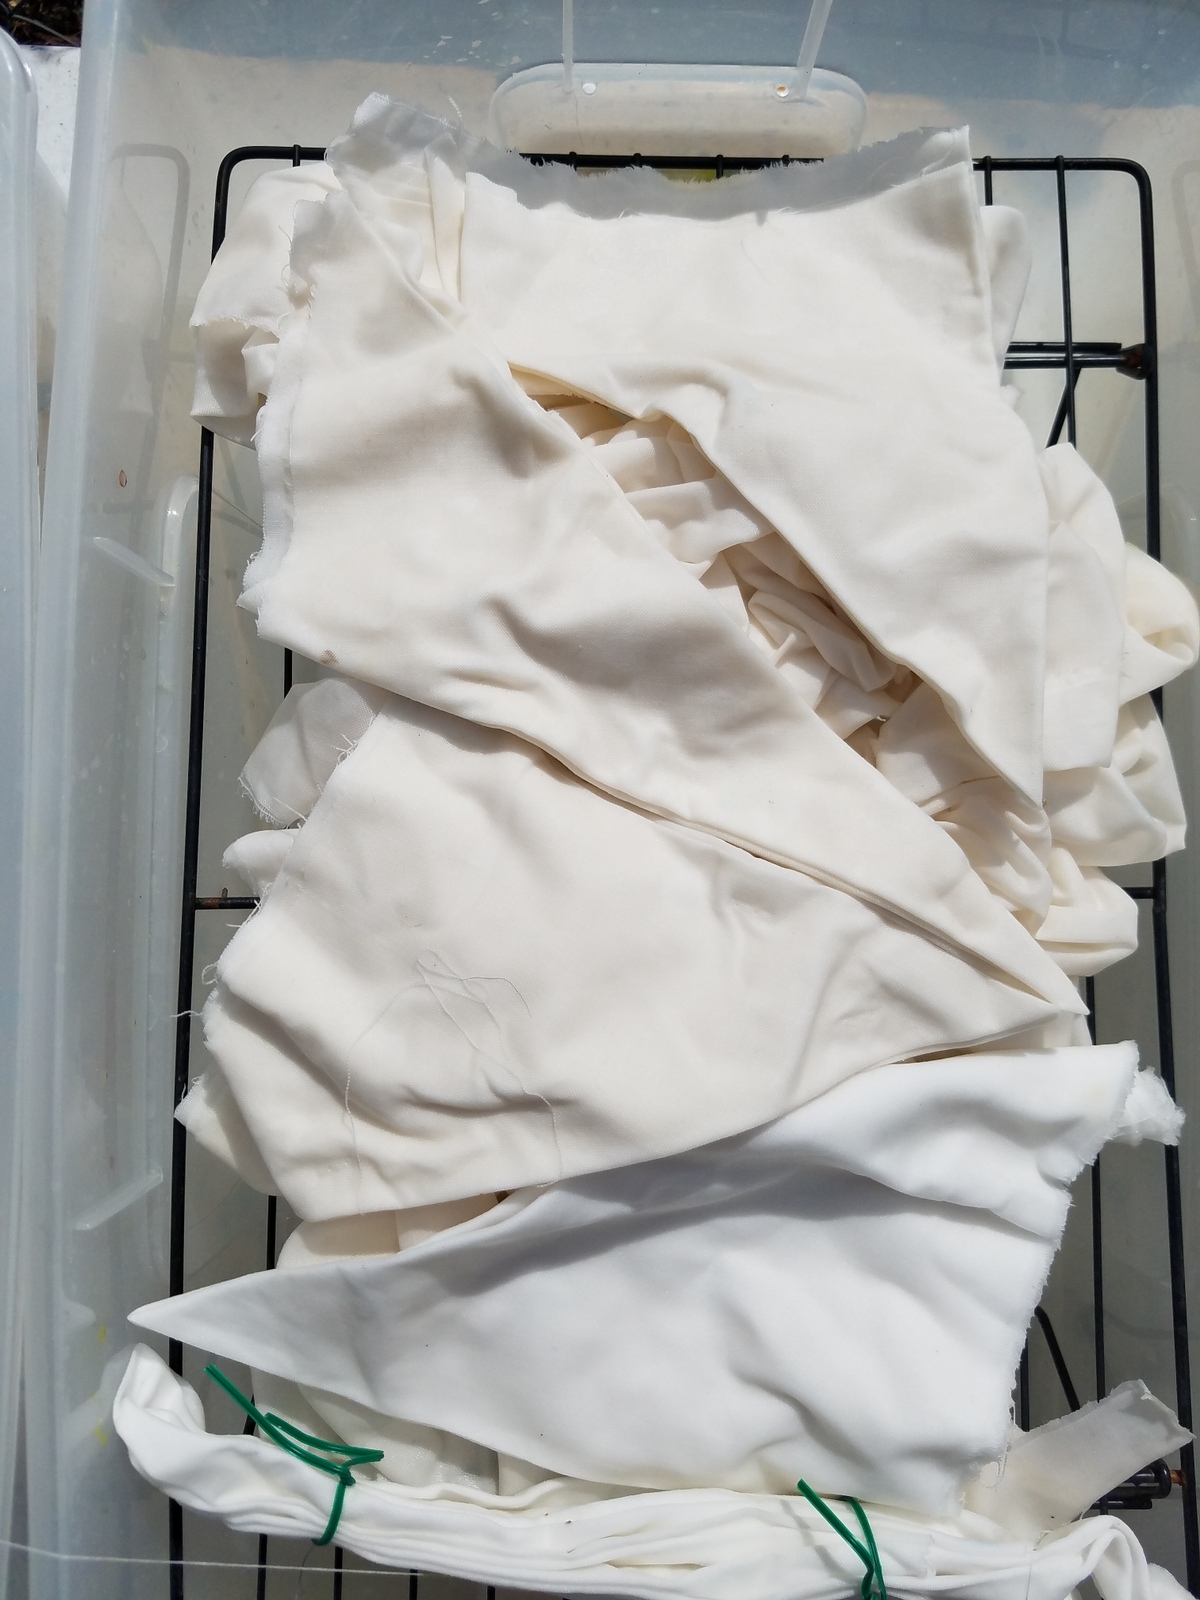
This was the first of the folds.  It was fat halves which were soaked in soda ash after being folded into 8ths.  The two small pieces on the side ended up in the middle as the ice kept falling off.  The long fat halves were scrunched up so they would fit.  There is a drop cloth on the grate underneath.  I didn't put one on top like I usually do as I figured liquid dyes would not have the spotting that you get with the dye powders.  Below is the same bunch after putting the liquid dye on and then about an hour later.  The temp outside was about 65 but the pieces ended up in the sun and the ice was melted by late afternoon.

This was the same one pretty soon after applying the liquid dyes.  I only worked with primaries today.  This was mixing red, intense blue and sun yellow applied in stripes across.

 This was after an hour.

These and the next two were the second bunch.  These were all either mandalas on edge with many edges exposed or fat quarters pleated.  I used strongest red, lemon yellow and intense blue I believe on this bunch.


This was group three which was mostly my traditional mandalas in different sizes with one odd one on the bottom.


This was the fourth bunch which had a very wide folded fabric and a bunch of smaller pieces squeezed on.


Tomorrow will be the unveiling!  I will post what they looked like sitting in their boxes without any ice (they are sitting in my driveway overnight) and hopefully I will get them washed soon after!  I don't have a microwave down here that I can use so I have to be patient and wait for them to batch long enough.  They spent a lot of time in the sun today so that should be good!


QBTS March Meeting

Our speaker for this meeting was Kelly Ashton and I shared many of her vintage quilts on the previous blog.  Here are examples shown by club members from her class on the Inner City Block.  I missed it as I double booked my Saturday.

An even larger example from one of our members!

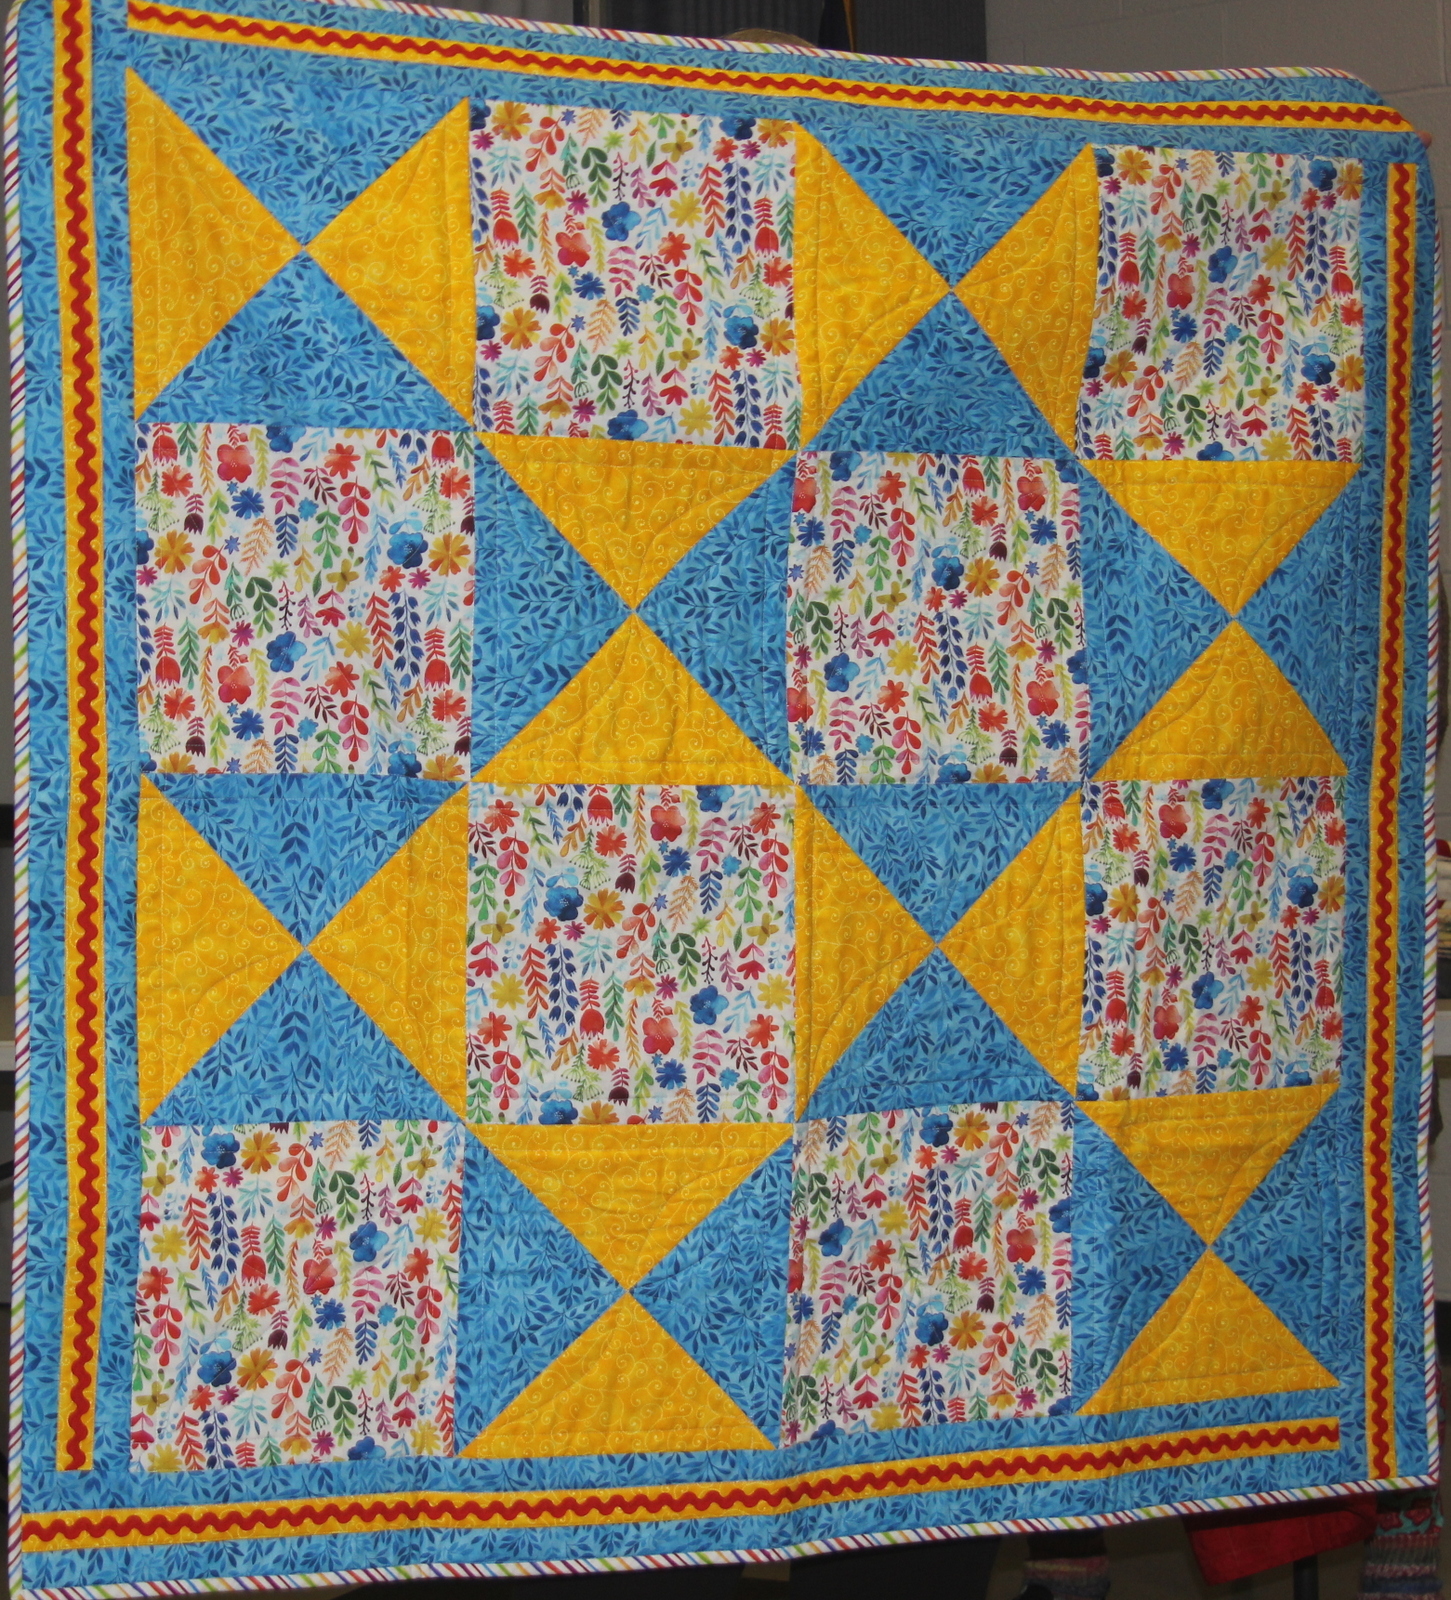
There was a huge number of Neo-natal quilts and tops turned in this week.  This is the pattern we used last Saturday and was quick to finish.  

 This and the next grouping are more of the Neo-natal quilts that were turned in.  I didn't get them all even!!


Dianne Brisson's Sweet Charity group showed a couple of the quilts that have been made by the group.  The first in the block will be the one we work on during the next meeting (4th Thursday, Coastal Sewing at 1:00.)

 There were even a couple of  quilts for Habitat for Humanity.


As usual, there were quitea few quilts for show and tell and as usual I either don't have names or have for forgotten who did them!! 

Barb finished her Mystery Quilt!


Wonderful setting on this sampler.


One of my favorites of the evening.  Loved the colors.

Spectacular quilt by Ann Millard.  Of course I love black and white with a little color!


This is just a fantastic blue and white quilt based on a Bonnie Hunter design.


Saturday, March 23, 2019

A QBTS Evening with Kelly Ashton

Our speaker on Monday night was Kelly Ashton.  She was incredibly entertaining and I would highly recommend her to any guild for a program.  She taught a class on the Inner City block which I missed as I had double booked myself!  

She shared an incredible number of vintage and antique quilts which all had the 60 degree angle in common.  She has a book out on all the variations and how to make them as well as a line of specialized rulers and individual patterns. This quilt here is one she created.

As my blog followers know, I am pretty obsessed with hexagons myself having created over 30 last summer.  I also am a huge fan of radial symmetry as can be seen from the dyed mandalas I have been doing the last couple of years! More to come this week!


The following are some of the vintage and antique quilts and tops she shared.  Some pics are better than others! 

I have quite a few of these vintage quilts at home as well.  She was very good at identifying the age of the quilts from the fabrics.  


This was a Tumbling Blocks quilts where the quilter didn't put them all going in the right direction!


Loved this one.


Another o my favorites!


I believe this is the family quilt which inspired her journey into hexagons - a beautifully made Grandmother's Flower Garden.

Saturday, March 16, 2019

My Interpretation of How to Do Pieced Interpretations and Appliqued Interpretations of a Photograph


I have freely borrowed from my class with Ruth McDowell although I have done my own interpretations.


 How to Do a Pieced Interpretation of a Picture

  1. Choose your photograph.
  2. Make sure you have at least an 8 ½ x 11 inch copy in color as you will want to refer to that when piecing.
  3. Convert to black and white to see how much contrast you have
  4. Posterize the photograph.  I use Picasa  but you could use Photoshop if  you have it.
  5. Trace over the whole photograph trying to get all the key areas of changes in value resulting in a detailed outline.
  6. Blow up the traced photograph to at least double size
  7. Start deconstructing the image by determining the strongest and longest line you can draw. Continue to place lines in developing some large sections and no y seams.  Continue until you can start to see the original image somewhat. First you break down into big areas and then you sub-divide those large areas into smaller areas.
  8. Take your now deconstructed image to Staples and get blown up to the size you want. They can only go to about 24 x 36 so you may need to break down your image if you want it bigger or use an online program to do this. I make two copies, one to use as a master copy and one to cut into sections as I work in sections.  Ruth McDowell auditions fabrics over the whole image which I don't do.  Mary at my art quilt group suggested putting the image in Excel which will tile it!  I had thought of it but didn't follow through.
  9. Tape together enough freezer paper to complete cover your new image. Trace the image onto the shiny side of the freezer paper.
  10. Turn the freezer paper over and mark the intersections of pieces with x's and put matching marks along the sides.
  11. Outline the large sections with colored pencils or pens and slowly number each piece with a section letter and a number. The numbers should more or less correspond to piecing order. Number and outline the sections on your master copy. Also you can begin to hint at colors you want at this point.
  12. Get into your stash and get as many fabrics as you can find that might work  in the piece.  You won't use them all but it's nice to have choices.  Ruth uses a lot of different interesting fabrics.  I tend to use a lot of my hand dyes and "create" fabrics by sewing a bunch of fabrics together and then using them like one fabric.
  13. Decide which fabrics go where – make a guide if you need to.
  14. Iron freezer paper onto the back side of colors you are using and roughly cut around leaving room. Trim to ¼ inch and then start assembling pieces.
  15. Pin each assembled section onto the master pattern on a design wall of some kind.  Make adjustments in colors or pieces at this point.  Leave the freezer paper in as you may want to take out pieces and change.
  16. Final assembly is sewing the big sections together.  
This is the back of the above piece (upside down which I didn't notice!).


If You Just Want to Use Raw Edge Applique of Your Picture  


  1. Do Steps 1-4 Above.
  2. Blow up the photograph to the size you want your final piece.
  3. Trace key areas onto clear plastic.
  4. Trace the clear plastic drawing onto the shiny side of freezer paper. If there are layers, you may need to trace onto more than one piece of freezer paper (face outline on one perhaps, with the features on another).
  5. Number the pieces on the plastic as well as the back side of the freezer paper.
  6. Iron freezer paper onto double sided fusible. Iron double sided fusible onto the back of appropriate pieces and trim.
  7. Use the plastic copy on top of the background to make sure the pieces get placed in their proper positions. 

You can see the steps in the above piece which I called Colin Deconstructed.  It always amazes me with this piece that you can see Colin even in the very beginning panel.

For a closer look with some pictures, go to the blog entry called Picture Piecing Steps which is has a  link on the left side of the blog under Popular Blog Entries.  I use this myself to remind myself of how to do this.


Thursday, March 14, 2019

A Little Dyeing Interlude

A beautiful sunset down at Ft. Fisher a couple of days ago.  You have to have just the right amount of clouds to get the best color.  I like it best when there is blue sky above all the color.  The thin white line is the Cape Fear River.

I spent one day last week dyeing some neutrals which I will need for the Great Egret.  I may have to do some more dyeing later to get some colors for the heron as well but concentrated on the egret this time.  I was very pleased overall with the lights and the variety.  The first row was just an overdye of some fuchsia I had which I didn't need.  I overdyed it with Strong Orange and loved the results.  It doesn't photograph well but the texture looks like flowers and reminds me of hibiscus which we have a lot of!  The blue is just a four step gradation of Basic Blue which is the only MX pure blue which tends to red rather than yellow.  The second row is a gradation of Cotton Black which I just got and wanted to see how it looked.  It is okay but a bit greenish in the darker hues.  The third row is a gradation of the pure Neutral Gray which is a weak color but just what I need.  You can see there is color when you place a piece of white fabric next to it.  The fourth row is a mix of Basic Brown and the Cotton Black -- even amounts of each.  

Just another view of the above!

Just another sunset view -- I  love the colors in this one particularly!!  These are un-retouched!!I

I have made progress on the heron and egret.  The "road maps" are complete for both of them and blown up to full sized and the lines have been transferred to the freezer paper.


Here is a first cut of the fabrics that will be used for the egrets.  Of course, I will not use all of them.  I haven't sorted out fabrics for the heron yet!  My biggest challenge will be to do justice to the rocks behind the egret and haven't yet decided how to approach this.  There may be some applique in this piece as I really want some interest in this negative space and the stark straight lines may not do it!


Sunday, March 3, 2019

The Rug is Done and Onward to the Egret and Heron

I got my rug done from the Ruth Humphrey class despite my Bernina acting badly.  I think I may need to loosen the bobbin thread as the old 830 usually sews through anything.  I had to go over the outside row numerous times.  I am pretty pleased despite the randomness of the scraps.

You might recognize the next two pictures as I had them printed on fabric and then quilted them.  I gave those two projects recently to a silent auction supporting coastal nature efforts here in NC.  I had always wanted to take a more "Ruth McDowell" approach with them.  I volunteered to do a demo at our next art quilt group on the Ruth McDowell techniques so had to get started.

It has been a tough couple of weeks as I have had a horrible cold and no energy to do anything.  Didn't have a real meal until last night!  Husband is down with the same thing so he hasn't been nagging about "what's for dinner" like usual!


This is one of my favorites and did quite well at the auction I understand.  
 The first steps are to convert to black and white and make sure you have lots of contrast.  Then you use software to "posterize" it.  These are the two photos converted to that step.

This one posterized especially well I think if  you look at the Great Egret, you can see the delineations of white to grey.  


The next step is to trace around all the areas.  I put clear plastic on top of the image to do this.  Somehow I managed to have reversed both images but will take care of reversing them back later.  I then blew these images up to four times their current 8 1/2 x 11 size.  I used an online program to do this.  The one I used to use now charges for this.  

Now that I have these blown up images, the real work begins.  I will take tracing paper and place over the image and try to deconstruct it using straight lines.  You can use curves as well but I like to try to not copy nature entirely -- make it a little abstract!  I usually do my own thing in the backgrounds as well, sometimes creating my own (in fact usually creating my own!)


I did manage to get out of the house yesterday and ran into the small herd of deer that live in Ft. Fisher.  They nicely posed for me.  I counted eight in the herd.  A truck came in and disturbed them so here they are heading out.  

Here are six of them.  Look at the top of the tail on the one on the far left.  They all have this very dark top on their tails.  Some of them are very dark brown as well -- very striking.

There  have been Snowy Egrets down at Ft. Fisher the last couple of weeks and they are getting their summer feathers.


Posing on one of the posts!