Showing posts with label fabric marbling. Show all posts

Saturday, March 24, 2018

A Day of Marbling!

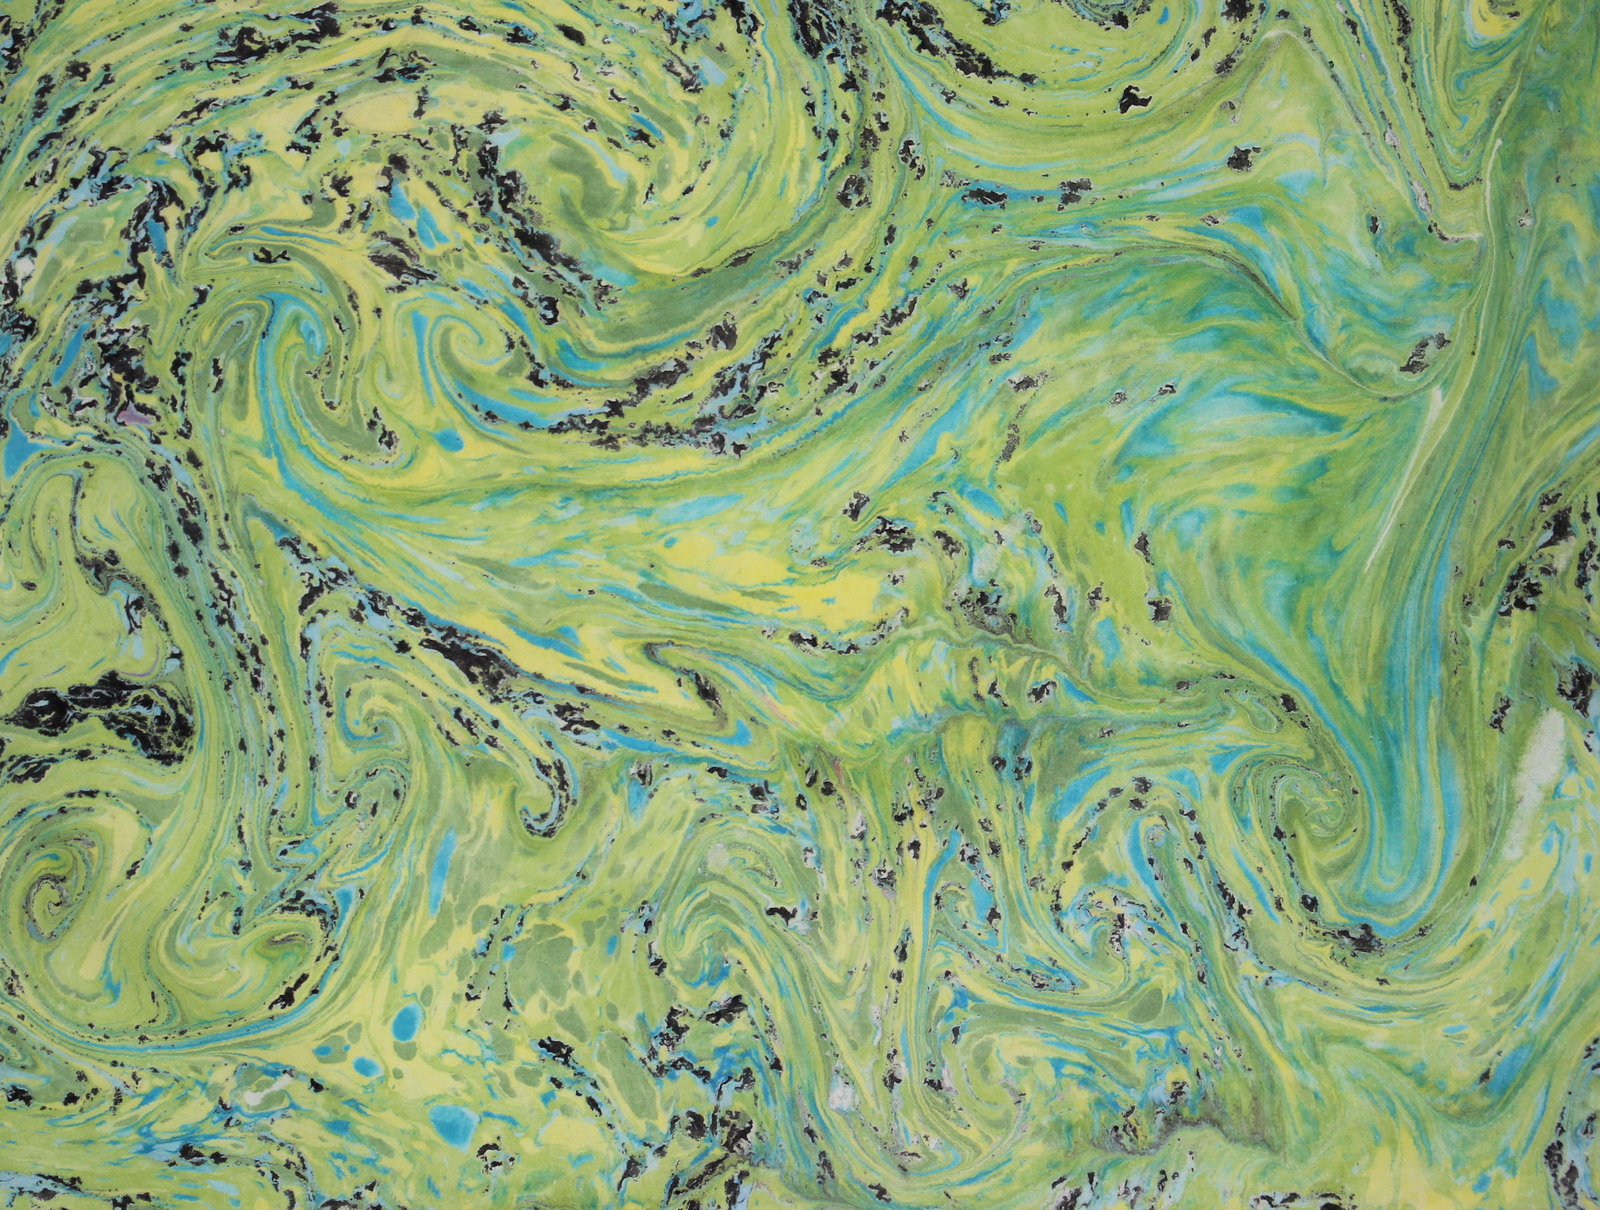
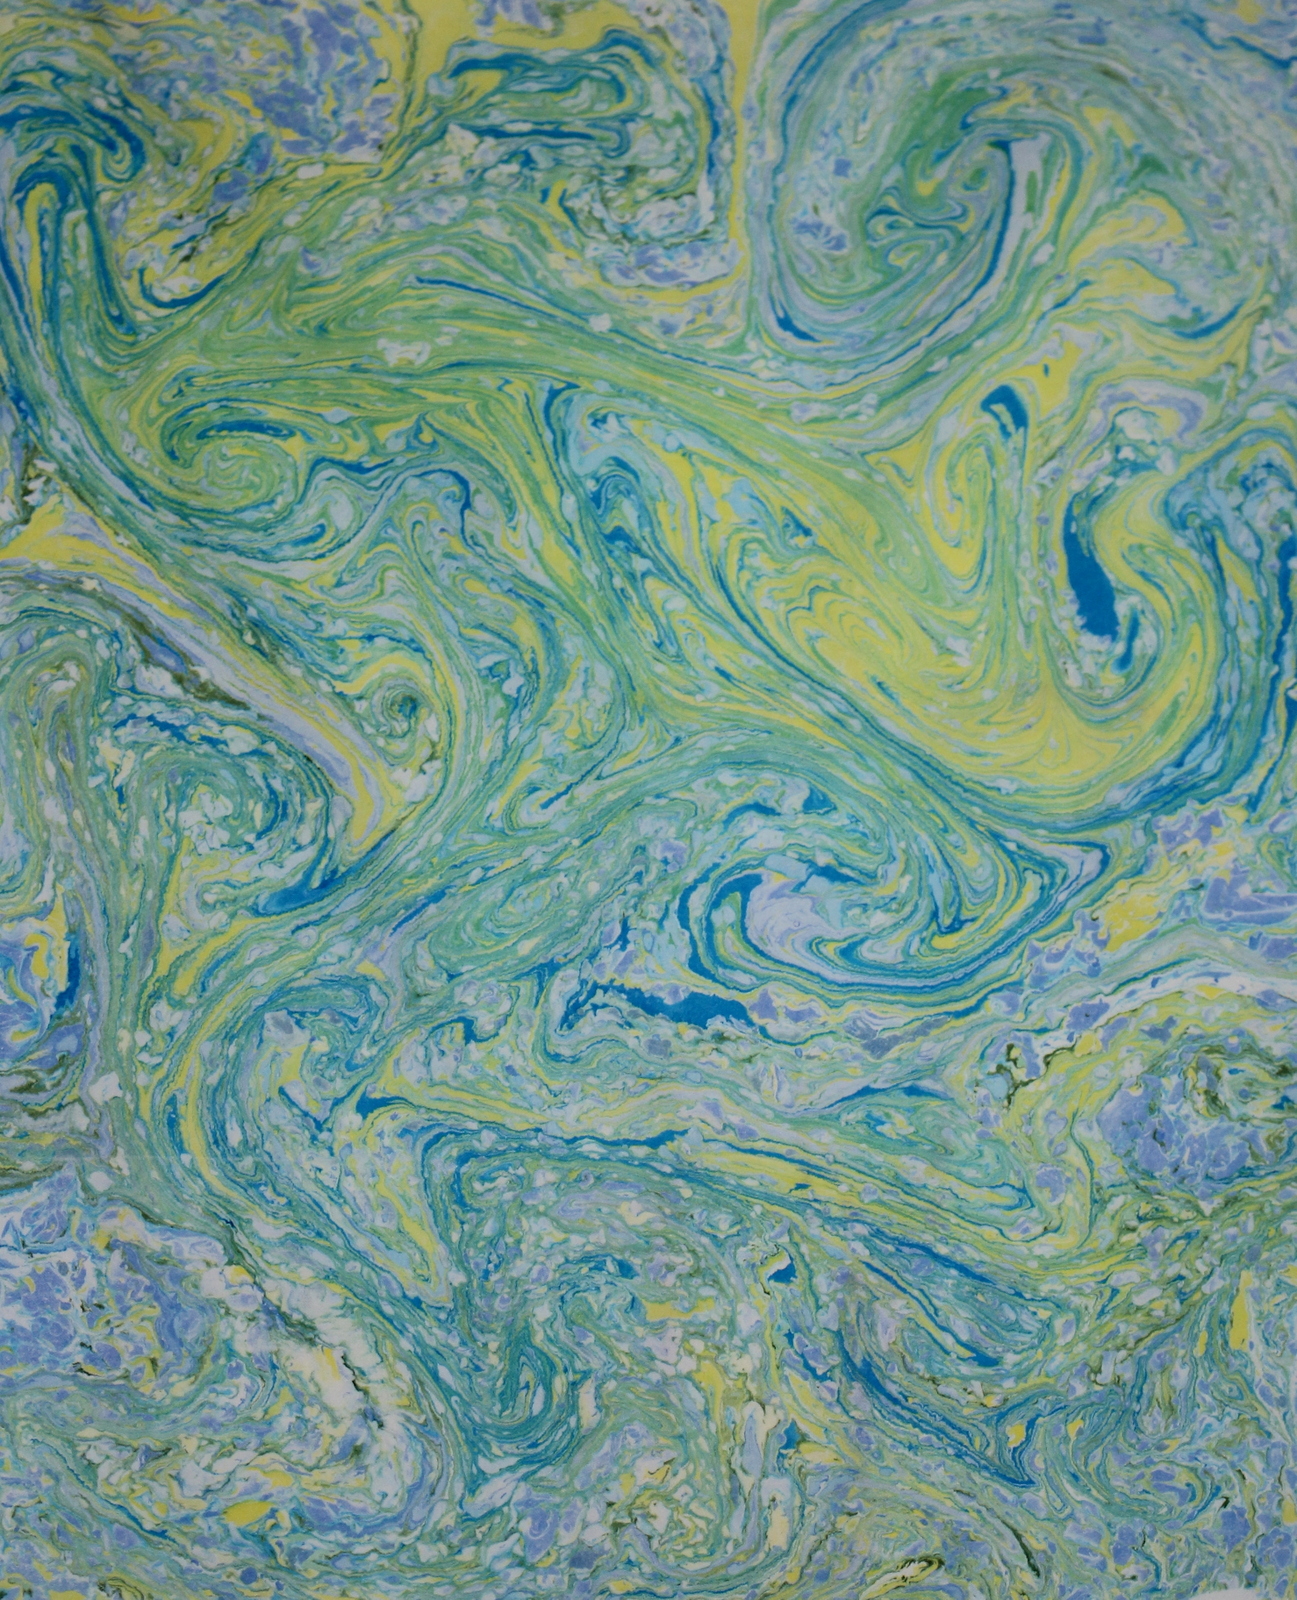
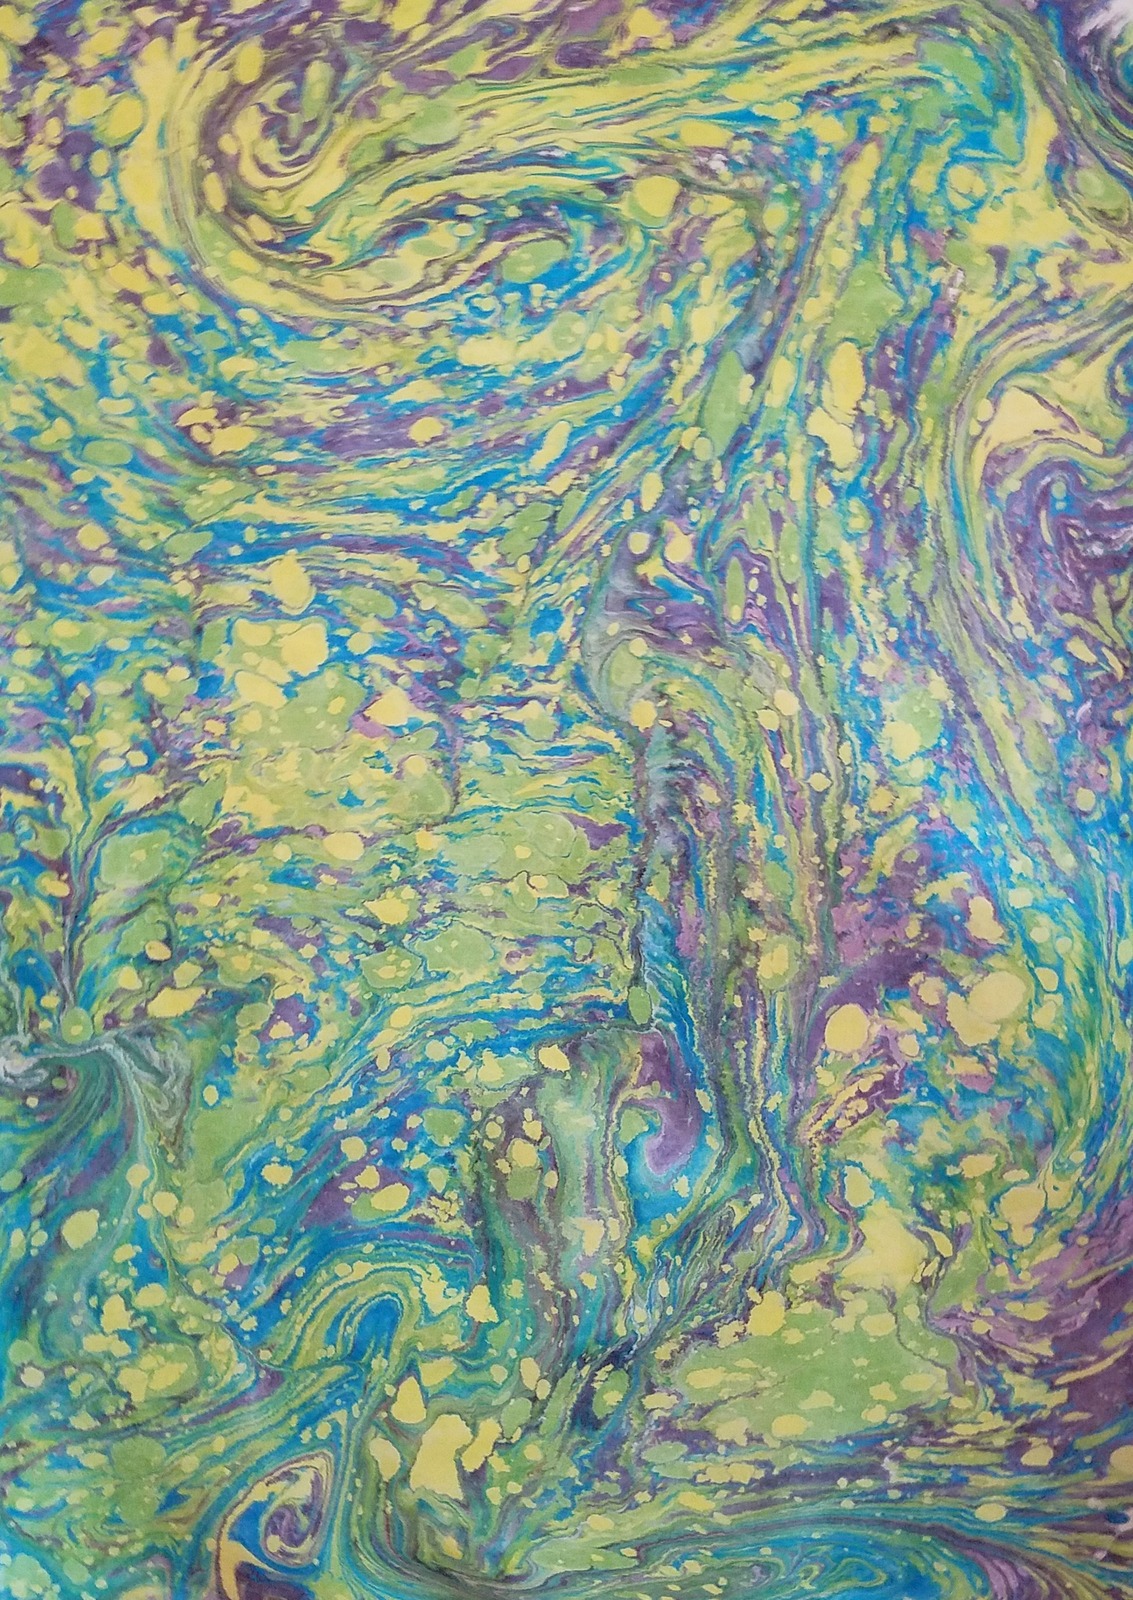
Dianne, Becky and I got together for a day of marbling.  Becky brought both paper and fabric with her to "play" with.  The middle piece on the drying rack is on paper and the other two pieces are fabric.  Becky attempted with the top piece to copy the colors of the bottom piece. With marbling this is difficult after the size (the liquid on which you marble) gets filled with paint.  You never know what will happen at that point.

The marbling process starts with soaking your fabric in a solution of a gallon of water and somewhere between 4 tbsps and a cup of powdered alum.  Dharma even has you use more alum.  Pro Chem has published two different measures which was the first set above.  A day before you want to marble you need to make up the size.  I have used Methycel (methycellulose).  The proportions are 3 1/2 tbsps per gallon of water with a tbsp of clear ammonia (MUST be clear).  You add the Methylcel very slowly to the water, stirring continuously for about 5 minutes and then intermittently for the next half hour.  You need to keep your paints and the size the same temp so I store them in the same place for that day.  

Next on the day you start, you have to make up your paints in small containers (Becky supplied the plastic containers from yogurt which were perfect).  You mix up about equal amounts of liquid acrylics with water and stir.  Drop to see if they expand on the size.  Do this with all your paints.  I add GAC900 to each of the paints as well -- this is especially for use of acrylics on  fabrics and is from Golden paints.  If they refuse to expand, you can add a drop of Synthrapol -- no more as too much will eventually ruin your size.  Once you get everything set up, the fun begins.  You need to tear up some newspapers (tear from top to bottom as newspaper does have a grain).  This will be used to remove bubbles and any remaining paint from your size between pieces.  You use eye droppers or whisks made from whisk brooms to drop the paints onto the size.


I did a total of ten pieces and some are better than others for sure.  The size got a bit corrupted with too much Sythrapol at some point and so it was more and more difficult to get good crisp prints like this one.

Another of the early prints.


This is probably my favorite technique for some reason.  I drop all the paints and then take a flat piece of cardboard or in this instance a tongue depressor and scrape across the top of the size stretching out the colors.  Then I drop a very contrasting color on top.  I use a lot of paints when I marble.

This is another  using the above technique but after the size had been corrupted so very pastel but I did like it alot!

This is a second print made from the same dropping of colors.  The ladies referred to this as a "ghost" print.  I like it much better than the original which I gifted to Dianne as she liked it better than I did so there is no picture!

This is one of two pieces that utilized previously dyed fabric.  This was a shockingly bright yellow piece.  As the paints are transparent (although I had quite a few opaques yesterday), the color of the under piece shows through.  I used nothing but different shades of blue on this one.

I had several more but the photos were blurry (like this one) so I am not posting them!  They were not my favorites either.

Over all, to me it was a very successful day of marbling.  I very rarely like all the pieces I do!!  Each of these pieces is about 17 x 21 inches.  I use an old photo developing tray that someone gave me and wrap it in a plastic bag so that it doesn't get too colored.  

Thursday, May 4, 2017

The End of Marbling for Awhile

Well, finally have cleaned up the area, gotten rid of the remnants of size and retrieved all my efforts.

I have forgotten how difficult it is to get what you want.  The high humidity when I was doing these didn't help as it was difficult to accurately dip the quarter yard pieces -- a problem I haven't had before.  This was was pretty good.

I kind of liked this one also.

I can retrieve fairly large areas of this one and I liked the colors.


The purple looked faded but if cut up, I am sure this will be okay.


I liked several of the second pulls I did.  I define this term as laying a second piece of fabric down after you have just marbled one piece.  You don't add any more paint, just take what is leftover.  I did this one on an already dyed piece of fabric.

I am leaving my paints and supplies here as this is something I can do easily at the beach.  Maybe next year I will have better luck!

Wednesday, April 26, 2017

Getting Back on the Marbling Wagon - Learning All Over Again

Well, this was step one in learning all over again.  Lesson is that after  you have left the size to sit all night, you should always always clean the top with newspapers as there is dust and stuff you can't see with the naked eye!!  If you don't do this, you get this -- all those white spots are the remnants.

Here I used the black which is opaque early on.  I really really don't like all those speck looking things so won't do that again and will stick with the maxim of only using the opaque paints near the end of my marbling.

This still has some white spots but I like it anyway.

Again, some white spots but okay as the colors were light.  We will pretend I intended that.

The lighter spots here were operator error in putting the fabric on the size.  The humidity down here makes the fabric less stiff than at home so I have had to improvise.  At first I used skirt hangers but I have been trying to just lay it on the size resting one edge of the fabric on the far side of the tray and then laying the fabric down evenly -- sometimes more successfully than others!

Parts of this are okay.

Again, parts of this are okay.  I think when drying this bunch of fabric some of the alum rubbed off when I laid it over the drying rack.  The lesson here was to hang by the edge with a clothespin rather than hanging it over the rack to dry.

I took a bunch of hand dyed fat quarters and marbled some of these.  This was okay.  The  yellow was pretty strong and of course the paints are transparent in nature.

Probably one of my favorites so far.

Again, parts are okay but some operator error again!!

This was a second pull.  I liked it even though I have no good way of getting rid of the bubbles.


Tuesday, April 11, 2017

Marbling with Dianne and Becky Along with Some Marbling Directions!!

I haven't done any marbling in a couple of years so it took me a bit to get my "land legs" back.  

I wanted to show my friends Dianne and and Becky how simple this was to do.  I will give some of the directions at the end as well as a bit of the problem solving (although I have a LOT to learn still in this sphere.

This was my favorite of the pieces I did and is a little different from what I have done before.


This was a smaller piece done to test one of the "sizes" I had made.

 One of my favorite color combinations is demonstrated in this piece.


This could have been a nicer piece if not for the air bubbles.  I am not sure whether they are air bubbles or just "stuff" left because I forgot to clean the top of the size with the newspapers after the previous piece.


 Becky and Dianne were both apt students and were experimenting by the end of the day!!  These next three pieces Becky posted to her Facebook page and I thought they were outstanding!!  I know that Dianne did some beautiful pieces as well and hopefully she will post them too!

I suspect this one was a second print but don't know that for certain.  It is really beautiful.

Okay, now for some directions!!   (My first marbling class was with Judy Simmons whose blog is featured in my blog roll, but since then have taken two classes with Elin Noble.)  A lot of the information shared is from Dharma's website and a bunch is from those two teachers as well as my personal experience.

1.  You can use any kind of fabric (although I think the natural fibers were best as they are naturally absorbent) but you need to wash them first and then do a soak in a solution of Alum and water (8 tbsps/gallon). These need to be LINE DRIED not in the dryer. These then need to be cut into pieces that will fit into your marbling tray comfortably.  (You, of course could do the cutting first).

2.  You need to make the marbling size at least a half an hour before marbling.  I have been using Methylcellulose as my thickener. I used slightly warmed water.  To make the size,  you use 1 1/2 tbsps of Methycellulose to 1 gallon of water.  You also need non-sudsing ammonia and use 1 tbsp per gallon of water.  First add the ammonia and stir.  Then slowly add the Methylcellulose, using a whisk to stir it in, constantly stirring for about five minutes.  It will be slightly cloudy.  Occasionally stir over the next half hour.  IMPORTANT NOTE:  The size and the paints both need to be about the same temperature so if the size is still warmer than room temp, you need to add a couple of ice cubes to cool it down (ask me how I know this!!)  That is why you really need to make the size well ahead of time and keep it in the same area as you paints.  

3.  I find it helpful to have a second smaller tray to test my size and paints before roaring ahead.  

4.  I line my trays with either white or clear plastic bags so that I don't ruin the trays.  This also helps with cleanup.  I pour in the size and clear off the bubbles with strips of ripped newprint (save those newspapers, determine the grain -- yes they do have a grain -- and rip strips about three inches wide and the width of your tray).  Drag these strips across and capture all the bubbles -- a bubble equals a white spot on your print.  Keep a trash can handy as you will be doing a lot of this dragging of newsprint strips.

5.  The paints -- any acrylic paint will do but there is a lot of testing here as well.  Some work better than others.  I prefer Golden Liquid Acrylics which are about the highest pigmented acrylics on the market and they don't have a lot of binders.  It is also good to have either GAC900 (Golden paints auxiliary that keeps the paints open longer for working on fabric), airbrush medium or Synthrapol.  The first step with the paints is to add water to the  paints until they are about the consistency of whole milk.  I drop the paint on the size to see if it spreads.  If not, I may add a bit of the GAC900 or airbrush medium.  I keep fooling around with each of the paints I am using until I get some predictability.  If you don't have the GAC900 or the airbrush medium, you can use Synthrapol but very, very very cautiously.  I make up a solution of a few drops at most of the Synthrapol in a cup of water.  Add to the paint.  If it still doesn't float, add a few more drops of the Synthrapol to the water.  Too much Synthrapol (a strong surfactant) will eventually hurt your size. The most frustrating part is that even paints of different colors from the same manufacturer will act differently. After a while, like in dyeing, you get used to what paints need what.  I have also found that it is best to not use opaque paints until you are almost finished with your size as these tend to make things fuzzier  Opaques are great for working on colored fabrics though.

6.  Now comes the fun  part.  You drop the paints gently onto the size and watch them expand in circles.  You can use eye droppers (but don't let soap anywhere near them) or brushes made by putting elastic around a half to one inch bundle of broom straws.  The first colors you put down will contract and each paint will contract as you add a new layer. I tend to like to put lots of paints down but some do less.

7.  Once you have the top of the size covered, you can use rakes (for more traditional marbling), pins, anything you want, to swirl the paints around.  The options are only limited by your imagination.

8.  Next you gently lay the fabric on the size.  I hold the fabric on diagonal sides, holding until it is pretty level and then gently drop onto the size with the middle hitting first.  Doing it evenly is important for an even print.  Then after I have completed the print, I put into a bucket of clean water and get as much of the size and alum out as I can without doing too much manipulation.  Then it goes on a clothes line or rack to dry completely.  

9  After it is dried, I iron it gently as this will set the paints.  You can just wait a week or bake in the oven or any other method of making sure the paint is set  I prefer ironing as I am inherently impatient!!

10. After the paint is set, you need to launder the pieces.  I use regular laundry detergent and put on the gentle cycle.  It is VERY important to not fold the fabrics before putting the into the washer as paint lies on the surface of the fabric, unlike dyes which chemically bond.  This is also why I recommend line drying the fabric after you wash it.  I have used the dryer for  a bit to get the fabric a little dryer so I can iron the rest of the way. You could also wash out thoroughly by hand.  It is important to get any residual alum out of your fabric (especially silk) as it will just rot it.  Now you iron your fabric again and figure out why you made this fabric. 

My uses for marbled fabric:

I have made probably close to 150 yards of marbled fabrics in 1/2 yard and 1/4 yard pieces since I took up marbling.  Some are quite beautiful.  A lot are not so much!!  They are tricky to deal with however as the design is best seen close up, not from a distance.  So I have been experimenting on uses and here is my short list.

1.  Use as main or accent fabric in a jacket.  
2.  Make small items such as fabric wallets, cosmetic bags, book covers, needle cases -- something that you are not going to wash a lot,
3  Panels in purses,
4.  Stand alone pieces that you just quilt.
5.  Background for applique.
6.  Features in small wall quilts that you look at close up.

There must be many more.  I have used the marbled fabric like just regular fabric in a couple of my pictorial quilts.

All this being said, the more you do of this (and it is addictive if you like serendipity), the pickier you get when looking at your results!  The pieces that I really really like, I photograph and have Red Dog Enterprises reprint for me.  They are like Spoonflower but the owner is a friend in my Rochester art quilt group.

Wednesday, November 13, 2013

Marbling With a Friend

Lucky for me, Patricia Mattison (Pat's website) invited me over to her house yesterday to do some marbling and/or dyeing!!  Of course I have none of the stuff I need to do that down here but figured I could add some knowledge to the endeavors.  The first order of business was to see in person all of Pat's beautiful quilts.  Unfortunately I didn't get all the names of the quilts!!  This was one of the latest which was shown at Houston!  It has layers and layers of fabrics and is quite large.  The rectangular box on the bottom was a printer part in front of the quilt so it is not part of the design!!


This is one of her first quilts and is called Perseid Meteor Shower.  I loved it!!

This was a very large mermaid!  You can see the attention to the detail in the faces which is absolutely amazing.  

This is called Morgan (which is her daughter).  Pat sells her works in a gallery in downtown Wilmington, NC

.
This was one of several stretched pieces featuring some of her surface designs.  The background here is a piece of fabric from Judy Robertson but the shibori pieces on top are Pat's and go so perfectly.


This is another of her stretched pieces of surface design featuring one of her signature dragonflies.


I see these bushes with the red berries but have no idea what they are.  This one was growing by the side of Pat's house and looked beautiful with all the changing leaves and the green.

Now, I have to say that there is nothing more fun than doing marbling with a friend!!  It just makes the whole process so much more light-hearted somehow.  Of course, bossy me had lots of opinions and freely shared those!!  Pat and her daughter Morgan were doing most of the paint dripping but I joined in as it is a fun task.  Her set up was just right, the paints behaved and expanded nicely on top!  Pat had found many of the same paints that I like to use (Golden paints specifically which are the highest pigment acrylic paints you can buy).  She even had an ample supply of GAC900 (fabric extender) from Golden.  Pat and I had taken the same class from Elin Noble but I didn't remember that I learned about GAC900 from Elin as she didn't use the Golden paints in the class I took.  It made life very easy though.  Pat had set up a long table and made a frame with pool noodles and plastic and filled it with about 15 gallons of Methylcellulose - long enough to do four foot scarves easily!!   You can see Pat and Morgan laying down one of the first scarves in this new batch.

Here isMorgan with  one of the resulting scarves.  She  uses very light silk chiffon for many of her scarves.  After marbling, they are rinsed in a bucket of clean water.  They are then hung out on a line to dry.  I generally wait about a week after that to throw them in a washing machine and get out that last bit of size (methylcellulose).


This was one of my favorites.  It had already been marbled once with a brown and some oranges.  We over-marbled with all sorts of "warm" colors and I loved the result.  I think this was on bamboo or rayon rather than silk.  It has a very complex look about it!

I have ordered up some alum online and will do some marbling of my own next week.  Pat is definitely a bad influence as she recognized as I should be using up the box of marbled fabrics I brought down here rather than making more!!

Pat teaches classes in her fabric collage techniques as well as gives lectures  (Pat's Workshops).

It is good to have a "play" mate down here as I miss my many days with Marcia and Priscilla!!


Monday, July 27, 2009

Marbling - THE END!

I finally finished up all the fabric and will save the rest of the goo (I usually go through this neverending process of alum-ing more fabric, running out of goo, making more goo etc., etc.)! It really re-energized me and am looking forward to doing a little dyeing and finishing my challenge quilt and the lillies that are awaiting some more work!

As I was sitting at my computer this morning, a deer went through the backyard and then right by the window where the cats were sitting -- they clearly couldn't figure out what was going on! I know, lots of you have deer in your yards. Although we live on a very wooded lot with a bevy of other forest creatures, deer are still an unusual sight in the yard although this is the second time in two weeks that one has been through here. I have seen coyote, raccoons, lots of chipmunks and wild turkeys. Black bears are up this far north now and we did have one lost moose in town a number of years ago. Sadly a bear died on the other side of town a few weeks ago when the wildlife officers tried to get it out of the neighborhood to relocate back down further south. Bears have been expanding their territory northward for the past several years.


Like the one above, this was done on a very nondescript failed shibori piece.

This was on a very, very ugly piece of red with a greyish tinge and worse yet, on cheap muslin!


Like the first one, I played with some combs again today although hadn't gone full speed ahead. It is fun to play with them.
No more for a couple of months though!! Getting all cleaned up -- not that we have had a day conducive to hanging alum-ed fabric out on the line. It rains every day and the temps have rarely even gotten into the 80s so far this year. No salt dyeing this summer!


Sunday, July 26, 2009

I Promise Only a Couple More Days of Marbling!

Well Rochester NY may be known for a lot of bad weather but usually not tornadoes and last night there were two in the area -- the first in our county since 1981. On the east side of Rochester, we fared better but this is the clouds coming in for the severe thunderstorms that we had last night. The rain just won't stop this summer.


Last night two more yards of white alum-ed fabric were discovered in my sewing room! It is not very great cloth but it was white and it did have alum in it so most of it got marbled this morning so I am now down to about 6 pieces of fabric left which will get done tomorrow and then cleanup and some dyeing.


This was actually combed (with a comb of all things) just for the heck of it. Every once in awhile, I feel the need to do something a little more traditional!
This matches the piece above where I did the more traditional marbling. Still working in the same palette.


This fabric is pretty coarse but okay for just playing around. I had purchased quite a bit of it for dyeing but it doesn't take the dye at all well -- fine for those nice light colors but it is a little heavier and coarser than I like for quilting.

This was the first print of the day when thre is always some gop left on the size that gives you white lines which I rarely try to remove.
I have about 2 quarts of goop left for marbling and may just dump that on top of what is there tomorrow and just finish up the remaining pieces!

Saturday, July 25, 2009

Nearing the End of the Uglies

Some new things I have learned. (1) I like having nice new size; (2) the GAC900 is a really good surfactant -- it makes most paints float better without trashing the size like some of the stronger ones -- even worked really well on the ProChem Marbling paints which I haven't liked using particularly; (3) the new secret for me in rinsing is making the rinse water just slightly warm (maybe 90 degrees give or take) -- excess seems to come off with just a dunk or two instead of four or five dunks which has muddied some of my pieces.

Philosophically, this making over of the uglies is a real theme in my work. I am drawn to things that many think of as ugly or horrible and trying to make them beautiful or at least attractive to the eye. I had known that in my art quilts but hadn't seen the parallel in my marbling -- there is something very satisfying about taking fabric you don't care for and remaking it. Of course I have found that my idea of beauty is wildly divergent from some of the norms. Probably why I just keep my mouth shut when selling some of my fabric! (Then again, this could all be my old cheap New England thriftiness ingrained in me from my mother.)

My favorite from today. An old stripey piece that I covered with mostly red and some blue. The stripes were mostly shades of blue.


This was a piece of commercial rust colored fabric that I had discharged shibori-style and it was just plain boring. This is a little better.

This was a class piece where I had experimented with all kinds and sizes of stamping of dyes -- also all colors of the rainbow. Not sure if this is much better but maybe bookmarks!

This was a very boring piece of commercial batik that I had in nondescript muted colors. Much improved (imho).


This is another of the ones with the really swirled background done as a class piece.

After today, only have five more uglies that need to be covered! I was definitely in the zone this morning and did nine at one sitting (really standing) before I came to a halt for lunch!
Next on my agenda is some shibori dyeing and maybe some discharging as well. This will entail a major cleanup from the marbling, as paint is just so much messier than dyeing!! Even though I am your basic slob, I have never been able to start new projects without a cleanup of the old stuff (even when I was working in corporate America).