Sunday, September 17, 2023

Last of the Quilt as You Go For a Bit -- 8 Done!

I finally finished the last of the  QAYG quilts before I head back down south.  The next few days are dedicated to straightening up my sewing room a bit and gathering some things to take with me.

This is the back of the quilt shown next utilizing all those 10 in squares I cut up.  I have used 196 altogether in the past few weeks and it did make a very small dent in the pile!!!


This is the front.  I have already donated this one!


This is the back of the next one.

This is the front of my very favorite one.  I had a ton of yardage of blue strips and saw a quilt on Pinterest that used this general layout (although without the sashing).  I still  have quite a bit of yardage of blue strips left but much is paler so we will have to see what I do with that.


This is an example of the block.  A 3 1/2 in strip of the blue stripe with 1/2 inch (finished) black around it and very,  very random scraps.  My only criteria was that the strip had to be long enough and a different color.


This one was going to charity but a member of my quilt group asked if I sold any of my quilts so I gave her this one!  It used a bunch of my 5 in squares.


Thursday, August 24, 2023

Quilt as You Go (QAYG) Again!

This is another version of QAYG.  I had tons of the 2 1/2 in strips in these colors so just used them.  This is not my color pallette and I will be happy to give this one away.  It is 40 x 50 instead of my usual 40 x 60 in as I just didn't like working with the colors.  I may do a more random one the next time as I have a ton of scraps and won't attempt to arrange it.


This is the back of the quillt.

This is the beginning of another quilt.  I showed my  EQ8 image a couple of days ago.  There will be black sashing.


There will be three more rows making it my usual 40 x 60 inches when finished.  As hard as I have tried, I never seem to get that center block exactly in the center or maybe it is my trimming that is at fault.  Close enough I guess!  I do like this pattern.  I have an idea for another variation too. 

You would think after using over 100 of my 10 in square pieces of fabric, the bin would look just a little bit emptier but no...

There is no hope for the bins of 5 in squares as I have 100's and 100's of them!


Sunday, August 13, 2023

Quilt as You Go Continued!

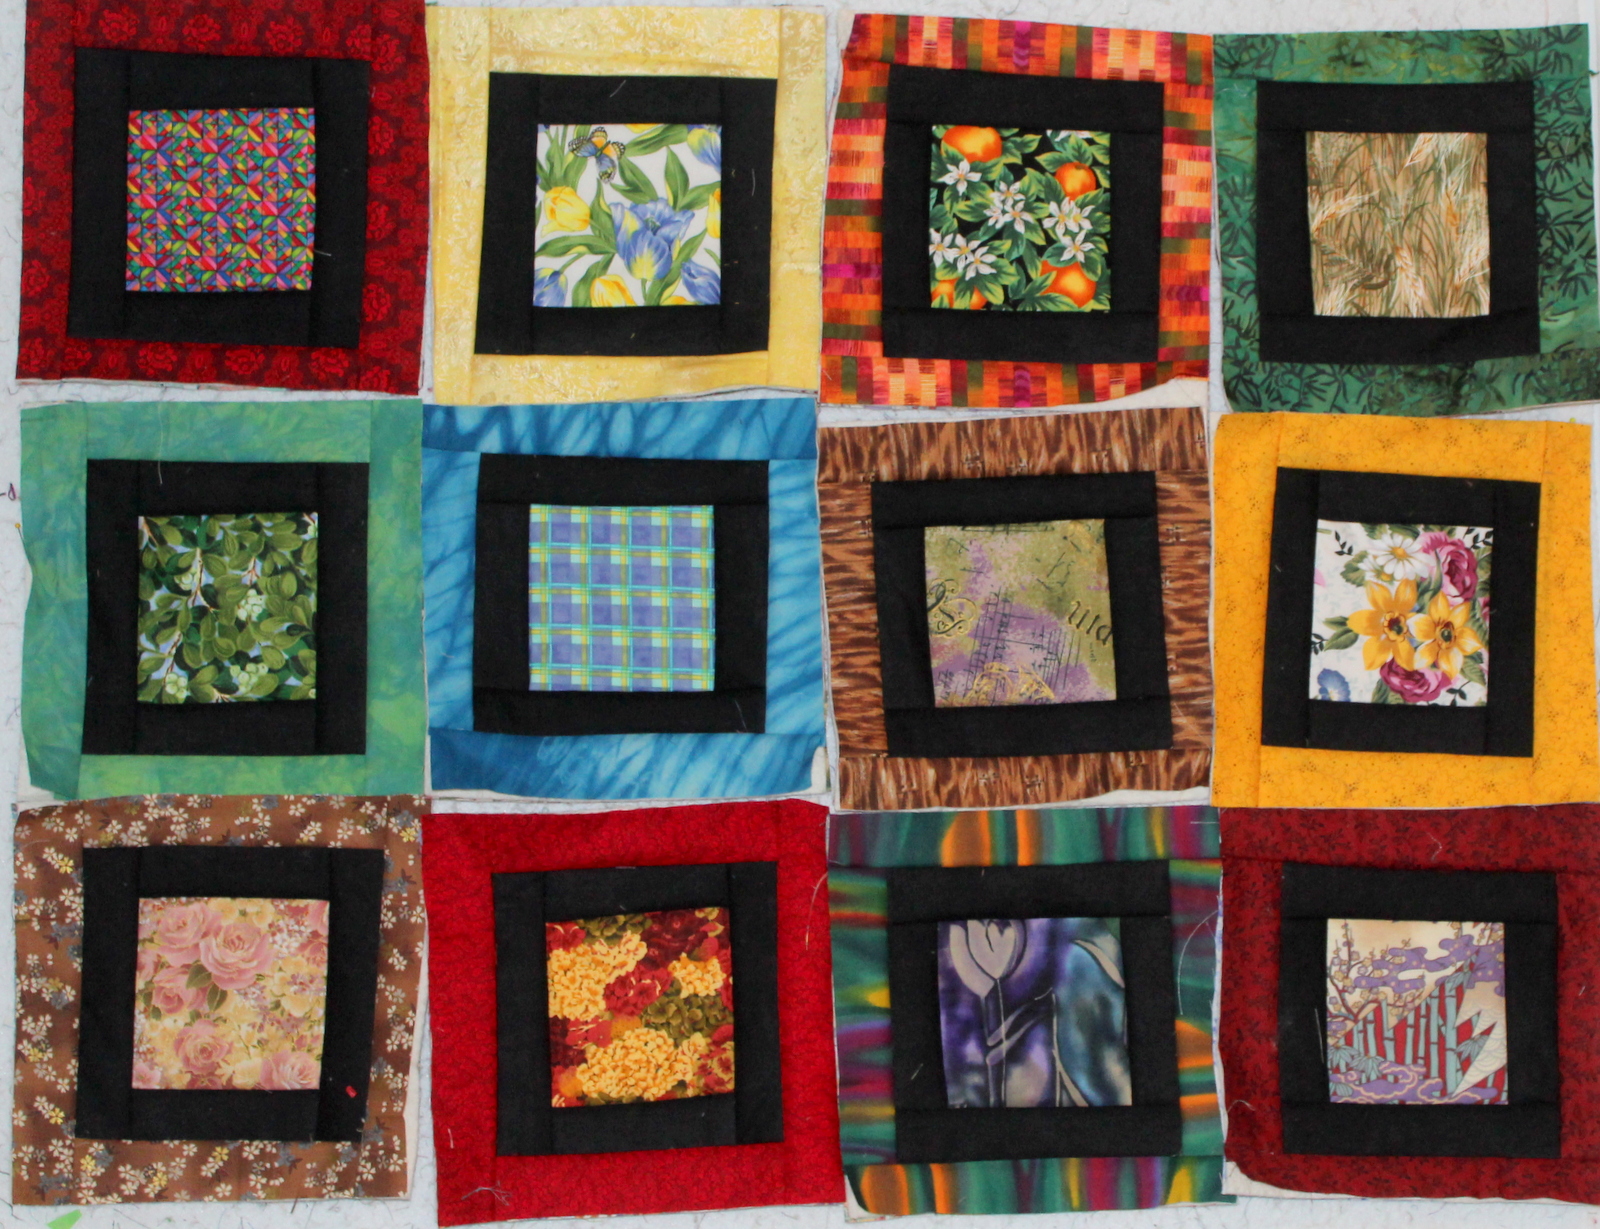
This was my first thoughts about how to arrange the blocks and here I am testing 3 different sashing colors -- black, red or green.  I decided to go with the black.  All the blocks are complete here but not sewn together as it looks awfully busy and nothing seems to unify it.  Each of the blocks is of course 10 inches!  The middle blocks are 5 inch squares.


I decided to try the more traditional arrangement to help unify it a bit more and I think it works better.  If I had been consisted with one of the sets of strips in each block, the previous arrangement might have worked better.  This is okay.

Here I started to apply the sashing which is black on the front and the back.
All sewn together except for the binding which will be black as well.  Quilt will measure 40 in by 60 in and will go to one of the charity groups.

And, of course, here is the back!


Thursday, August 10, 2023

A Different QAYG -- In Fact Three different Ones!

This is one of the alternate ones in process.  Here I am testing what I will use for sashing.  I also tried red and green but think I will probably go with the black.  This has been a challenge as I need 2 1/2 strips and the color selection up here in NY is not all that great!  I will be incorporating more yeillow and red and will try to find some more blue somewhere.  After I did the
first two blocks, I was convinced this wouldn't work but with a little tweaking, I think it will be okay.

This is one of the quilts I tried out in Electric Quilt 8.  I have used this software since buying EQ1 directly from the designers in Houston in the early 90s!  It has gotten more and more sophisticated over the years!  This is totally out of 2 1/2 in strips but could use miscellaneous size strips as well.  I think it is wise to be consistent with the middle strip though to kind of bring it together which is why the above quilt has been so challenging -- no unifying element which I think is important in scrap quilts.


I was trying to find some ways to use all those 5 inch squares I have and decided on this one -- again 10 inch squares like the above.  The white stripe is 1 3/4 inches wide finishing 1 1/4 inches. The outer strips will again be 2 1/2 in strips.

Here I substituted the black for the white strip.  May try both!


Friday, August 4, 2023

Second "Quilt As You Go" (QAYG) Almost Done and How I Do them!


1.  Place the one inch strip of the sashing for the right side on top and a folded 1 5/8 in strip of the sashing for the back on the right hand edge of the first square, making sure the open edge of the back sashing is at the edge of the square.  Pin in 3 places.

2.  Sew through all the pieces 1/4 inch from the edge.

3. Take the second square and arrange the top sashing along the edge, again placing three pins and then sew in place a 1/4 in from the edge.  This leaves 1/2 in of sashing on the front all finished.  Now to finish the sashing on the back.

This is how it should look at this point with the second seam in the front sashing completed.


4.  Now open up the two squares and pin down the back sashing in three places and sew fairly close to the right edge making sure you have matching thread on the back and the front.

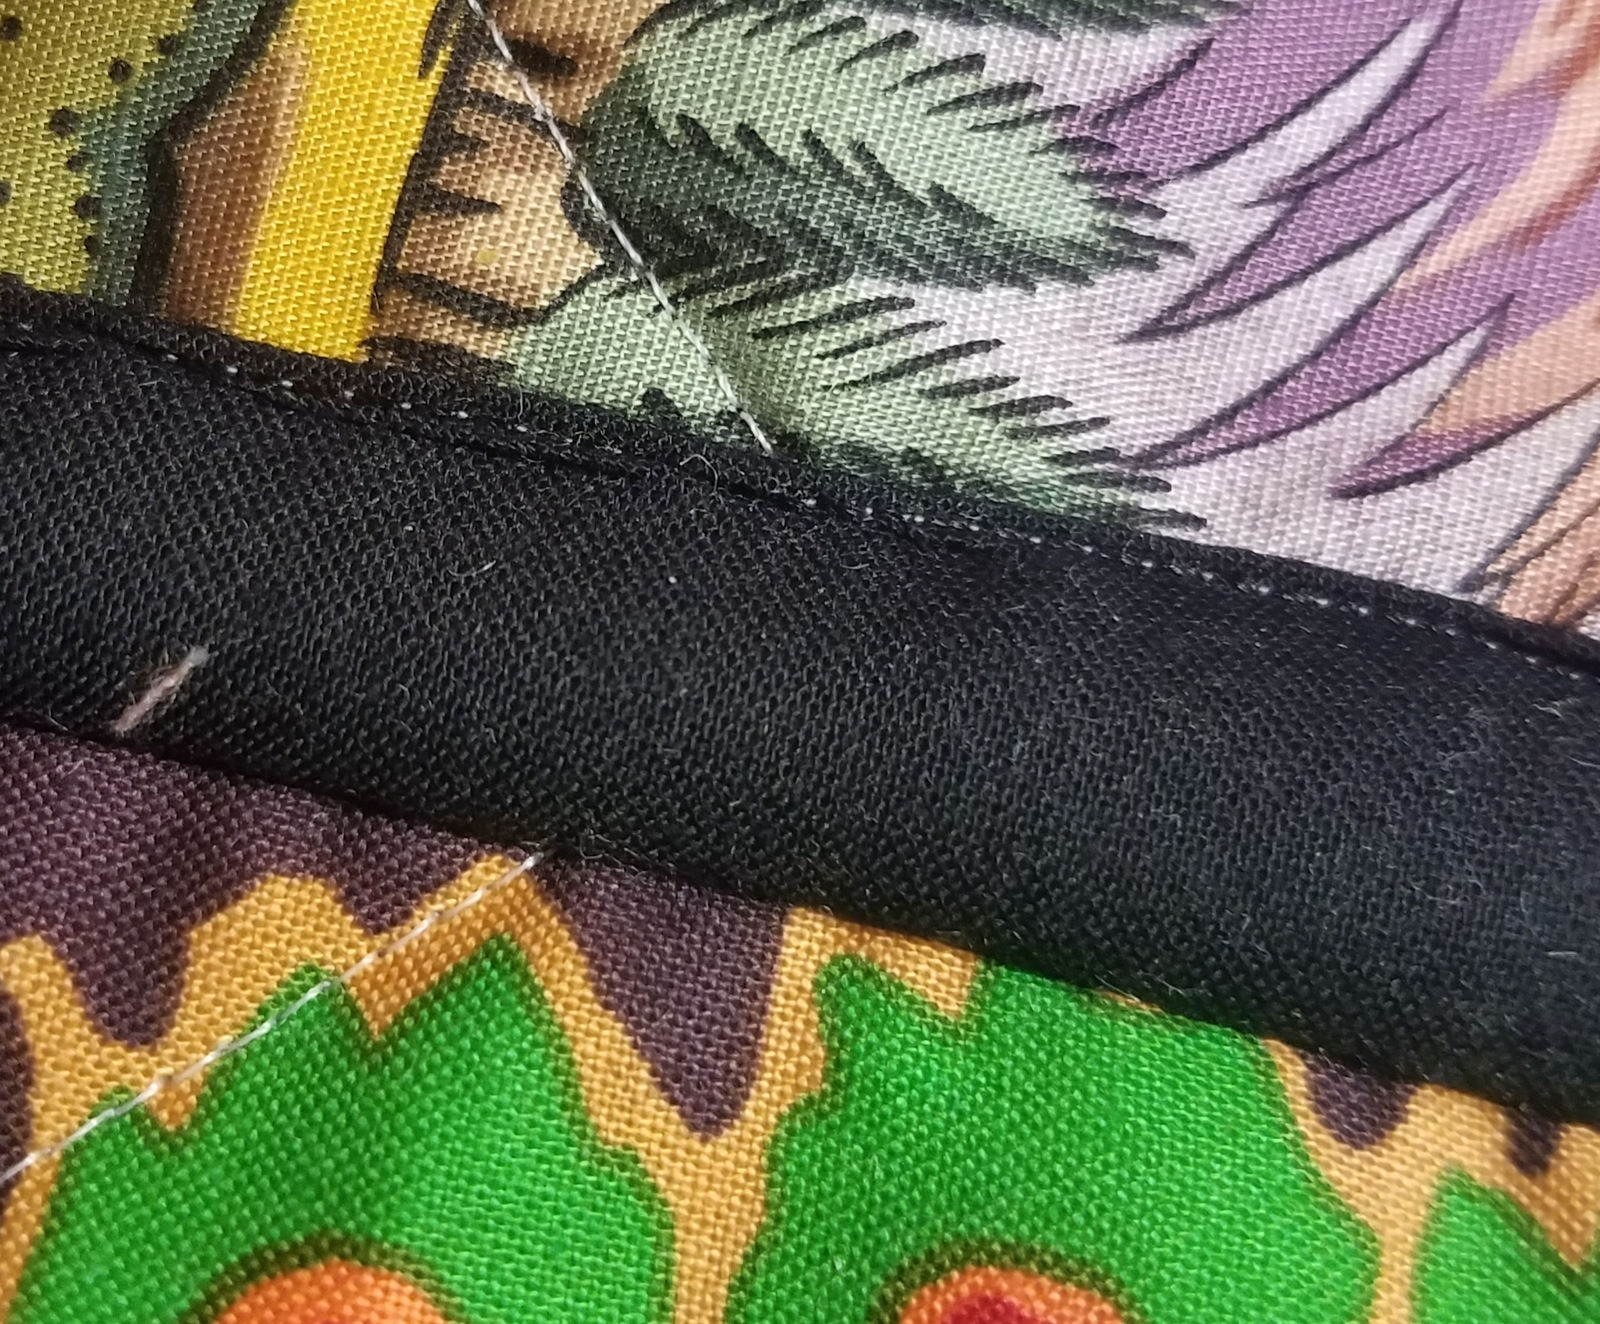
This is what the back looks like finished.
If you are really likely, you can get the sewing right in the ditch but here it is on the front sashing and sometimes it sits on the finished part of the block.  It really doesn't show too much if you use thread that is a neutral on the front.


Once you have all the rows completed, do the same steps to sew the rows together.  The only additional thing to be mindful of is that try your best to get the vertical sashing lined up, both front and back.  I am sometimes more successful at that than others but again, it is a little annoying but probably not too bad!


Here is the front except for the binding for QAYG2.  I used blue sashing for this one and will use the same fabric for the binding.


This is the back of QAYG2 and I used all different squares for this one but still didn't arrange them in any kind of order.


Sunday, July 30, 2023

"Quilt as You Go" Fun! Really, Really Scrappy!

Well, sitting there with bags of strips and leftover smaller squares, I decided to again attempt a "Quilt as you go" quilt.  I had found the last one I did to not be too much fun but thought I would try again.  I had a large bag filled with scraps of batting that were too narrow to even sew together for a larger quilt so took it all and cut it into 10 in squares.  I really utilized it as if I didn't have 10 inches, I pieced batting together to make it 10 x 10.  I chose 10 x 10 as that was the size of those random 10 in squares I had cut out as referenced in my last blog!  I had about a 6 inch high pile of them!  The strips were the leftovers from cutting those 5 and 10 in squares.  They include hand dyes as well as failed marbling fabrics where there was not enough to really do anything with.  They were all different size strips and the ends were chunks from another bag of small pieces. 

Here it is done and measures 40 x 60.  I had originally intended as a baby quilt but it didn't feel babyish enough for me.  Of course, it will be donated to one of the charity groups in which  I participate. 

And here is the back!  There was no way I could keep the front and back organized the way I wanted at the same time so there are a few blocks I would move around on the back if I had been able to figure out a way to do it!

I must say this second time went a lot more smoothly than the first and it is probably because I learned some things doing the first like making the back sashing strips 1 5/8 inches wide instead of the one inch wide in the front.  I also stitched that second block to the first with the sashing side on top which seems obvious but don't think I realized it before.  There were a few "gotchas" but went pretty smoothly.  I think the whole quilt only took a week of my afternoon 2 hour sewing sessions.

I discovered that I had a lot more scrappy 2 inch strips in bags on my sewing table which is pretty much a mess at this point!  So I decided to do another QAYG using just the 2 in strips.  

I also have designed another block which will use my 5 inch squares and will be QAYG but that will have to wait until I get this second quilt done.  

I spent a good deal of this afternoon piecing together batting to make 10 in squares.  Where I don't have enough, I cut 7 in squares which I use to make pot holders!  Only had a few of those.


Here is the beginning of that quilt.  To be continued...


Wednesday, July 19, 2023

Been Doing Lots and Lots of Cutting!!

Well, I finished this one block wonder and then decided it was time to "unstash" some of my fabrics that were in various and sundry places and not big enough to really do anything with.  I decided on 5 in squares and 10 in squares.  If the pattern was really pretty and largish, I would make 10 in squares and then cut 5 inch squares from the remainder.  Occasionally I had enough for some 2 1/2 or 2 inch strips.  I rarely threw out anything more than 3/4 in wide but filled a waste paper basket!


This is a 12 inch by about 18 inch plastic box which contains all the 5 in squares which are standing up so  you can easily see everything.  I noticed there really weren't any greens, blues or yellows to speak of.  I use a lot of these colors and must have most of them down south or in larger yardage.  This was mostly cut from fat quarters or quarter yard pieces.  Lots of hand dyes and a few marbled pieces that were not good enough to keep whole.


While going through the miscelaneous boxes, pulling out the small pieces, I came across several (what I thought) were really nice pieces of hand dyed fabrics from a long time ago.  I didn't want to cut into them as they were fat half quarters so decided to put them up on my design wall for inspiration.  Immediately I thought of jackets or large totes.  I really don't need another jacket, but one may find its way into one when I get back to the south where my favorite pattern is!


This was my favorite and most likely to be a jacket back in the future.


This will find its way into a tote I think.  So will the next one.  They are fat quarters.  


This is also one of my favorites and is tied with that other one for a jacket favorite!