skip to main |
skip to sidebar
This was the beginning of putting all those hexagons on the wall around the goose to see what I had. I was overwhelmed at this point by the sheer number. I knew the brown was kind of overwhelming everything. I also knew that I didn't want those words (Realtime) showing on the final piece. Each of these hexies is two halves with a thread in the middle holding them together.
I made the mistake of first putting the goose on one of my design walls and then had to remove all the hexagons and replace the panel across the two design walls so I would have enough room to work. I have no idea how you would make one of these without a large design wall.
I think I have placed about all the hexies in this picture. Still hadn't measured the height or width and determined how many hexies I REALLY needed!
Here I have sewn the hexagons on the left side together.
I have sewed all the rows together and placed them over the panel matching the middle hexagons with the ones on the sides -- the tricky part when you haven't measured anything to begin with!
Here are the four sections before they are attached to the panel and now comes the tricky part!!
I hand appliqued down the hexagons on the top and the ones on the bottom as I wanted to preserve as many hexagons intact as possible as I was going to trim off the tops and bottoms. I had to trim down the panel and really work at sizing it so I wouldn't lose any of the mallards or the Canada goose when trimming. You have to match those partial blocks on the bottom as you can see here. I must have done a good job of measuring and placing as it came together with no problem although I had to trim about 6 inches of the width and did a pleat on the bottom to cover up the words which I didn't want. It isn't noticeable at all.
The top is done!! It measures about 62 inches wide and 72 inches long. Eventually I will get quilting on this but that will wait a bit as I like to think through that especially with a piece like this one.
These are the hexagons that I had left.
I will make another quilt with these for the charity group.
I decided I wouldn't do this arrangement!
These are made from the 1 1/2 squares that I cut from the ends of the hexagon strips. They will probably end up as potholders or a tote bag. I have 27 altogether.
Lessons learned:
1. Determine at the beginning the exact size of the panel that you are planning on using. Use this as a rough measure of how wide you should cut your strips so that your hexagons will fit across and down the panel without having to trim large amounts of the panel.
2. Don't keep the hexies together with a thread like I did. I had read this was a clever way to keep them together. It makes them very difficult to handle in large quantities. Use a pin in the middle to hold the two sides together as they don't wiggle then..
3. Don't get overwhelmed and keep your camera very very handy as this gives you a better idea of where you are. It points out where the out of place hexies are. Once I started doing that a lot, it started coming together.
4. Pile the hexies in small piles by color so you can quickly exchange pieces easily.
5. Attach the panels to the top and bottom first and then add the sides. For some reason, this was not obvious to me but I read it on someone else's blog.
This may seem very obvious but when you are overwhelmed, you don't think quite a clearly as you should!
We had our annual Christmas party in early December and I forgot the pictures were on my camera! One of the first orders of business (after eating of course!) was the unveiling of the mystery quilts thaat we had worked on since June. You will recognize mine on the far right. I was amazed at how diverse they were!!
The next three pictures are also of the mystery quilts.
A few people brought things for show and tell. As usually, I didn't get names for most of them!
Well to start out, this is not my design wall but my sister's who is in the process of doing two quilts. The purple one is for an auction and the other just for fun. I happily contributed some of my strips for the purple quilt so she wouldn't have to sacrifice going to a quilt shop to buy more fabric!
Still some birds left from my visit to Florida. This is an Eastern Phoebe.
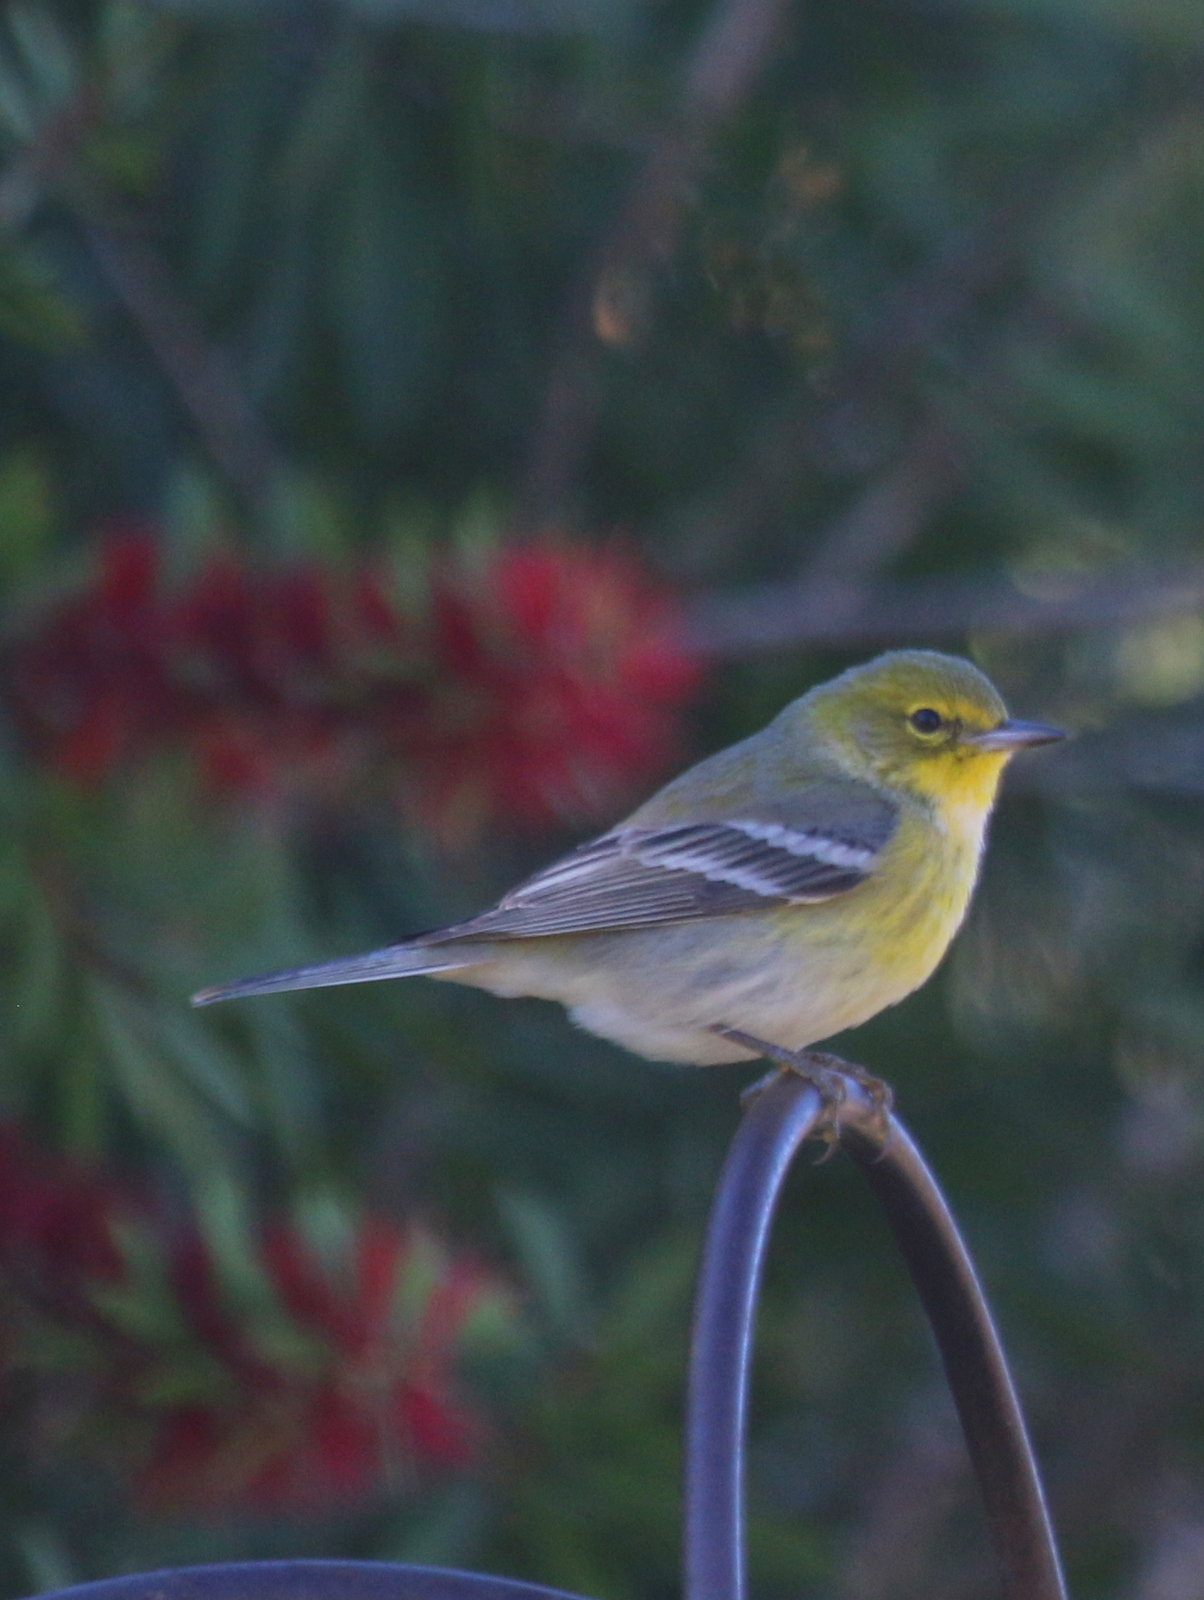
This is a Pine Warbler, one of many that were at the feeder each day.
This is a Tufted Titmouse.
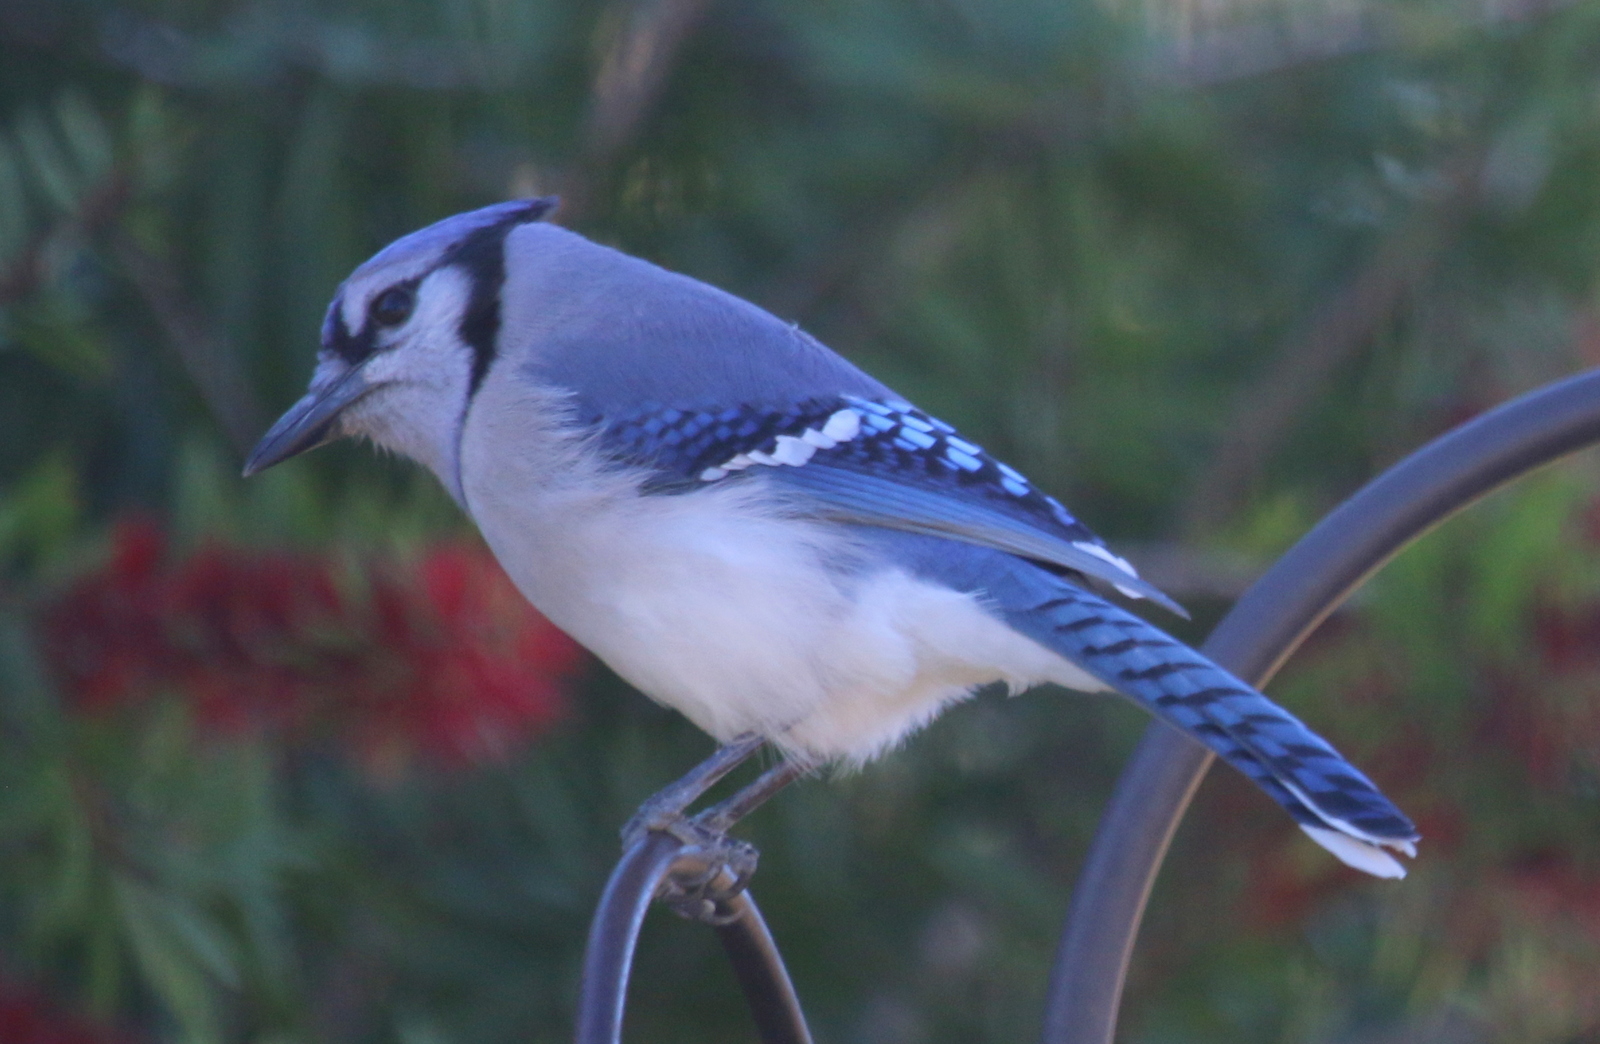
This was a very pretty Blue Jay!
I decided to practice a panel One Block Wonder using this panel that I bought at Walmart. It was only $2/yard so the seven yards I needed only cost $14. The panel is 36 inches wide by 44 inches long!
Instead of my usual just cutting down the middle so I could manage the stacking, I cut it into quarters. I still had 101 hexagons when I finished cutting. I eliminated the ones that had the printing on them as well as the border of brown. The strips were 4 inches wide.
Setting them into something pleasing has been a real challenge as you can see below. Having that many hexies is just overwhelming! The only way I can judge the look is to take photos and adjust. I am far far from finished!
Managed to put the panel on the center of one of my design walls which was a serious mistake!! Here I am just throwing up the hexies as I get them done.
Added some more hexies but still on the left design wall. The hexies are held together in the middle with a thread as you sew the final top together in rows of half hexies.
Still on the left design wall but more hexies finished and an attempt made to arrange some.
Finally moved the panel to the middle and attempting to add more hexies and finding I like the very first arrangement with more of the blue the best. I have a feeling this is going to take a few days and lots of pictures before I get it where I like it. I think I have successful merged in the brown areas but having some difficulty with the blue. We shall see. Right now it is horizontal, but I think the final will be a vertical arrangement. However, I have found I have very little say in what happens before all is said and done!!
This is a Sherman Fox Squirrel, or a "monkey squirrel" as they are nicknamed and he is posing for me on my sister's feeder where he tried to deplete her supply of seeds.
How can you not like that face!
Here is a female Downy Woodpecker and a Pine Warbler looking on! It was a very cloudy rainy day.
This is a male Downy Woodpecker.
Red-bellied Woodpecker.
This is an Eastern Phoebe but taken in Ft. Fisher not down here in Florida.
Of course it wouldn't be complete without showing some of my latest project. These blocks were made from the leftovers of the backing of the Mystery Quilt. I really like the 4 patch posies and am trying different sets as I am supposed to teach a class on this in February.
I finished four blocks with their setting to see how they would look.
I decided to try them on point.
Here is the finished top which is about 42 x 60 and the fabric on the top and bottom is the remainder of that backing fabric. The repeat was 24 inches.
These were literally posies constructed from the remnants of hexagons -- pieces not big enough for the hexies. These blocks are 4 1/2 inches. If you look closely on the right hand side, you will see several blocks that contain 2 different pieces so they are 2 patches!! Think they look okay so another possibility! So I have now done, 2, 3, 4, 6 and 8 piece stack and whacks!!
I haven't been able to capture any really nice sunsets lately. This one was okay. This was taken down toward Ft. Fisher.
This was taken right at Ft. Fisher the same evening.
My husband carts his hibiscus back and forth each year. They seem to enjoy it more down here in NC than in NY!
Finally finished the sunflower quilt. I added an insert of yellow with the black binding. It is a little wonky in places but I do like it as I really like the image!
I finally finished our guild's mystery quilt as well spending the last few days quilting it. Now it just needs to be bound.
Because I used matching thread throughout, you really can't see the quilting very much but there is quite a bit. It does show a bit in the white. The quilting really straightened out this quilt!
I quilted around almost all the shapes in the ditch. I do all this freehand on my Juki.
My first step in machine quilting is to stabilize the whole thing by sewing in the ditch (with feed dogs engaged) around all the blocks and any other areas where I can straightline across the whole quilt. On this one, it was lines across the diagonal as well. I then fill in with freehand work.





 Posts


