We had a full moon the other night just as the weather was beginning to clear a little which gave a nice view through the breaking clouds.
For those of you who have never seen a cotton plant before, here is friend Bill taking one of the leftovers from the clearing process. His grandson will be sharing it with his classmates in Rochester.
My very professional daughter requested a new Professional Tote by The Creative Thimble for Christmas that was more "professional" than the subtle batik one I had made her years ago. I didn't have the pattern with me and had to order a new one which I did through my Amazon Prime with the 2 day shipping. It took almost two weeks so she didn't get the tote for Christmas and won't have it for her upcoming China trip!! There were some changes in the pattern from the one I had at home and I do include at least one change of my own. The instructions are very well done. My only complaint is that the pattern gives cutting instructions and little labels instead of pattern pieces. I have found the easiest approach is to use my gridded flipchart paper and make pattern pieces and then tape the little labels that come with the pattern onto these pieces. I then use a rotary cutter and ruler along the edges of the pattern to get a nice straight edge. There are quite a few pieces as it is a fairly complex bag. Once the pieces are cut out though, the bag moves quickly as the sewing is pretty straightforward and the directions are excellent (unlike sooo many of the purse patterns I have purchased).
Here are all the makings for the bag I am doing. I purchased upholstery weight suede cloth in dark brown and black to make the bag. Decor Bond is the interfacing. The main color will be the brown suede as my daughter has two kitties who would shed on the black immediately. The brown seems to hide it a bit more even though not that much lighter. The black will be the trim and the interfacing is a brown, black and beige striped decorator fabric.
I had concerns about how thick the suede cloth was as well as the heavy interfacing. My Juki just sailed right through it! At one point there were 14 layers of this heavy mix. I slowed down a little but the machine had no problem!! The handles themselves are four layers of the suede cloth and 4 layers of interfacing. This is the front of the bag. There is a zipper pocket in front of another pocket. The handles are long enough to go over your shoulder. The black at the bottom really is for the most part, the bottom of the bag. The straps go all the way around and are very secure. These pockets are the perfect size for passports and airplane tickets and boarding passes.
This is the back of the bag which has a pocket which extends across the whole side of the bag. It is a great place for magazines or file folders. If you look real closely above the pocket, you can see the strap that has been added to the pattern. This strap enables you to more easily attach the bag to your rolling bag when traveling.
This shows the magnetic snap I put on the back pocket. I had never used one before but found it in my stash of stuff. The last time I used Velcro.
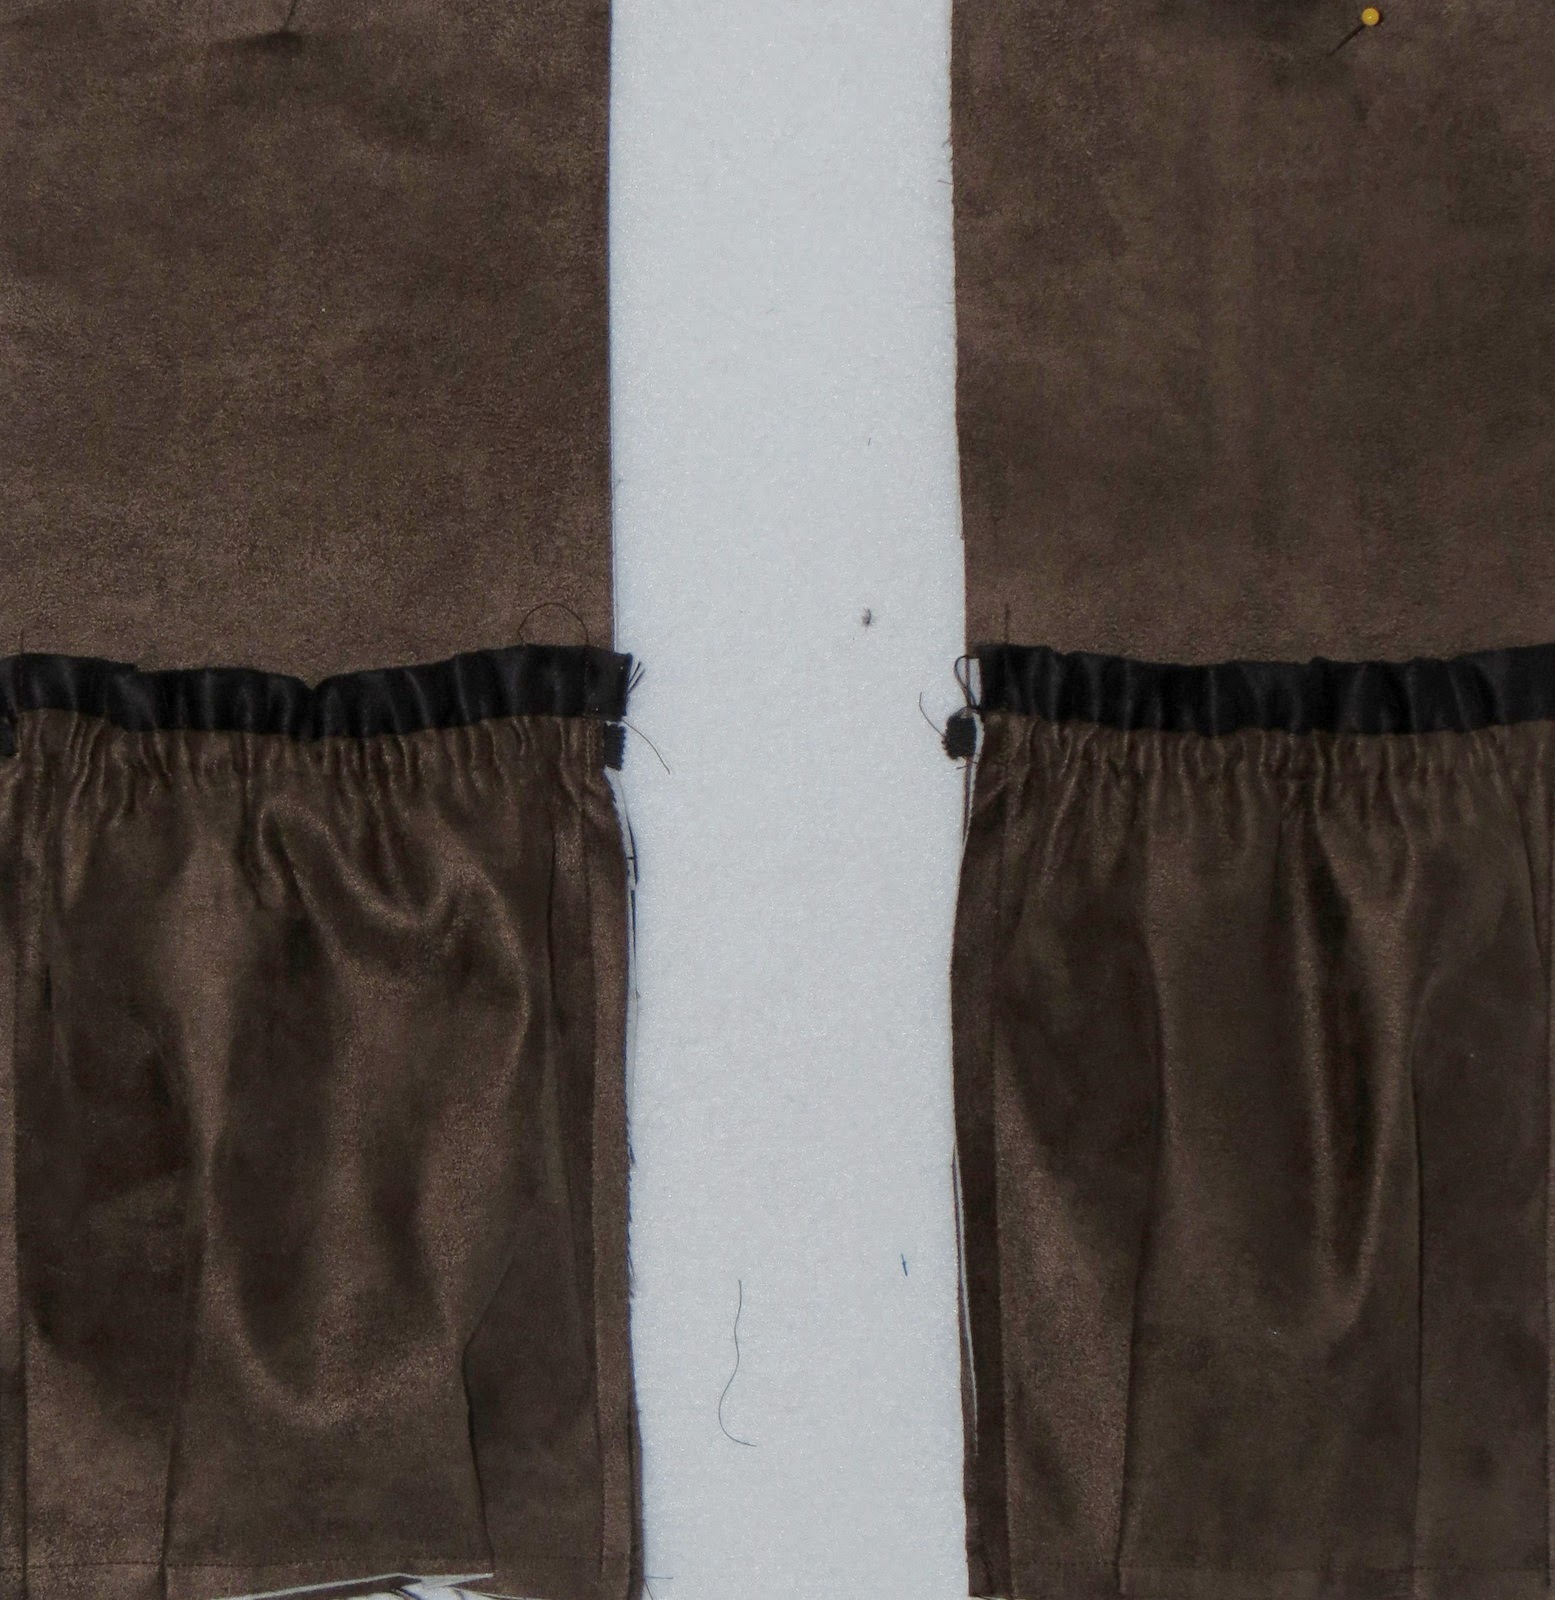
These are the two sides of the bag. The pattern calls for a cord arrangement with a buttonhole but I have found that using elastic works just as well if not better as you don't need two hands to loosen the cord. This is a great place to store bottles of water or bottles of anything. All I do is do one more line of stitches about 3/8 of an inch below the stitch in the ditch that secures the edging. I then thread it through with the elastic which is 1/4 inch wide.
Today I will get all this sewn together and will have the outside of the bag done. Next comes the lining pieces (haven't even cut those out yet), an inner zippered pocket and some more pockets. I haven't yet decided whether to add more zippered pockets or not. A laptop computer will fit in comfortably. I used one of these bags to carry all my electronics when I went to New Zealand.
6 Scrappy fabric birds
3 hours ago


1 comment:
I love those personal totes, very nice.
Post a Comment