


Next time I do this (and I have a lot of fabric that I can cut up), I think I will make a light colored side and a dark colored side. I have a very large piece that is made up of mostly fabrics with a lot of white in them. I will also probably cut it into 4 1/2 wide strips and make one of my "go to" baby quilt patterns with on point four patches alternating with the strips.


It appeared that the ruler I used was something other than 60 degrees. I pulled out a 60 degree diamond ruler that I had and laid it on top of the supposed 60 degree ruler.


My biggest problem is that I can't seem to find any fabric in my stash to match these colors but I will look further as I do need to do some borders and binding!

My method was modified a bit for putting the rest of the rows together for this quilt. I had already decided to add another 1/8 of an inch to the back sashing but it was still not quite getting all the stitches to fall outside the sashing on the front. I finally decided that when I sew down the first piece of the sashing on front with the folded piece in the back, that I will make that first seam very slightly less than 1/4 inch -- more like 7/32, just a 1/32 of an inch less than 1/4. I also decided that ironing that back piece of sashing in half made things go easier as well. Before I was just finger pressing. Attaching the front sashing on the adjoining piece, I still go with the full 1/4 inch. When I make that final stitching down of the back sashing, I pull it so that it no longer sits on the bump (the seam on front) and sew it down. It takes some concentration but it really worked almost 100 per cent of the time. It is also important to line up those vertical pieces of sashing when sewing the horizontal seams which I missed on a couple of rows but too much fussy stitching to take out and do again!
It really went together very quickly once I got going and it is nice to not have to baste and machine quilt. I would definitely make larger blocks if I was doing it again however but that will have to wait until I get south where those bags of strips reside. If I never see these particular strips again, it will be too soon!!
.jpg)


This photo shows a bunch of 2 1/2 strips I cut from this random fabric I found while doing the above destashing. It was all fat quarters and in this
 This is our neighborhood doe named Eloise. She noshes frequently right across the street when the neighbors are quiet. Both husband and I think she is pregnant so hopefully we will see the fawn in the future. Our next door neighbor is not a fan (although he named her) as she devours his roses and other veggies he grows!


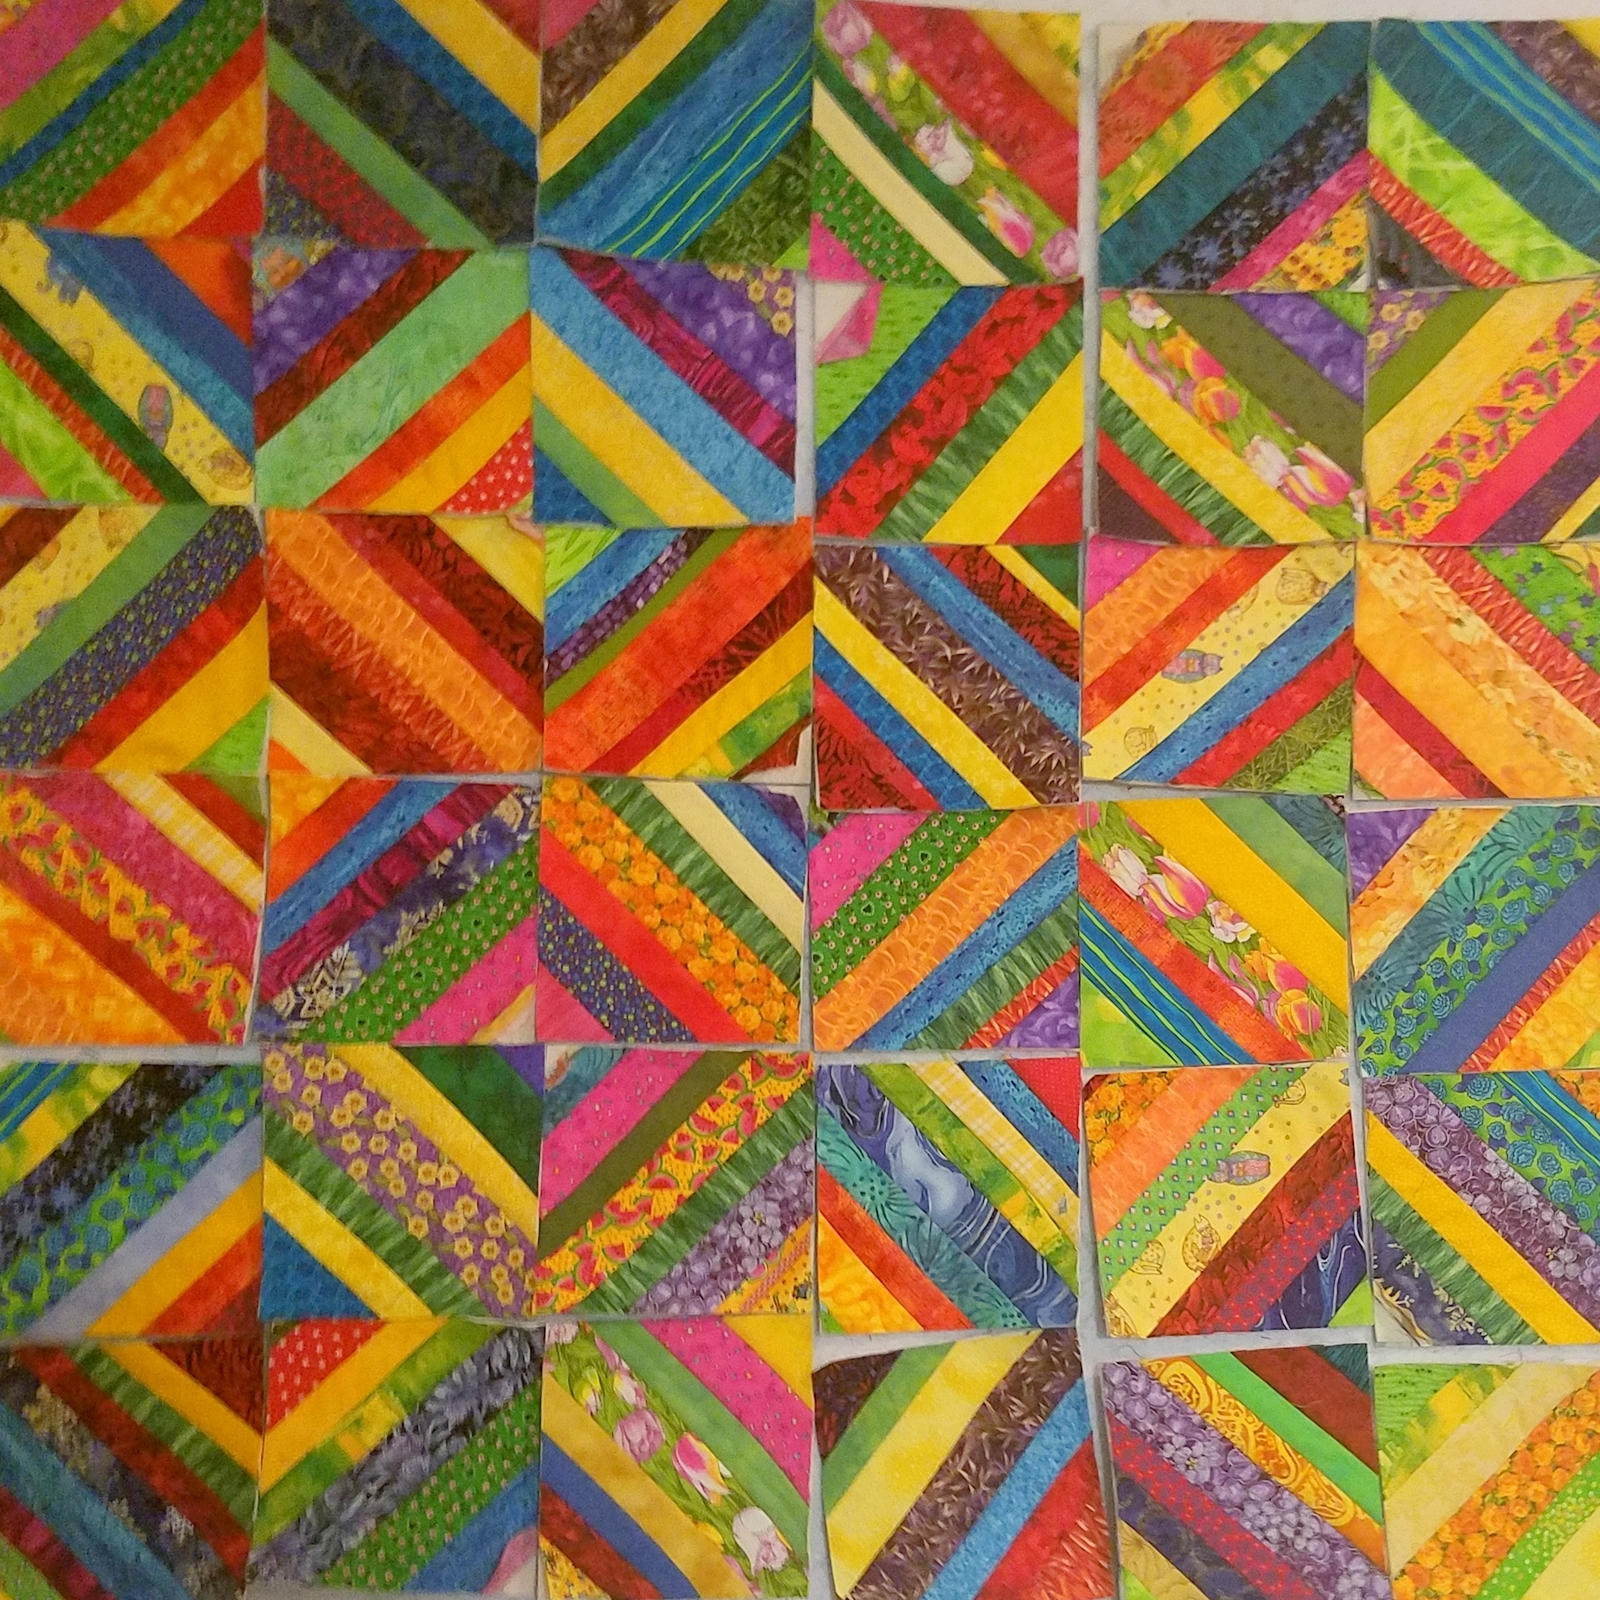
The sad part is that the pile of strips looks as big as it did when I started which just confirms that those scraps breed at night when the lights are off!

If I ever do this kind of quilting again, I will do much much larger blocks which I think would be more time effective. These blocks are 7 x 7 which is the size of my potholders.


 Posts
All Comments
Posts
All Comments


